Skip to content
Details

Custom Tray and Sleeve Boxes

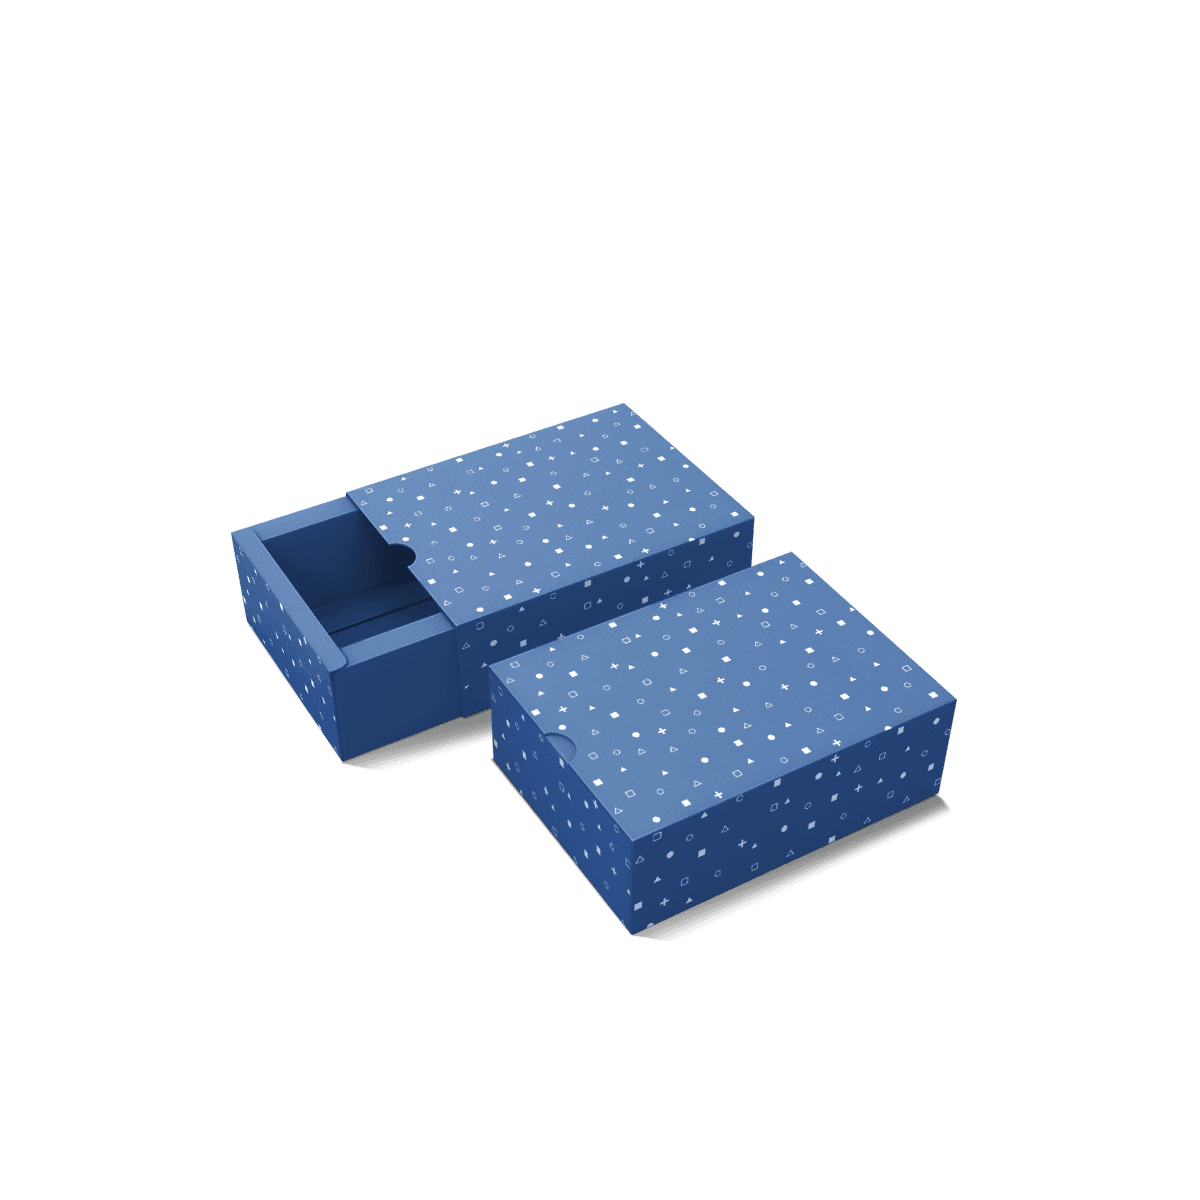
Tray and sleeve boxes use a fitted inner tray and a printed outer sleeve to create a clean slide-open presentation, stronger product positioning and a more premium opening experience than many standard folding boxes.

Two Parts Must Behave as One

Resolve the tray, insert and finished product position before the outer sleeve is sized. Small changes to tray depth or surface finish can turn a controlled slide into drag, looseness or an awkward reveal. Custom Tray and Sleeve Boxes work only when the inner tray and outer sleeve are developed as one moving system.

The tray carries the product while the sleeve controls enclosure, movement and the first visual impression. Their dimensions cannot be finalised independently.

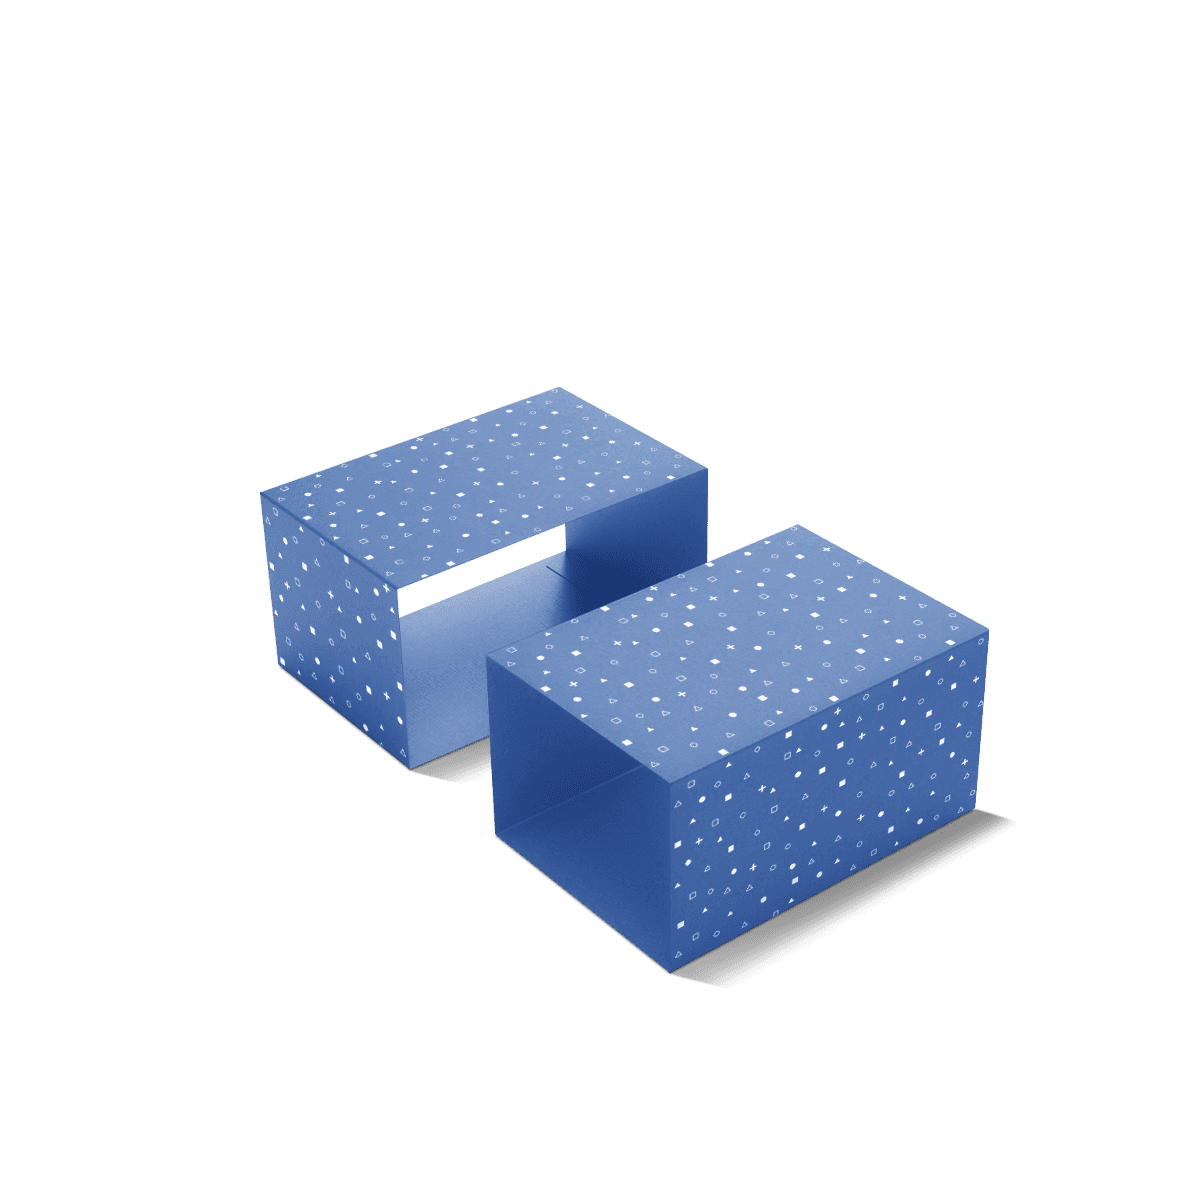
This is also what separates the style from a simple printed wrap. If the product already sits inside a complete box and only needs another branded layer, Box Sleeves solve that job with less structure. Tray and sleeve packaging earns its place when the tray itself is part of the finished product presentation.
Fix the Tray First

The inner tray should be resolved around the product before the outer sleeve is sized. Product depth, weight, insert thickness and removal access all affect the tray that the sleeve eventually has to clear.

Tray Depth Follows the Product

A tray should be deep enough to contain the product securely without burying it below high side walls. If the item sits too low, the reveal feels weak and removal becomes awkward. If it sits too high, the product or insert can rub against the sleeve as the tray moves.

Start with the finished product height and decide how much should remain visible above the tray wall. For sets, the tallest component usually sets the minimum internal height unless the insert creates different levels.

Walls Need a Real Job

Higher walls can improve containment, but more wall height is not automatically better. A shallow cosmetic set may only need enough edge height to keep an insert seated. A heavier accessory may need a firmer tray with stronger corners.

The product should determine the wall requirement before sleeve artwork is developed. Custom Packly can coordinate the tray, sleeve, insert and dielines through one experienced packaging team.

Set Slide Clearance

The defining tolerance is the space between the finished tray and the finished sleeve. Too little clearance creates drag. Too much makes the box feel loose and can let the tray move when the package is tilted.

Measure Finished Surfaces

Nominal paperboard thickness is not the whole calculation. Printing, lamination, wrapped surfaces, seams and assembly can change the finished relationship between the two pieces.

The sleeve should be checked against the completed tray rather than sized from an abstract gap alone. Small errors are obvious because the two surfaces repeatedly move against each other.

The free box dieline generator can help establish structural layouts for supported box styles, while a custom tray-and-sleeve dieline still needs the two finished components coordinated together.

Friction Is Part of the Spec

A smooth matte surface may slide differently from an uncoated stock. Soft-touch finishes, heavy coatings and textured papers can all change the resistance between tray and sleeve.

Do not approve a finish only because it looks good flat. If the surfaces rub during every opening, finish choice becomes a mechanical decision too.

Stage the Product Height

The opening should reveal the product at a deliberate level. A good tray does more than stop the item moving; it controls what the customer sees as the sleeve clears the first section.

Raise the Product With Purpose

An insert or platform can lift a compact product closer to the tray edge, making it easier to see and remove. That works well for cosmetics, confectionery, jewellery cards, technology accessories and small gift sets.

The lift should not push the product so high that it catches inside the sleeve. The final height has to include the product, insert and any literature sitting above or alongside it.

Leave Removal Space

A perfectly centred product can still be frustrating if there is nowhere to put a finger.

Die-cut finger notches, side clearance or a small lift feature can make removal easier without disturbing the presentation. Inserts and Dividers help when the product needs shaped restraint, separation or controlled reveal height inside the tray.

For fragile items, presentation should not replace protection. The fragile product packaging breakdown explains why restraint, cushioning and outer strength solve different problems.

Choose the Opening Direction

Tray and sleeve boxes can open from one short end, one long end or by removing the sleeve completely. That choice changes packing, handling and how the product first appears.

Short-End Slides Save Travel

Opening from the short end reduces the distance the tray travels before the contents appear, which suits compact products and sets.

Long-End Slides Change the Reveal

A long-side opening can expose several items progressively, but it requires more tray travel and makes alignment more noticeable.

Full Removal Is Not Automatic

The tray does not always need to leave the sleeve completely. Keeping part of it engaged can reduce accidental drops and maintain alignment. Full removal can be better when customers need unrestricted access to the contents.

The opening direction should be decided before artwork, insert orientation and packing instructions are locked.

Tray and Sleeve vs Drawer

The terms overlap because both use an inner component that slides inside an outer cover. The useful distinction is how much emphasis sits on the drawer action.

A straightforward tray-and-sleeve box can be light and presentation-led, with no need for ribbon pulls or stop mechanisms. The two parts simply need to hold the product and move cleanly.

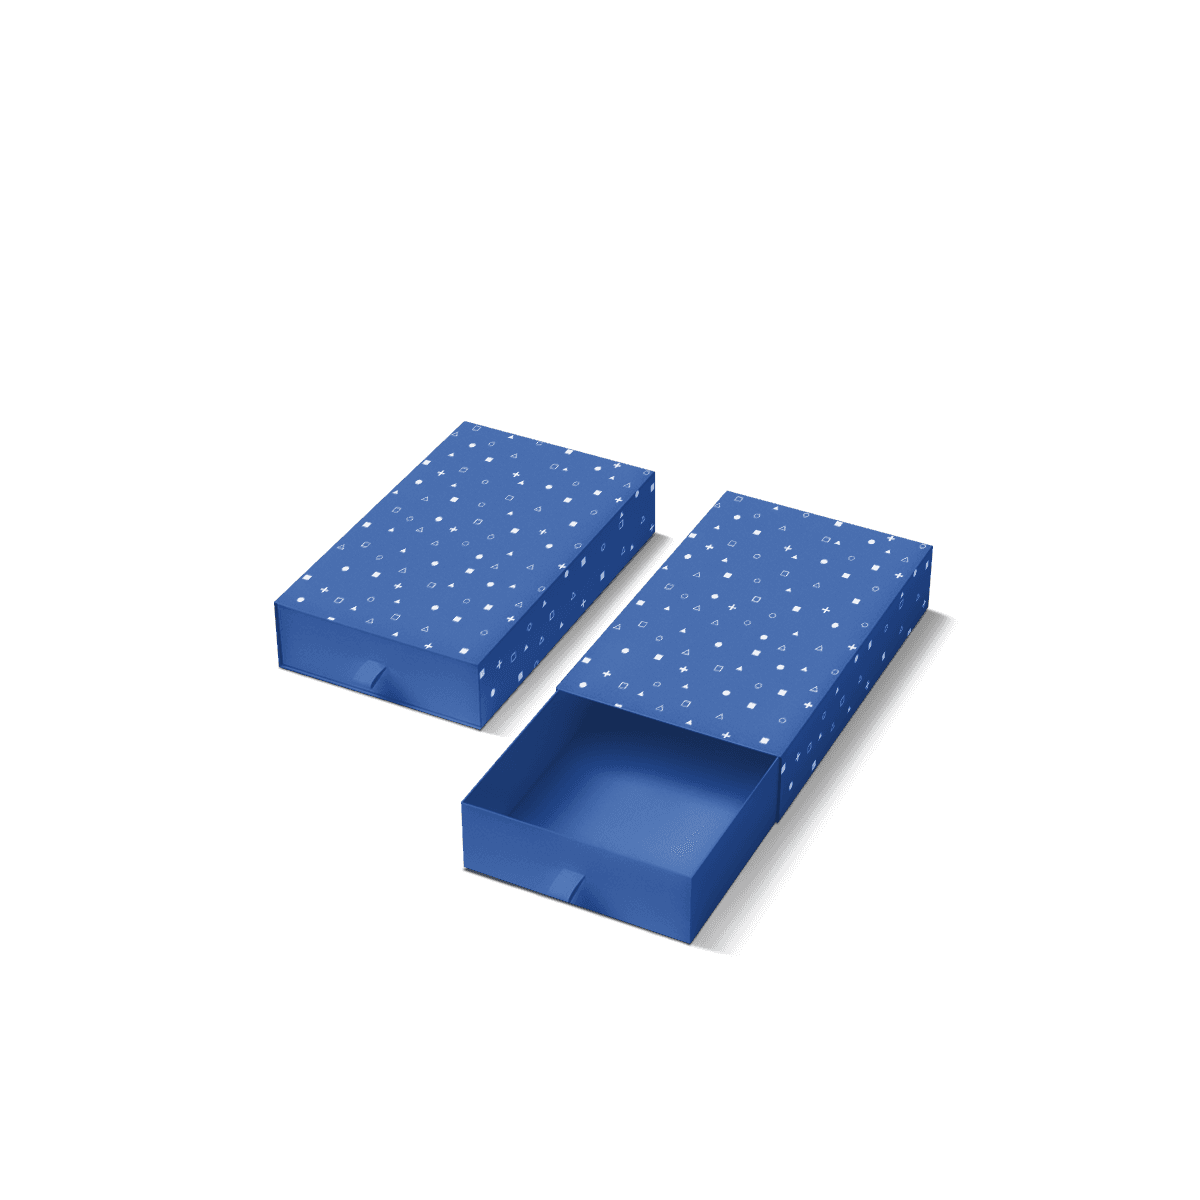
Custom Drawer Boxes make more sense when the opening behaviour itself becomes a primary design feature, with pull access, controlled travel or a more deliberate drawer-like interaction.

Likewise, Sleeve Packaging includes simpler wraps and bands where there is no dedicated product tray at all. The right choice depends on whether the inner tray is genuinely part of the finished structure.

Make Inserts Part of Geometry

An insert changes the tray before it changes the presentation. It consumes depth, controls movement and can affect where pressure is transferred through the finished box.

Insert Thickness Uses Space

Do not size the outer box around the bare product and add an insert later. Folded card platforms, corrugated supports and shaped cradles all occupy space.

The insert should be developed with the product in place so tray depth and sleeve clearance remain correct after every internal component is added.

Multi-Item Sets Need Order

For gift sets and kits, decide which item should appear first, which products can touch and which need separation. A neat arrangement is useful only if the contents remain in that arrangement when the box is lifted or tilted.

The simplest insert that controls those movements is normally better than a complicated layout that slows packing without adding real value.

Choose Board by Role

The tray and sleeve do not always need the same stock. Each piece should be selected for the job it performs.

Paperboard Keeps It Efficient

Folding paperboard works well for lighter retail goods, stationery, confectionery, beauty products and promotional sets where the sliding structure matters but heavy presentation packaging would be excessive.

The tray still needs enough stiffness to remain square. If its side walls bow inward, sleeve movement becomes inconsistent.

Rigid Board Changes the Product

Rigid board creates a heavier, more substantial object and takes more storage space. It suits high-value gifting when the packaging is expected to remain with the product.

The paperboard, corrugated and rigid material comparison helps separate those material jobs before extra weight is added simply for a premium feel.

MOQ starts from 100 boxes, so a lighter paperboard version can also suit launches that need the slide-open structure without committing to a heavy rigid format.

Print Across Two Moments

Tray and sleeve packaging gives the artwork two stages: what customers see while the box is closed and what appears as the tray moves out.

Let the Sleeve Set Context

The outer sleeve normally carries the strongest exterior branding, product name and first visual cue. Important detail should stay clear of the glue seam and major folds.

Premium offset printing works well for established runs requiring controlled colour, fine typography or clean solid areas.

Save Contrast for the Tray

The tray can introduce a second colour, short message or simple pattern that is hidden until opening. That contrast often creates more impact than covering every surface with the same artwork.

The packaging design ideas discussion makes the same practical point: premium presentation comes from hierarchy and restraint, not the number of decorative effects applied.

Matte, gloss, foil, embossing, debossing and spot UV can all work, but a finish that repeatedly contacts another surface should be checked for rubbing and friction. Packaging customisation can be planned with the structure rather than added after the slide has already been resolved.

Packing Speed Has a Cost

A two-piece structure adds handling compared with a simple tuck carton. The tray must be formed or prepared, the product and insert loaded, then the sleeve applied in the correct direction.

That can be reasonable at hundreds of units and expensive at tens of thousands if each step is awkward.

The box-style selection breakdown makes this fulfilment issue explicit: drawer and sleeve structures should be judged by packing volume as well as appearance.

For repeat production, test how quickly a packer can complete the sequence. If the sleeve needs constant flexing or the tray only enters from one difficult angle, adjust the structure.

Custom Packly provides guaranteed 4–6 working day production and delivery for Tray and Sleeve Boxes, which gives launch teams a clear production window without changing the need for an efficient packing method.

Protect the Presentation in Transit

A tray-and-sleeve box can support the product internally, but presentation packaging should not automatically be treated as the final courier container.

Compression can pinch the sleeve, corner impacts can distort the tray and surface rubbing can spoil a printed finish before the customer sees it.

For ecommerce orders, use the presentation box inside an appropriately specified mailer or shipping carton where the journey requires it. Custom packaging should separate the customer-facing structure from the transit job instead of forcing one lightweight component to perform both.

The slide should still be checked after realistic handling. A sleeve that moves perfectly before delivery is not successful if compression during transport makes it bind.

Approve Motion, Not Just Artwork

A free 3D mockup can confirm proportions, print placement and how the product sits visually inside the tray. It cannot reproduce the physical resistance of two finished surfaces sliding against each other.

Tray and sleeve boxes are therefore one of the structures where movement deserves its own approval.

Open and close a physical sample repeatedly when slide tension, finish rubbing, insert height or tray travel is commercially important. Check that the sleeve stays square, the product remains seated and the fit does not become dramatically looser after several cycles.

That test is more useful than adding another decorative feature. A simple box with controlled motion will normally feel better made than a heavily finished one that sticks.

Show Us the Open Position

The clearest starting brief is an image or sketch of the product in the exact position it should appear when the sleeve has been pulled back. Mark which end opens, how far the tray should travel and how high the product should sit.

Add a top-down layout for multi-item sets so spacing and insert logic can be resolved before the outer dimensions are fixed. If the product has a vulnerable edge, closure or decorated surface, mark that too.

Send that opening-position reference through the tray and sleeve quote. It gives the team a concrete reveal to engineer around, so tray depth, insert height, sleeve clearance and artwork are all solving the same finished experience.

FAQs

They are the right choice when the product needs both a premium reveal and a stable internal base. This format works especially well for gift sets, candles, beauty products and accessories that benefit from inserts or carefully positioned contents. If the opening action is part of the perceived value, tray and sleeve boxes usually make more sense than a standard carton.

Start with the exact product dimensions, then allow sensible clearance for loading, inserts and easy removal. The tray should hold the item securely without forcing it, while the outer sleeve should slide cleanly without scraping the tray edges. It is also worth confirming whether tissue, risers or board inserts will sit inside, because those details affect the final specification.

That depends on product weight and the level of finish you want to present. Smooth paperboard is often a good choice for the outer sleeve when print quality matters, while the tray may need a firmer board if the contents are heavier. Matte lamination, soft-touch, foil and spot UV are common options when the outer sleeve is expected to carry most of the premium visual effect.

They can support the product well internally, but they are usually better treated as presentation packaging rather than the final transit box. For courier delivery, most buyers place them inside a corrugated mailer or shipping carton. That helps protect corners, preserve the finish and reduce movement damage during fulfilment and delivery.

In many projects the two terms overlap, but buyer expectations can differ. Tray and sleeve boxes describe the broader slide-out structure, while drawer boxes often suggest a more refined premium version with details such as ribbon pulls, heavier board or a more gift-led finish. If you want flexible presentation with strong insert support, tray and sleeve boxes are often the more adaptable choice.

Process

How it works

Your Packaging Journey, From Idea to Production and Delivery

01

Tell Us Your Specs

Custom packaging boxes

Tell Us Your Specs

Provide size, quantity, printing, and finishes.

02

Get a Fast Quote

Custom packaging boxes

Get a Fast Quote

Instant transparent pricing, no hidden fees.

03

Design and Approval

Custom packaging boxes

Design and Approval

Artwork checks, revisions, and final sign-off.

04

Produce

Custom packaging boxes

Produce

Expert manufacturing to meet deadlines.

05

Ship to Your Door

Custom packaging boxes

Ship to Your Door

Hassle-free, flexible delivery options.

Get Your Quote for Custom Tray and Sleeve Boxes

Share your product details, dimensions, quantity and artwork needs. We’ll help choose the right packaging style and send a clear quote.