Skip to content
Details

Custom Drawer Boxes

Sliding trays and fitted outer sleeves with controlled movement, practical pull access and tailored internal presentation for products that deserve a slower reveal.

Make the Slide Feel Intentional

Custom drawer boxes should open with enough resistance to feel controlled but not so much that the tray drags against the outer sleeve. That sliding action is the defining part of the structure.

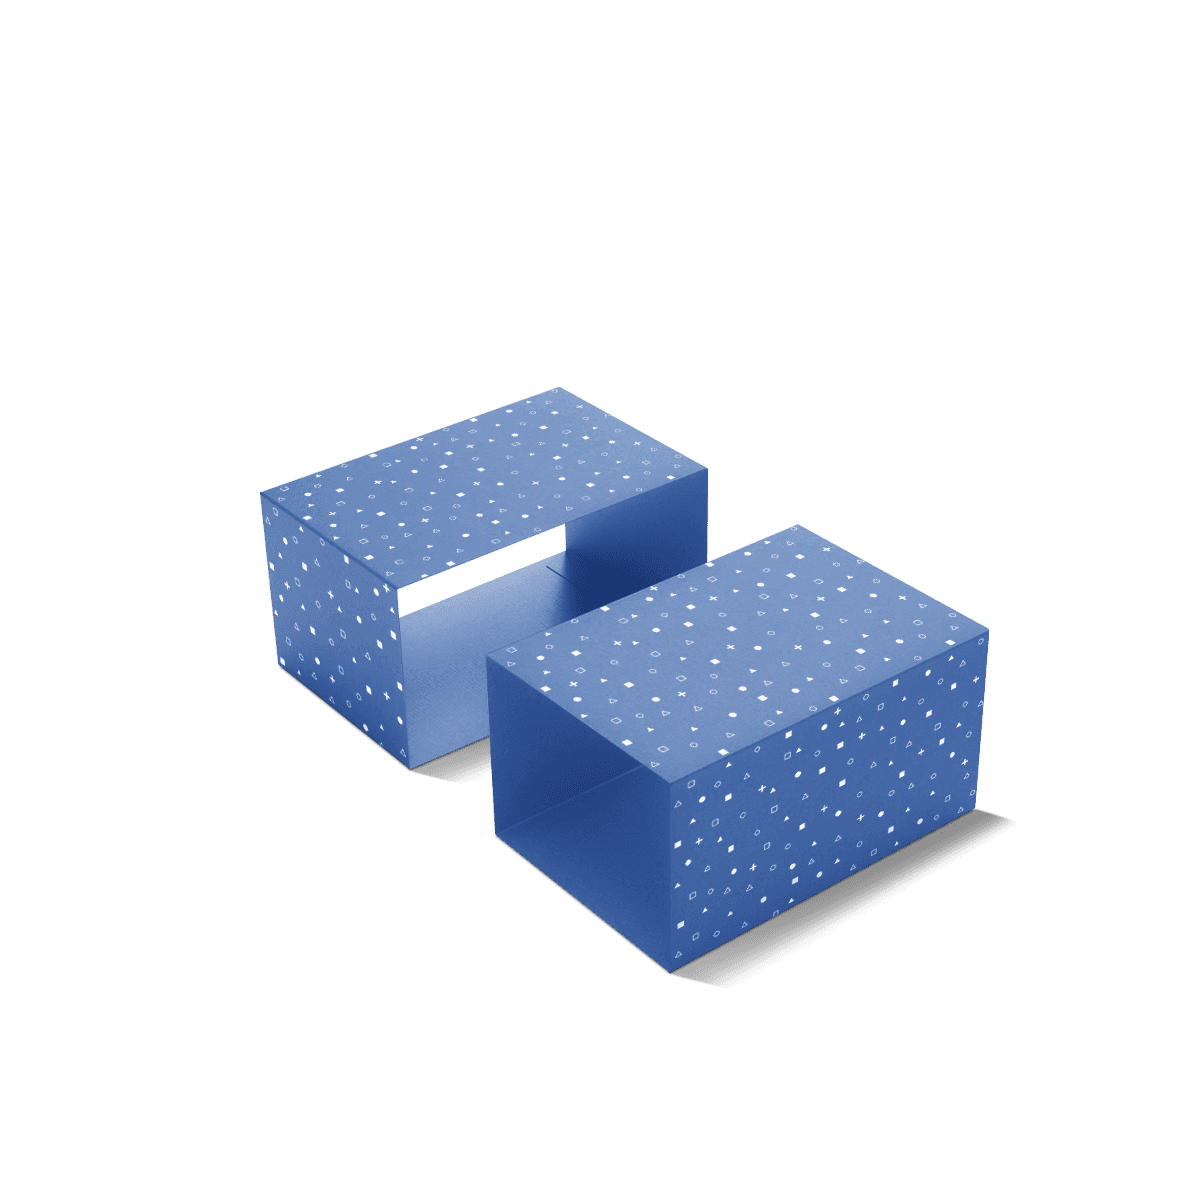
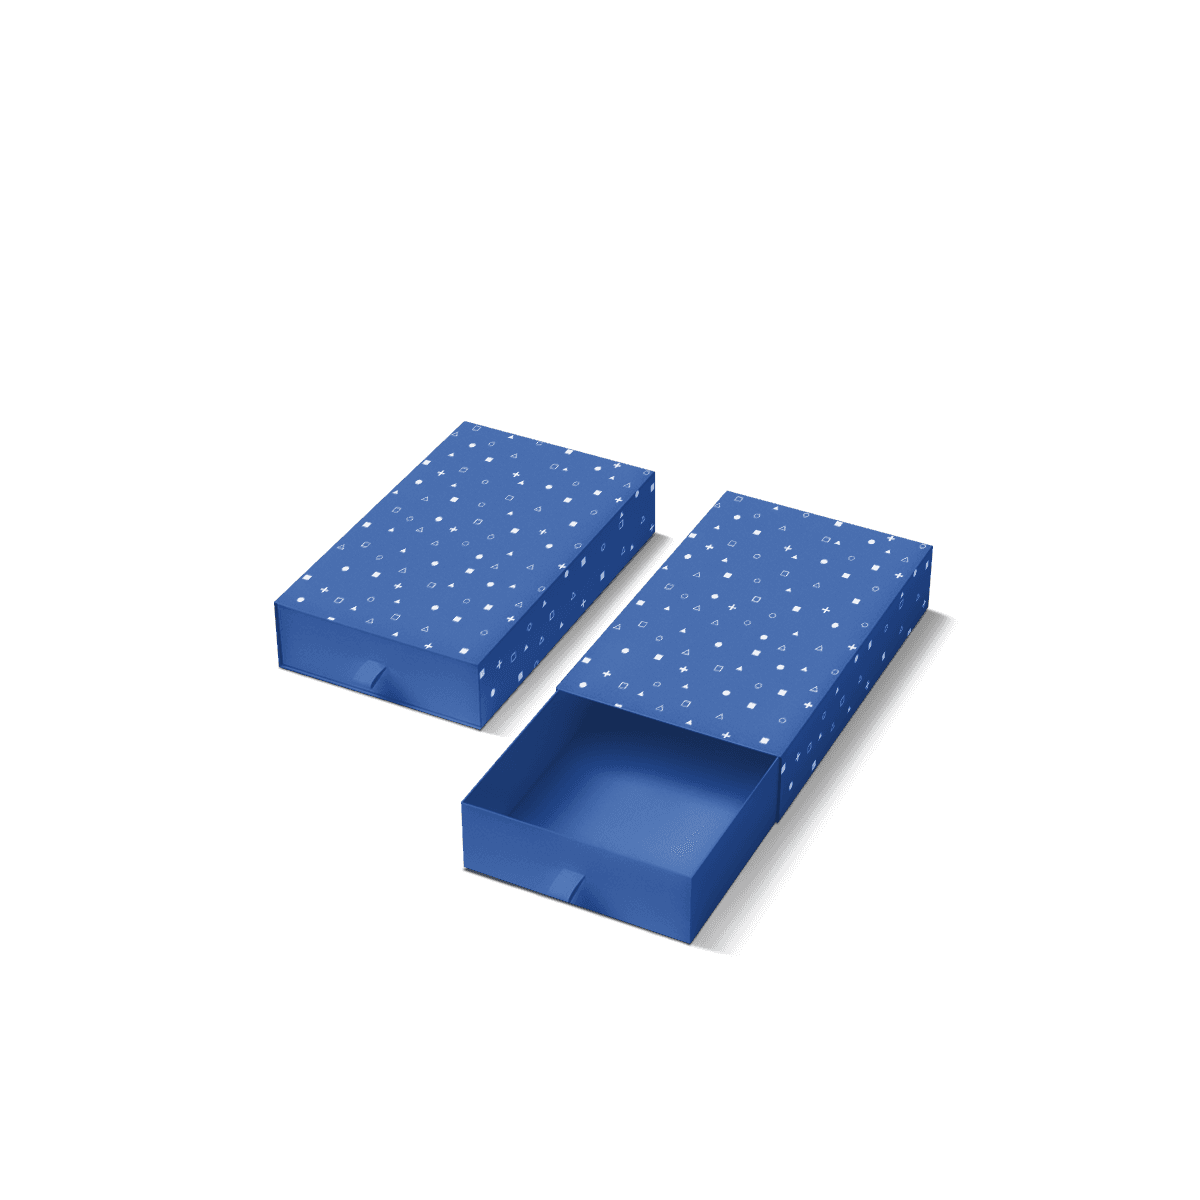
The box normally uses two main pieces: an inner tray that carries the product and an outer sleeve that surrounds it. Unlike a tuck carton, the customer does not lift a flap. The product appears gradually as the tray moves out, which makes the opening useful for watches, jewellery, presentation cards, premium stationery, compact technology accessories and curated gift items.

That reveal only works when the two parts fit correctly. A beautiful sleeve with poor tray movement feels unfinished, while a perfectly fitted drawer can make relatively simple graphics feel considered.

Within Custom Box Styles and Shapes, drawer boxes are therefore best treated as an opening-led structure rather than simply another decorative carton.
Control the Sleeve Fit

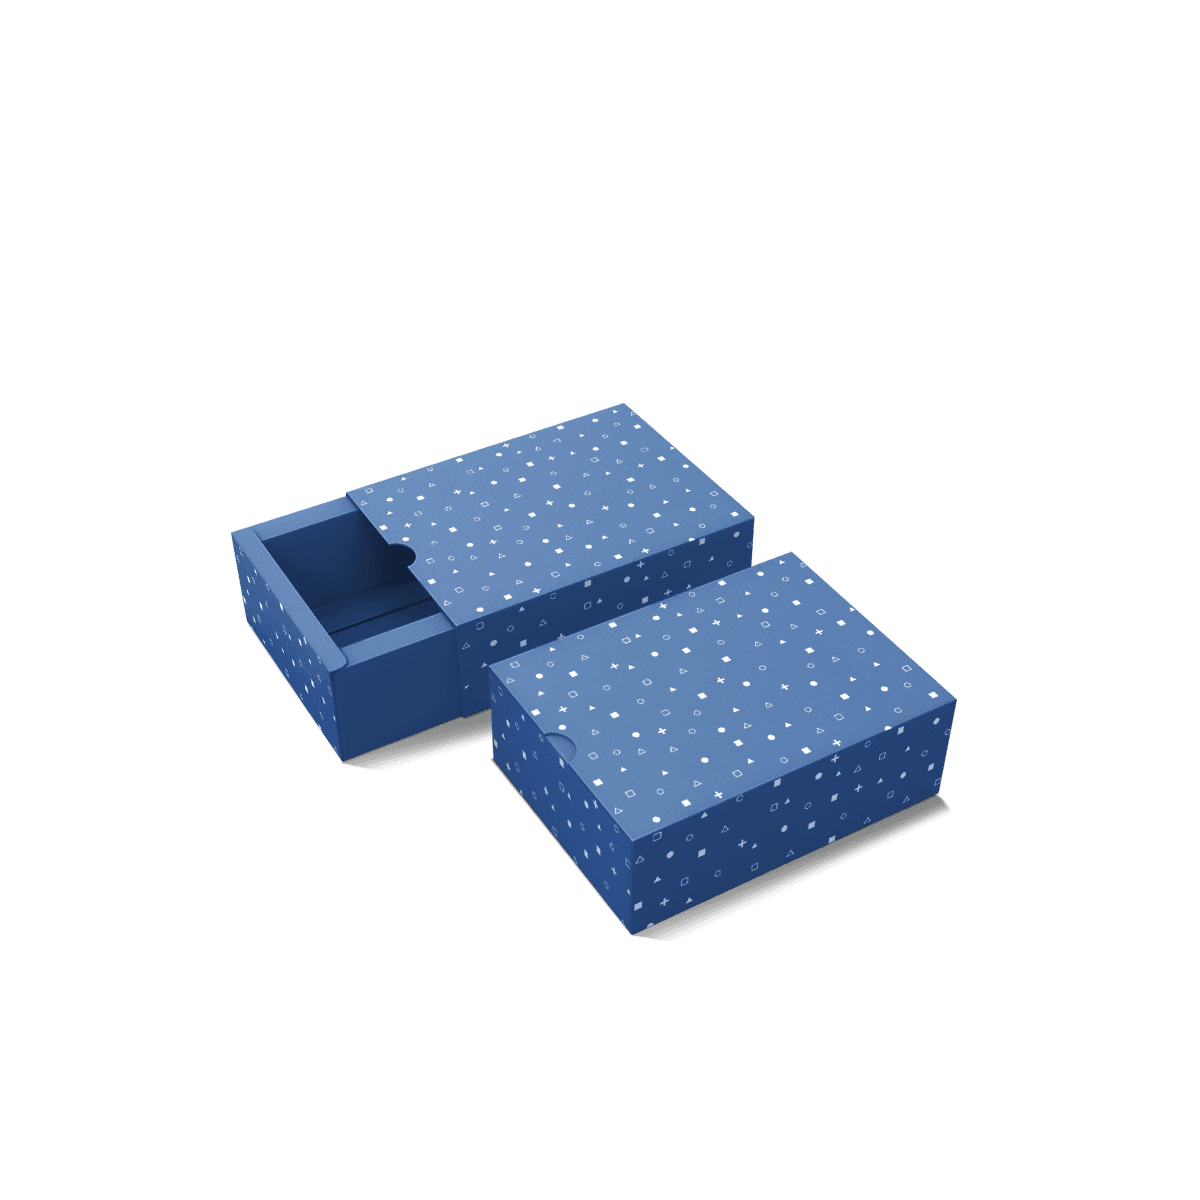
The sleeve needs enough clearance to let the tray move smoothly after printing, coating and assembly. Too tight and the edges can scuff or the customer may need both hands to open it. Too loose and the tray can move unexpectedly when the box is picked up.

Allow for Finished Thickness

Dimensions should account for the actual board and finished surfaces, not only the theoretical flat size.

Lamination, wrapped papers and layered construction can all change the finished relationship between tray and sleeve. The difference may be small, but drawer packaging makes small tolerance errors noticeable because one component repeatedly slides against another.

The safest approval is based on the completed construction rather than assuming a nominal gap will behave the same across every board choice.

Decide How Far It Opens

A drawer does not always need to pull completely free.

For small jewellery pieces, cards or accessory sets, keeping part of the tray within the sleeve can make the opening feel more controlled and reduce the chance of the contents being dropped. Other products are easier to remove when the tray comes out completely.

This should be decided during structural development because tray travel affects finger access, insert position and the opening experience.

Give the Customer a Grip

A good drawer needs a clear place to start the opening action. That may be a thumb notch, ribbon pull or enough exposed tray edge to grip comfortably.

The detail should suit the box rather than being added automatically for decoration.

Use a Thumb Notch

A shaped notch in the sleeve or tray can create simple finger access without adding another component.

It works particularly well where the graphic design is clean and the product does not need a ceremonial gift-box feel. The notch should be large enough to use comfortably but positioned so it does not weaken a narrow edge unnecessarily.

Add a Ribbon with Purpose

A ribbon pull changes both appearance and mechanics. It is useful where the tray sits nearly flush with the sleeve or where the opening is intended to feel more gift-led.

The ribbon needs a secure fixing point and enough clearance to pull without dragging awkwardly against the sleeve. Colour can coordinate with the artwork, but the pull action should be solved before the decorative choice.

Stage the Product in the Tray

The drawer should reveal the product in the position you want the customer to see it. That usually means controlling movement inside the tray rather than allowing the contents to settle wherever gravity takes them.

Inserts and Dividers can hold an item centrally, separate several components or create a raised presentation level.

Leave Removal Space

A fitted insert can become too precise.

If the product sits flush inside a tight cavity with no finger access, the presentation may look excellent but removing the item becomes frustrating. Jewellery cards, watches, vouchers and compact devices all need a practical lift point.

Allow finger space, a pull tab or another sensible removal route when the insert grips the product closely.

Set the Reveal Height

The depth of the tray and height of the insert determine how much of the product appears as the drawer opens.

A product buried deep below the tray edge can look smaller and be harder to remove. Raise it too high and it may rub against the sleeve or interfere with closing.

The correct presentation level comes from the assembled product, insert and sleeve together.

Separate Drawer from Sleeve Packaging

Drawer boxes and tray and sleeve boxes use closely related mechanics, so the terms sometimes overlap.

The useful distinction is buyer intent.

Tray and sleeve packaging is the broader family: an inner tray sits inside an outer cover and slides for access. It may be relatively simple, lightweight and function-led.

Drawer packaging usually places more emphasis on the opening action itself. Details such as pull access, controlled tray travel, refined tolerance and carefully staged contents become more important.

If the requirement is simply “put this product in a tray and slide a branded sleeve over it”, the tray-and-sleeve route may be the cleaner specification. If the box should behave deliberately like a drawer, this page is the better starting point.

Paperboard or Rigid?

Drawer structure does not automatically mean rigid board.

A lighter paperboard drawer can suit promotional sets, stationery, vouchers, accessories and retail products where the sliding reveal matters but the packaging does not need to become a keepsake.

A rigid drawer uses thicker board with a covered surface and creates a firmer, more substantial object.

Choose Paperboard for Efficiency

Paperboard can reduce material weight and may use storage space more efficiently than fully assembled rigid packaging.

It is useful when the product is relatively light and the opening style is commercially valuable but a heavy presentation box would be excessive.

The board still needs enough stiffness to keep the tray square. A sleeve that bows inward can increase friction and make the drawer feel inconsistent.

Use Rigid Board Deliberately

Choose Rigid Boxes when firmness, gift value and long-term presentation justify the extra material and assembled storage volume.

A rigid drawer is particularly relevant where the packaging is expected to remain with the product rather than be discarded shortly after opening.

For higher-value launches and gifting programmes, custom luxury packaging also helps compare drawer packaging with magnetic, lid-and-base and other presentation structures.

Use Both Parts Visually

Drawer packaging gives the designer two surfaces that can work together instead of treating the outer sleeve as the whole brand canvas.

The sleeve creates the first impression. The tray appears only during opening, which makes it useful for a second colour, internal message, pattern or restrained contrast.

Keep the Sleeve Clear

Premium offset printing, CMYK artwork and Pantone colours can be used across the external sleeve where controlled colour reproduction matters.

Matte, gloss and soft-touch finishes can change both appearance and slide behaviour. A heavily coated surface that repeatedly rubs against another component should be physically tested rather than approved from appearance alone.

Custom printed boxes provides the broader print context when colour control or finish choice is a major part of the specification.

Save Detail for the Reveal

Inside print, a contrasting tray colour or one carefully placed foil detail can make the second stage of opening feel intentional without covering every surface.

The packaging design ideas article makes the same broader point: premium packaging works best when material, structure and finishing support the product rather than adding decoration without purpose.

Protect the Slide in Fulfilment

Courier handling can affect drawer behaviour before the customer ever opens the box. Compression can pinch the outer sleeve, rubbing can mark finished surfaces and a loose inner tray can move inside the sleeve.

For ecommerce orders, protect the presentation box inside an appropriately sized outer mailer or shipping carton where necessary. The goal is not simply to add another layer. It is to preserve the sleeve shape, pull detail and intended sliding resistance until delivery.

Sample the Actual Slide

Drawer packaging is one of the structures where a digital visual alone cannot confirm the most important detail.

A free 3D mockup can check artwork placement, colour relationships and how the sleeve and tray appear together. It cannot tell you exactly how much resistance you will feel when pulling the drawer.

Open It Repeatedly

A physical sample should be opened and closed several times.

Check whether:

  • The tray starts moving without excessive force
  • The sleeve stays square rather than pinching inward
  • Printed surfaces avoid obvious rubbing or scuffing
  • The product remains correctly positioned
  • The pull or notch remains comfortable to use
  • The tray stops where intended
  • Repeated opening does not loosen the fit excessively

A fully custom pre-production sample can be arranged as a paid sample when exact slide behaviour, insert fit or finish interaction needs physical approval.

Check More Than One Unit

For repeat production, consistency matters almost as much as the first sample.

A drawer that feels excellent on one unit but noticeably tighter on another can undermine the premium effect. The agreed board, dimensions, finish and assembly specification should therefore be retained carefully for repeat runs.

Approve the Slide Before Volume

Send the product dimensions, packed weight, quantity and preferred paperboard or rigid route. Also state whether the tray should stop inside the sleeve or pull completely free, and include the insert, thumb notch or ribbon detail where already known.

For drawer packaging, the most important approval is often physical rather than visual. If sleeve resistance, tray travel, insert lift or finish rubbing matters, a paid custom pre-production sample can be used to check the actual opening feel before a larger run.

When those decisions are clear, send them through the detailed quote form with the product artwork and intended presentation.

FAQs

Drawer boxes suit compact products that benefit from orderly placement and a stronger opening experience. They work especially well for jewellery, cosmetics, gifts, invitation packs, accessories and smaller product sets. If the contents are very light and do not need structure, a simpler carton may be enough. If the product is much larger, another build may use space more efficiently.

Choose a drawer box when the opening sequence itself matters and the contents need to stay contained in a fitted tray. Choose a rigid lid and base box when you want a more traditional premium pack with a lift-off top and broader access from above. Drawer boxes usually feel more guided and organised, especially for smaller products or multi-part sets.

Start with product length, width and depth, then confirm whether the item needs a card insert, foam fitment, ribbon pull or internal platform. After that, review how tight the sleeve should feel and whether the tray should slide out fully or stop short. These points affect usability, perceived quality and transit behaviour.

Yes, but they are usually better treated as the presentation pack rather than the only shipping layer. A drawer box can travel well when the tray fit is correct and the outer sleeve is specified properly, but most ecommerce orders still benefit from a separate mailer or corrugated shipper. That helps preserve edges, finish quality and sleeve alignment.

Yes. This structure is especially strong for decorative finishes because the sleeve and tray give two surfaces to work with. Foil stamping, embossing, debossing, textured wraps, matte lamination and inside print can all add value when used with restraint. The best result comes from matching the finish level to the product position and the intended opening feel.

Process

How it works

Your Packaging Journey, From Idea to Production and Delivery

01

Tell Us Your Specs

Custom packaging boxes

Tell Us Your Specs

Provide size, quantity, printing, and finishes.

02

Get a Fast Quote

Custom packaging boxes

Get a Fast Quote

Instant transparent pricing, no hidden fees.

03

Design and Approval

Custom packaging boxes

Design and Approval

Artwork checks, revisions, and final sign-off.

04

Produce

Custom packaging boxes

Produce

Expert manufacturing to meet deadlines.

05

Ship to Your Door

Custom packaging boxes

Ship to Your Door

Hassle-free, flexible delivery options.

Get Your Quote for Custom Drawer Boxes

Share your product details, dimensions, quantity and artwork needs. We’ll help choose the right packaging style and send a clear quote.