Skip to content
Details

Custom Box Sleeves

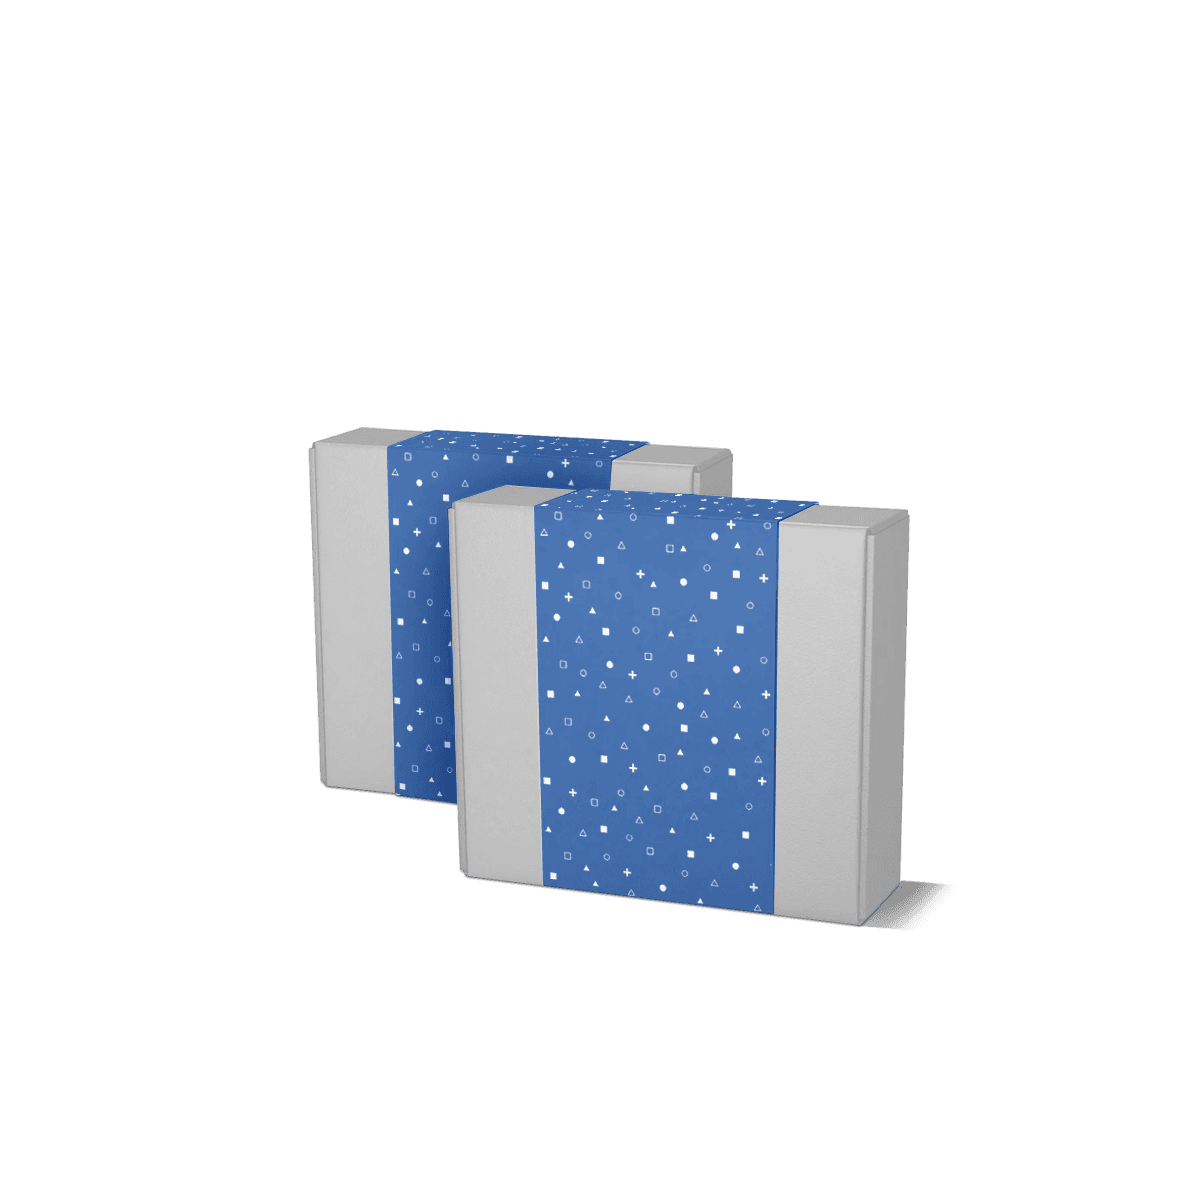
Box sleeves add a printed outer layer around an existing box to sharpen branding, improve shelf presentation and adapt plain stock packaging for different products, campaigns or retail channels without changing the main box structure.

Change the Message, Not the Box

A box can still fit, protect and present the product properly while its branding becomes the expensive part to change. That is the problem Custom Box Sleeves solve. Instead of replacing a carton, rigid box or gift box that already works, a fitted printed sleeve creates a separate outer surface for branding, product information or a temporary campaign.

The distinction matters. A box sleeve is not a second box and it should not be treated as one. Its job is to work with the existing structure. That makes it useful when the base box has a long life but the visible message changes more often, such as a seasonal launch, retailer-specific promotion, rebrand or short-run edition.

The best sleeve projects therefore start with one question: what must stay the same? If the answer is the box size, protection and packing process, changing only the outer printed layer can be cleaner than redesigning the whole package.

Fit Is a Friction Decision

A good box sleeve should stay aligned during handling but move onto the box without forcing the corners, scuffing the surface or slowing down packing. Fit is controlled by the finished outside size of the box, the sleeve stock, crease positions, join and surface finish.

Use the Finished Outside Size

Work from the real box as it will be packed, not only from an old artwork file. Lamination, wrapped papers, lid lips and manufacturing variation can change the outside profile enough to affect sleeve movement.

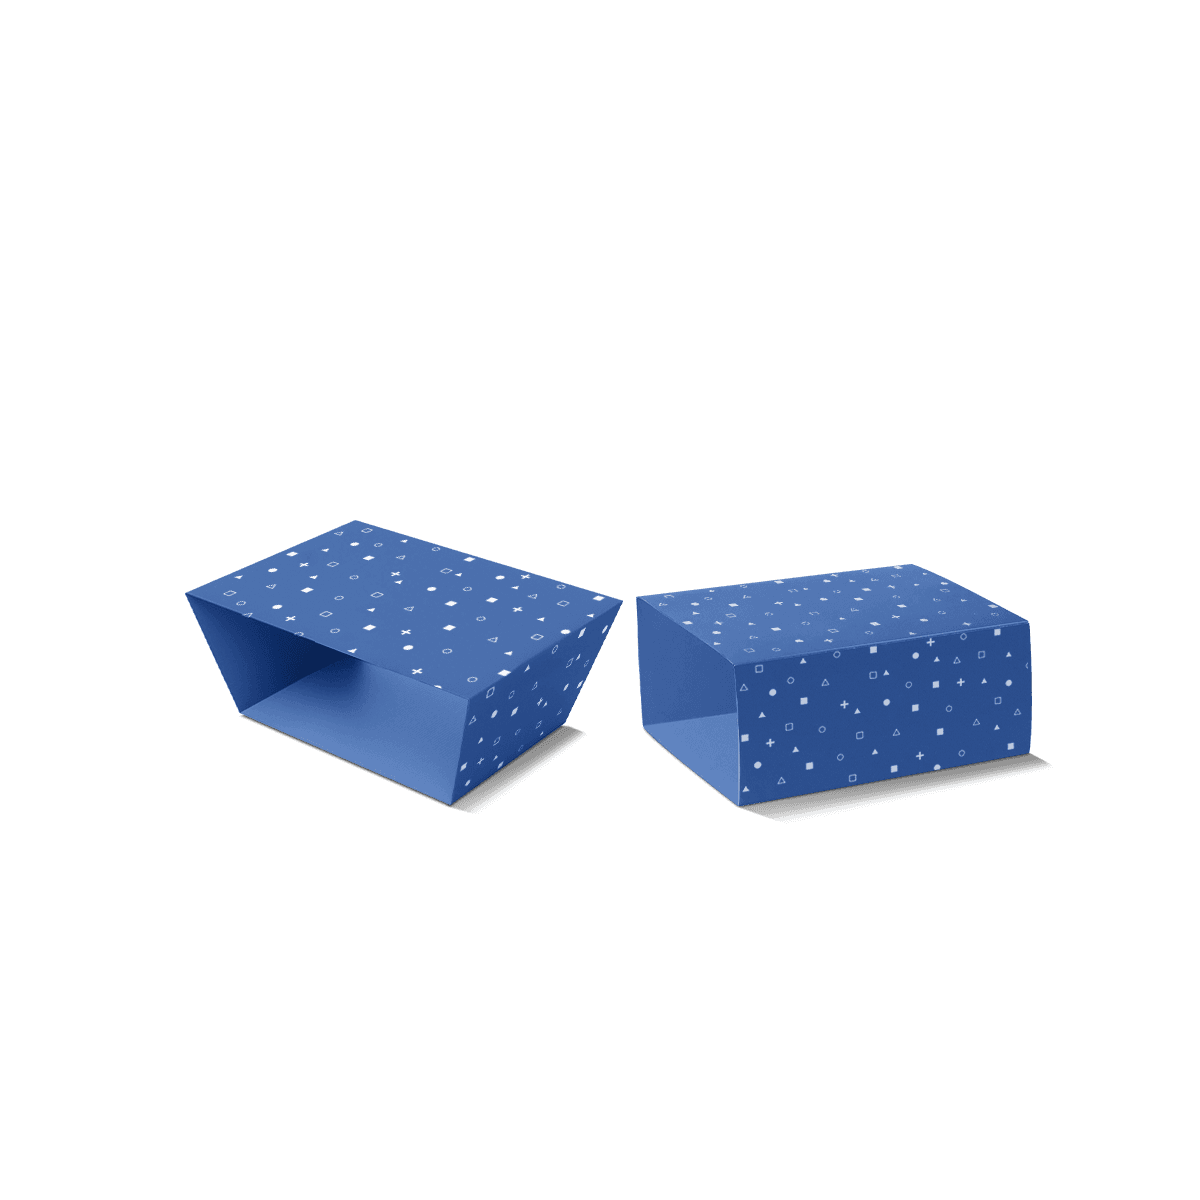
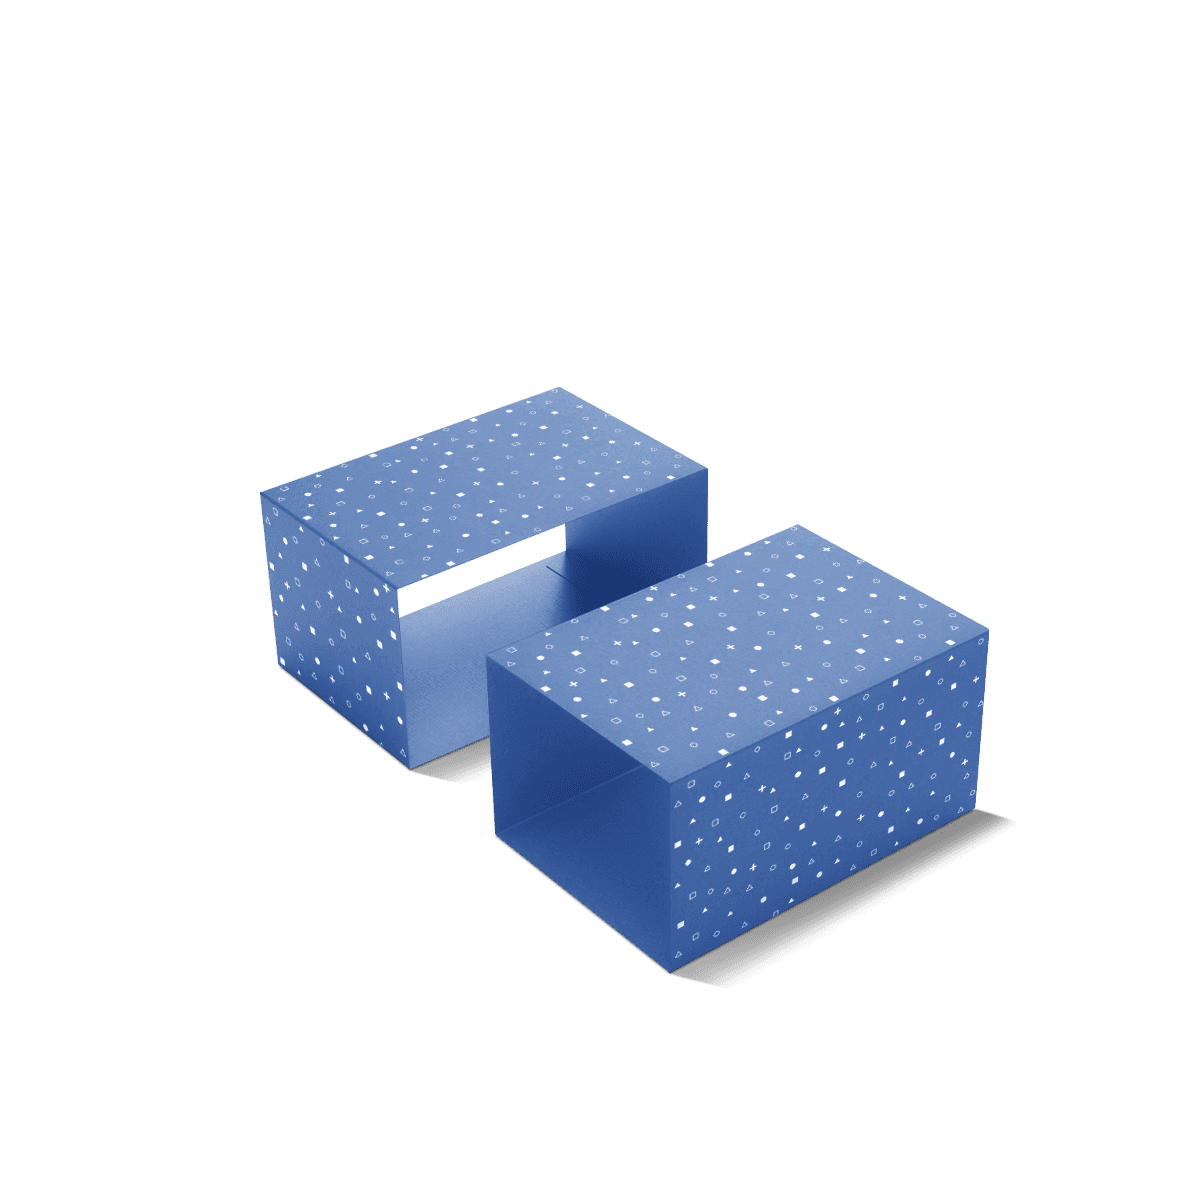
For a rectangular box, the sleeve normally wraps around four faces and remains open at two ends. The dimensions around that path need to account for the finished box, while the sleeve depth controls how much of the base remains visible.

If the base box itself is still being developed, the free box dieline generator can help establish its structure first. For artwork terminology such as cut lines, creases, bleed and safe areas, packaging dielines explained gives the production context before sleeve artwork begins.

Set Slide Tension Deliberately

Too loose and the sleeve can drift, expose uneven margins or slide off when the box is lifted. Too tight and it can catch on corners, mark a coated surface or turn a simple packing task into a slow one.

The intended application matters. A sleeve fitted by hand at low volume can tolerate a different handling feel from one applied repeatedly during a larger packing run. If you only have finished boxes and no technical drawing, Custom Packly's 24/7 packaging support can help turn the physical box, photographs and dimensions into a workable sleeve brief.

Keep the Join Off the Main Face

The overlap or glued join should normally sit where it does not interrupt the strongest visible artwork. On many boxes that means the underside or a less prominent side, but the right position depends on how the product is displayed and opened.

Avoid placing important copy, barcodes or delicate finish detail across a join or heavy crease. The sleeve may look flat on a screen, but those areas behave differently once it is formed around the box.
Decide What Stays Visible

Coverage changes the character of the sleeve. A deeper sleeve can dominate the appearance of a plain box, while a shallower one lets more of the original material, colour or lid remain visible.

This is where Custom Box Sleeves should be specified by purpose rather than simply made as large as possible. If the existing box has a premium paper wrap, distinctive colour or useful texture, covering all of it can waste what you already paid for. If the base is deliberately plain, a deeper printed sleeve may need to carry most of the visual work.

For products that are not already boxed, Sleeve Packaging also includes bands, cup sleeves and food wraps with different fit requirements. If you only need a narrow printed strip for naming or grouping, Belly Band Packaging is usually the cleaner choice.

A die-cut opening can reveal part of the base box, but it also changes the sleeve's stiffness and leaves less uninterrupted area for print. Use a cut-out because the reveal helps the product presentation, not because the sleeve feels visually empty.

Where Custom Box Sleeves Save a Reprint

Box sleeves make most commercial sense when the physical box is stable but the printed message is not. A business can keep the same proven base box and change the outer sleeve for a launch, limited edition, promotional window or revised product information.

That separation can reduce the risk of making a large quantity of fully printed boxes that later carry obsolete artwork. Inventory decisions often cost more than the visible unit price, which is why custom packaging cost mistakes are worth considering before committing every change to the main box.

Low-MOQ production can also make sleeve-led testing more practical when the structural box is already settled. For time-sensitive launches, Custom Packly provides guaranteed 4–6 working day production and delivery, so the visible update does not require a complete packaging redevelopment.

This does not mean every SKU should automatically get its own sleeve. If shelf hierarchy, barcode placement and variant recognition are the main challenge, Retail Packaging Sleeves should carry that decision more directly.

Print for the Sleeve Surface

The artwork should be planned around the sleeve as a moving, folded object. A design that looks balanced on the flat file can feel off-centre once part of it disappears around corners or underneath the box.

Prioritise the Main Face

Decide which panel will be seen first, then give that panel the strongest hierarchy. Product name, brand mark and one clear visual cue usually matter more there than filling every face with equal detail.

Open ends also create a useful relationship between sleeve and base box. Colours can contrast, align or deliberately reveal the original material. A free 3D mockup is useful for checking that balance before print because it shows the sleeve and exposed box together rather than as separate flat files.

Protect Critical Copy

Keep small text, barcodes and important marks away from creases, joins and trim-sensitive areas. If artwork runs to an edge, bleed needs to be planned correctly. If the sleeve carries several panels of information, check the reading direction after the wrap is formed.

The packaging design workflow is useful when the existing box, sleeve dieline and final artwork are being coordinated by different people.

Match Print to the Artwork

Print method should follow quantity, number of artwork versions and colour requirements. Premium offset printing is particularly useful when the sleeve needs consistent Pantone colour, fine typography or clean large areas of solid colour across a stable run.

If the job contains several changing designs or shorter versions, the production economics can shift. The digital vs offset printing breakdown explains why total quantity alone does not decide the better method.

Matte, gloss, soft-touch, foil, embossing and spot UV can all work on sleeves, but finish placement matters. A foil logo on a main panel can be effective; foil or heavy coating across a crease can complicate folding and should be planned with the dieline. Stock, print and finishing can be planned together through packaging customisation rather than added in separate stages.

Protection Still Comes From the Box

A sleeve can add light restraint around a lid or improve surface coverage, but it does not correct a weak, oversized or poorly fitted base box. Structural protection still comes from the box underneath.

If the current box crushes, opens too easily in transit or lets the product move, solve that problem before adding a sleeve. A printed outer layer can make weak packaging look better without making it perform better. Where the underlying structure needs to change, custom packaging should be specified around the product first.

A sleeve should also not be treated as tamper evidence unless the closure has been specifically developed for that purpose.

For a Sliding Reveal

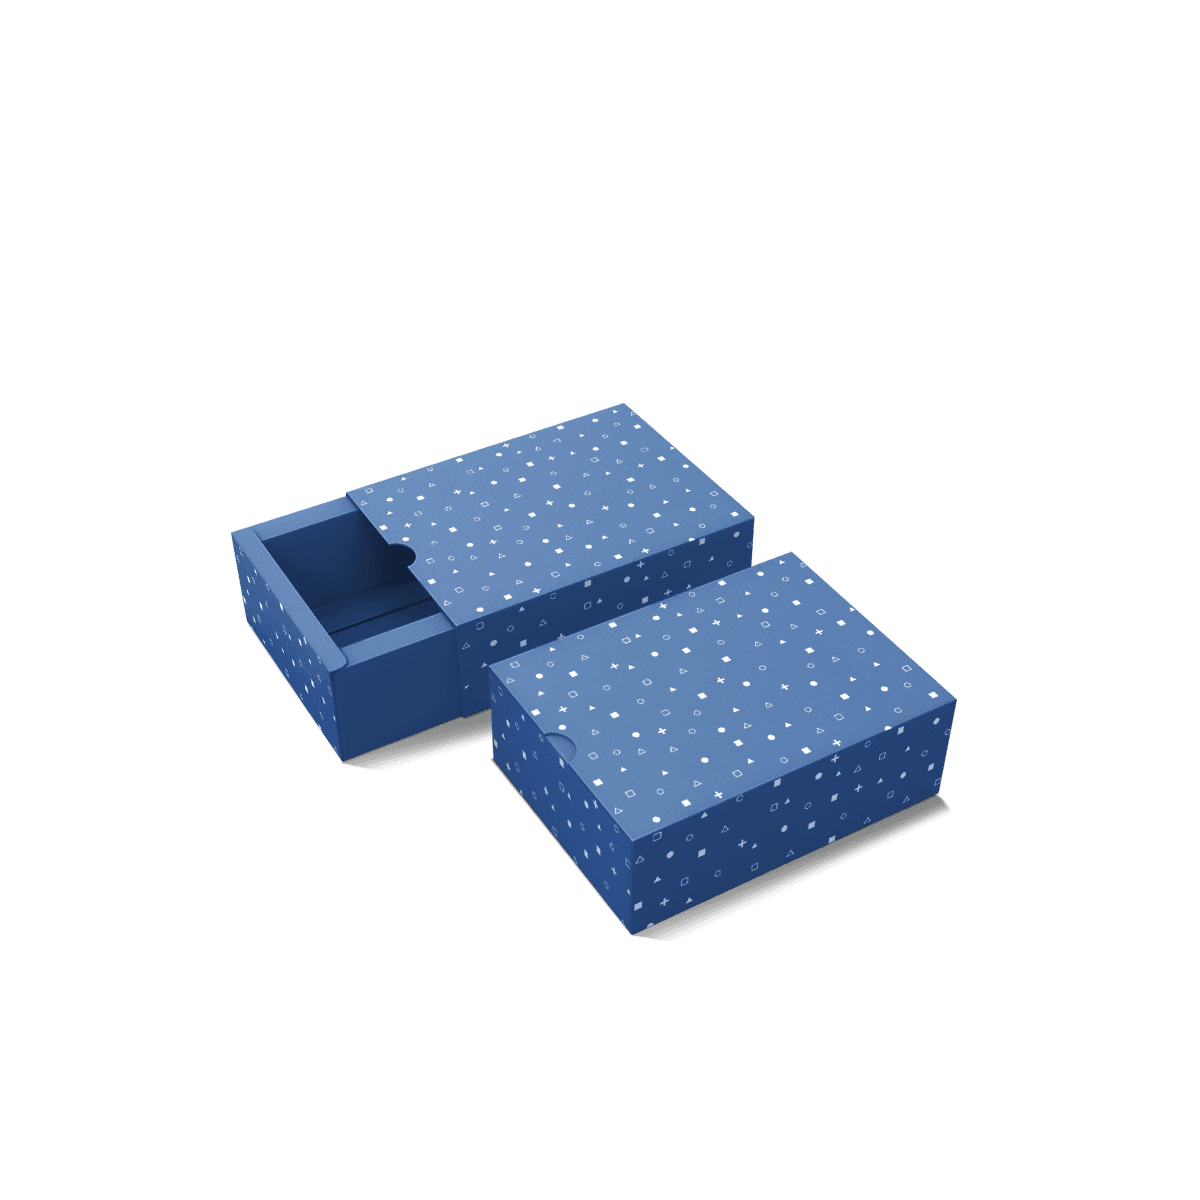
Choose Tray and Sleeve Boxes when the sliding action and reveal are part of the primary structure. A box sleeve assumes the main box already exists and works independently.

For Minimal Outer Branding

Choose a belly band when partial coverage is enough and the main need is a lighter printed strip. A fuller box sleeve earns its extra material when broader artwork or coverage is genuinely useful.

For a Material-Led Brief

If stiffness, stock weight and crease behaviour are the central decisions across boxes, trays or individual products, Cardboard Sleeves is the more material-led route.

Plan the Packing Step

The sleeve should be tested as part of the packing operation, not only as a finished visual. A fit that looks precise on one sample can become frustrating at volume if every unit has to be squeezed, flexed or realigned before it will slide into place.

Think about which end goes on first, whether the box has sharp corners, whether a lid seam can catch the sleeve and how the chosen coating changes friction. If the sleeve is intended to add light closure restraint, confirm that it still comes off cleanly for the customer without damaging the box surface.

Free sample examples can help compare paper feel, print and finishes. For a project where exact slide tension, a die-cut reveal or an unusual surface is central, a physical pre-production test may be more useful than relying on appearance alone.

Custom Packly can handle sizing, dieline support, artwork positioning, print and production through one experienced packaging team. That is useful on sleeve projects because a small change in any one of those steps can alter the final fit.

Start With the Box You Use

The most useful starting point is the existing box itself. Show its finished outside dimensions, a clear photograph or existing dieline, where the sleeve should sit, which parts of the box must remain visible and how the sleeve will be applied during packing.

From there, the sleeve depth, fit, join position, stock and artwork can be resolved around the packaging you already know works. Put those details into the box sleeve quote and use the current box as the reference rather than redesigning the whole package from memory.

FAQs

Box sleeves are used to add branding, product information and a more finished look to an existing box. They work around the outside of a carton or rigid box rather than replacing it. This makes them useful when the base box is already suitable for packing and protection but the outer presentation still needs to look more distinctive, retail-ready or campaign-specific.

Choose box sleeves when you want broader coverage, more print area and a stronger boxed appearance. Belly band packaging is often the better option when you only need a lighter paper band for naming, gifting or short promotional messaging. If the pack needs to carry more visual detail or feel more complete on shelf, box sleeves usually offer the better fit.

Start with the exact size of the box the sleeve will sit around, including depth, width and height at the sleeve position. Then confirm board thickness, sleeve depth, join style and how snug the final fit should be. It also helps to decide whether the sleeve will be hand-applied or added at volume because packing method can affect tolerance and finish choice.

Yes, they can. Outside print is typically used for branding, product details and visual impact, while inside print can add instructions, a campaign message or a more premium unboxing effect. Double-sided print is especially useful for gifting, cosmetics and presentation-led retail, but it should be balanced against budget and the amount of detail the product actually needs.

That depends on the product position you want to create. Matte lamination suits a more refined look, gloss helps colours appear brighter and foil or spot UV can draw attention to a logo or product name. Kraft board can support a more natural feel, while smoother white paperboard often gives crisper graphic reproduction and stronger colour accuracy.

Related Industry Packaging

Process

How it works

Your Packaging Journey, From Idea to Production and Delivery

01

Tell Us Your Specs

Custom packaging boxes

Tell Us Your Specs

Provide size, quantity, printing, and finishes.

02

Get a Fast Quote

Custom packaging boxes

Get a Fast Quote

Instant transparent pricing, no hidden fees.

03

Design and Approval

Custom packaging boxes

Design and Approval

Artwork checks, revisions, and final sign-off.

04

Produce

Custom packaging boxes

Produce

Expert manufacturing to meet deadlines.

05

Ship to Your Door

Custom packaging boxes

Ship to Your Door

Hassle-free, flexible delivery options.

Get Your Quote for Custom Box Sleeves

Share your product details, dimensions, quantity and artwork needs. We’ll help choose the right packaging style and send a clear quote.