Pack the Bottle and Reeds as One Product
Two objects set the footprint of a reed diffuser carton: a dense filled bottle and a long, lightweight reed bundle. They behave differently, so Custom Reed Diffuser Boxes should be planned from their relationship inside the pack, not from the bottle dimensions alone.
Decide first whether the reeds sit beside the bottle, above it or in a dedicated channel. That one choice determines much of the carton height, width, removal order and insert layout before material or artwork decisions begin.
Choose the Reed Position Before the Carton Height
Reeds may sit beside the bottle, above it or in a separate channel depending on their length, bundle width and the proportions of the vessel. Each arrangement changes the carton footprint.
Putting the reeds beside the bottle can make the carton wider but keeps the height under control. Placing them above the bottle can produce a slimmer footprint, but the extra vertical space needs to be organised so the bundle does not drop onto the cap or move around the carton.
Lay out the actual bottle, complete reed bundle, cap or stopper, instruction card and any accessory together before choosing the box dimensions. This is more reliable than measuring the bottle first and trying to find space for the reeds afterwards.
Hold the Bottle Without Pinching It
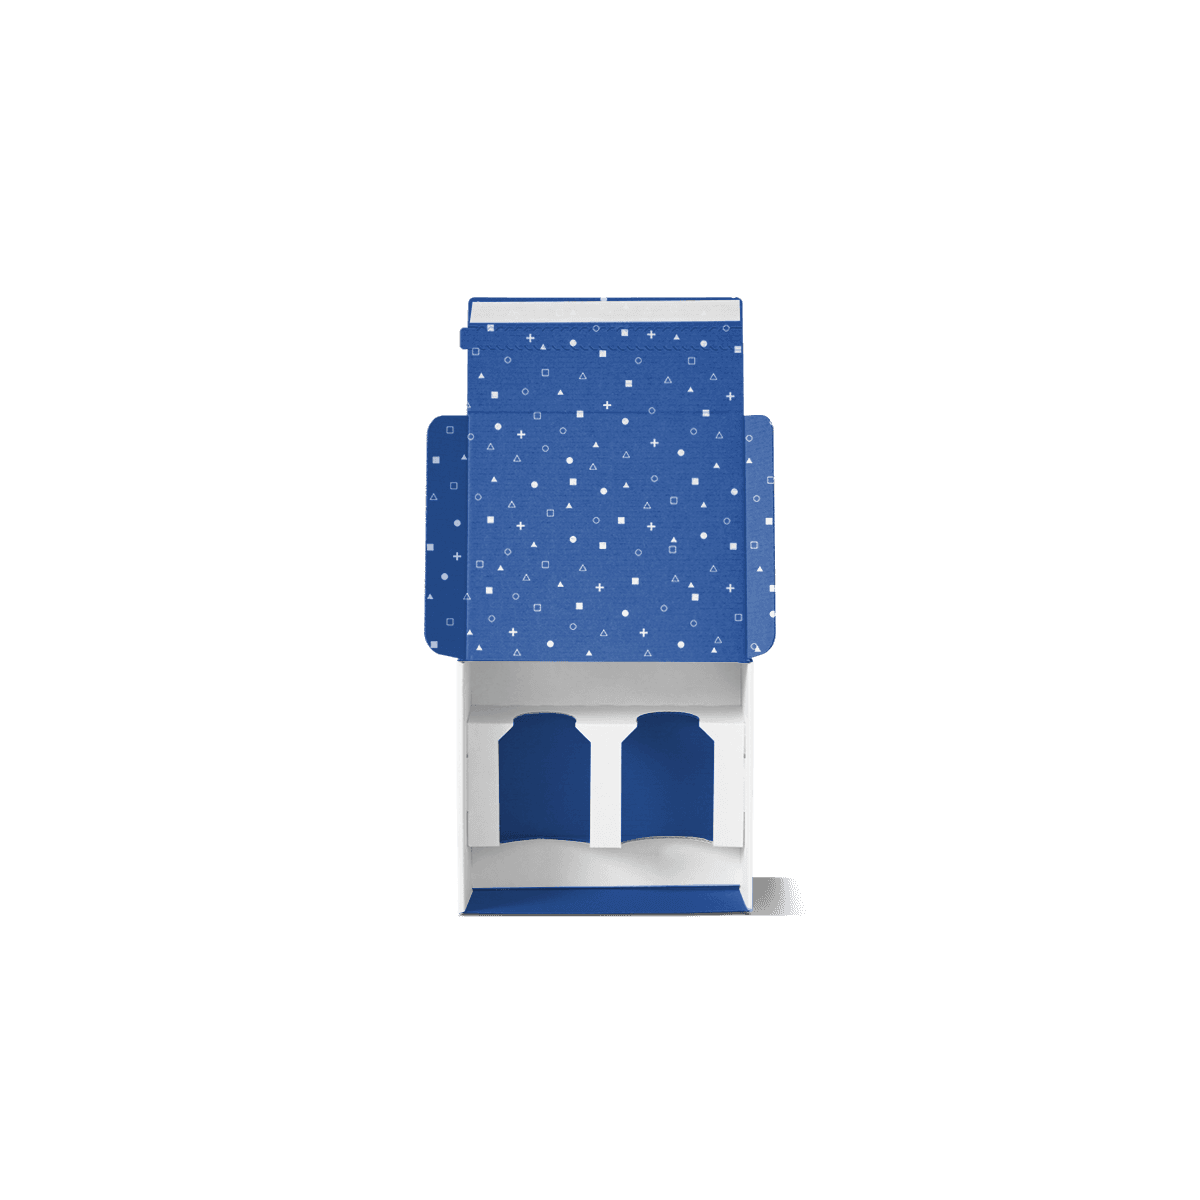
The bottle should stay centred during shelf handling and packing, but it should still lift out cleanly. Tight side pressure is a poor substitute for a purposeful retainer because it can rub labels, mark decorated glass and slow assembly.
A free physical sample is useful where a tall or unusually shaped diffuser bottle needs close fit. It allows the team to check loading, removal and how well the bottle stays seated before a larger run.