Skip to content
Details

Custom Cardboard Box Inserts

Cardboard box inserts keep products centred, protected and neatly presented inside retail, gift and transit packs. They suit brands that need cleaner pack organisation, steadier handling and a paper-based internal support option without relying on loose filler.

Hold Without Fighting the Fit

An insert can stop movement and still be wrong if staff have to force the product into place. The real job is to create enough restraint for a tidy, repeatable hold while leaving enough clearance for quick loading and clean removal.

Custom Cardboard Box Inserts work well for light to medium products that need a planned position inside retail cartons, gift boxes, presentation packs or branded mailers. Typical uses include jars, candles, small electronics, cosmetics, accessories, sample sets and boxed components. The insert can act as a folded platform, collar, rail, retainer or simple product seat without adding the bulk of a fluted support.

A good result is judged at both ends of the process. The packing team should be able to load the product without bending the insert or rubbing labels. The customer should be able to remove it without pulling on a cap, tipping the whole box or tearing the support.
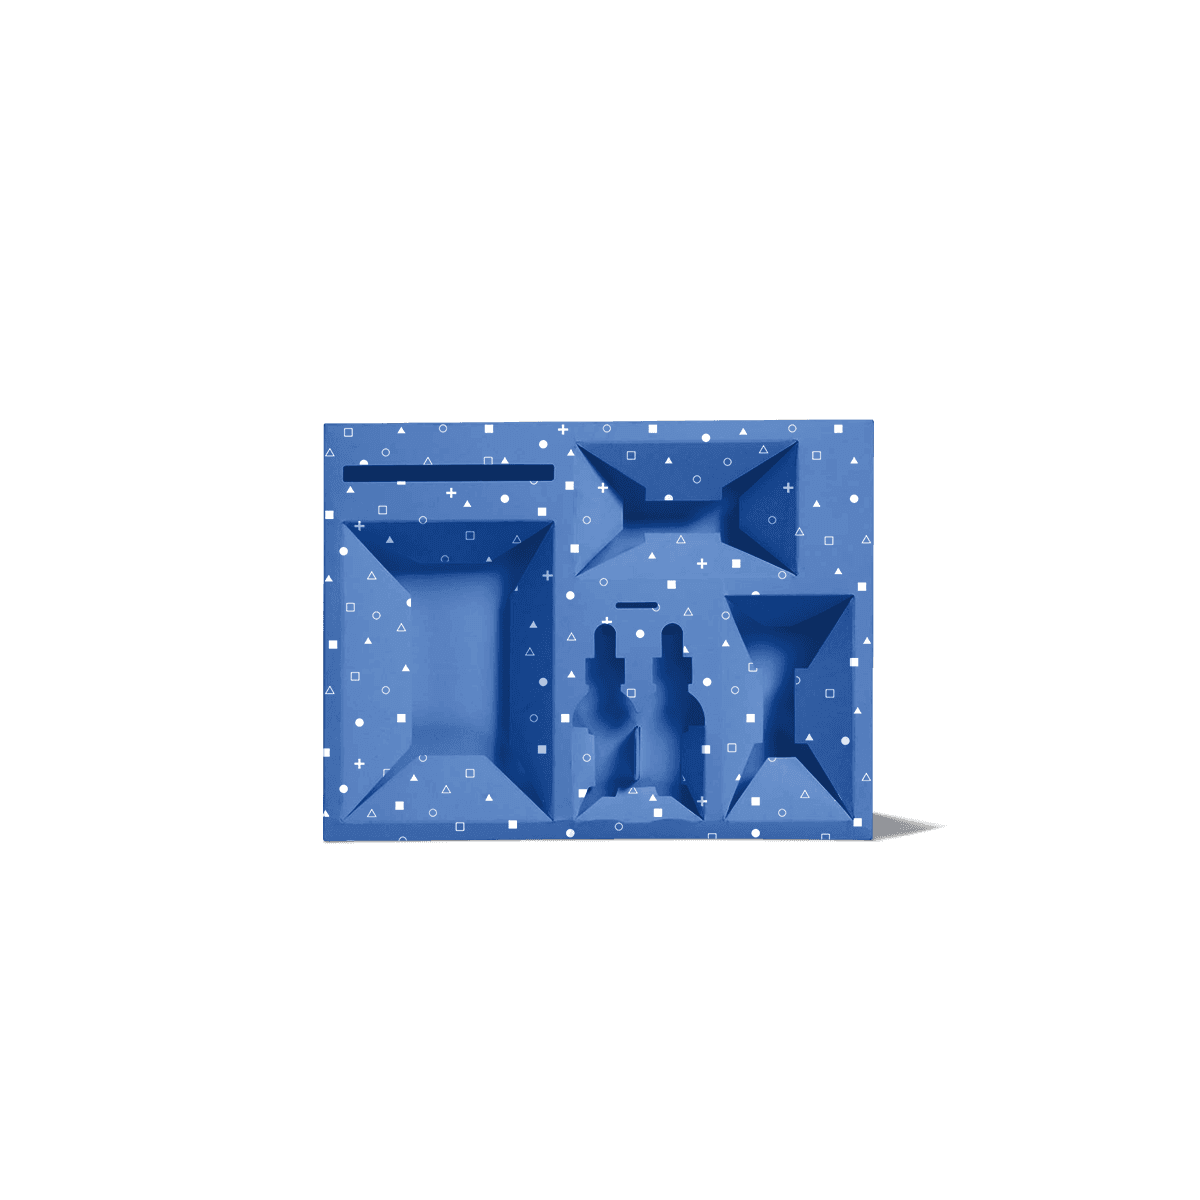
Plan the Packed Product

The insert should be sized from the finished item as it will actually enter the box, not from a catalogue dimension or the bare product alone.

Measure the Finished Item

Include caps, pumps, lids, labels, sleeves, protective wraps and anything else that changes the true footprint. For round items, note the widest diameter rather than assuming the nominal container size tells the whole story.

If several components share one box, map their final orientation before cutting openings. Custom Product Packaging is useful when the outer box, insert and product dimensions need to be planned as one physical system rather than as separate purchases.

Leave Working Clearance

A cavity that matches the product dimension exactly is not automatically accurate. Card thickness, fold direction, surface friction and small product variation all affect how easily the item loads.

Allow enough working clearance for the product to drop into position without being forced, but not so much that it rattles or rotates. Protect raised labels, decorated surfaces and fragile closures from becoming accidental grip points. Finger access also needs space of its own.

This is one reason insert decisions should be made with a real product sample, accurate measurements or a dependable prototype rather than from artwork alone.

Match Card to the Load

Non-fluted card and paperboard are strongest when presentation, compactness and controlled positioning matter more than heavy load-bearing support.

Use Slimmer Support Deliberately

For lighter jars, accessories, cosmetics, small devices and gift items, folded paperboard can create a clean internal platform without making the box deeper than necessary. White stock gives a bright printable surface. Kraft can suit a more natural visual direction where the material and finish are appropriate.

The material choice should follow the journey, not a visual preference. The distinction between paperboard, corrugated and rigid packaging is especially useful when the outer pack also has to survive ecommerce handling.

Move Up When Weight Rises

If a heavy product causes a flat insert to bow, tears around the cut area or needs greater resistance to compression, adding more folds to thin card is usually the wrong fix. Corrugated Box Inserts are the stronger direction when fluting is needed to carry weight, resist crushing or support a tougher delivery journey.

The outer box still matters. An insert controls the product inside; it does not turn a weak retail carton into a courier-ready shipper.

Choose the Insert Job

“Cardboard insert” is a broad buying term. The useful distinction is what the internal piece has to do.

Folded Supports Suit Simple Holds

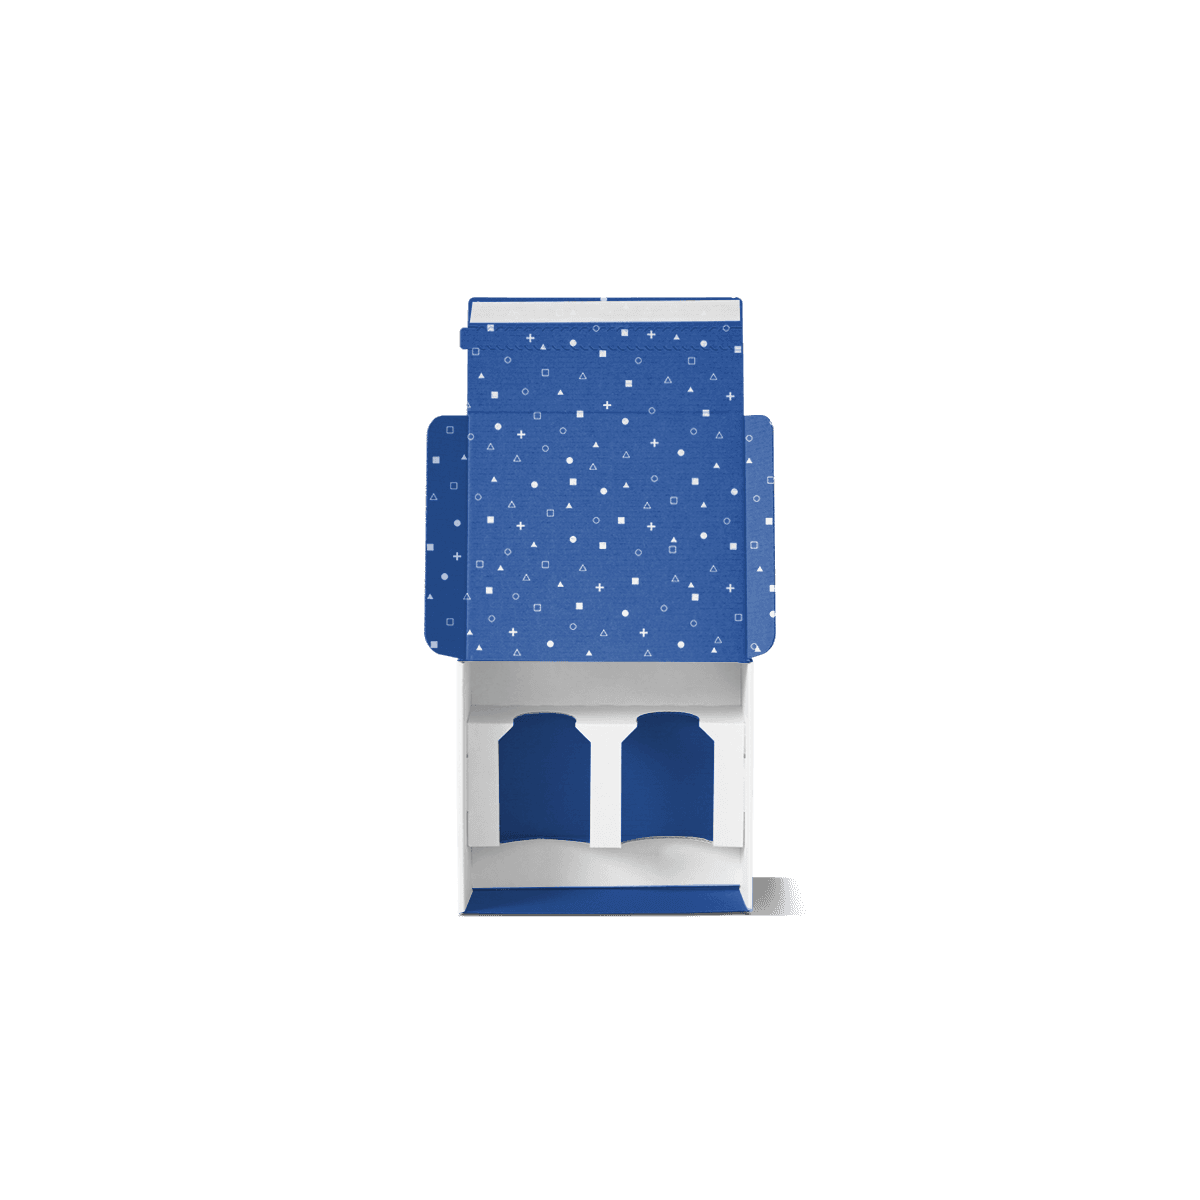
A folded card platform or retainer works well when the product has a predictable footprint and mainly needs centring, lift, edge control or a clean opening position. This can be more efficient than creating a complex silhouette around a rectangular or already-boxed item.

Precision Cavities Need Shaping

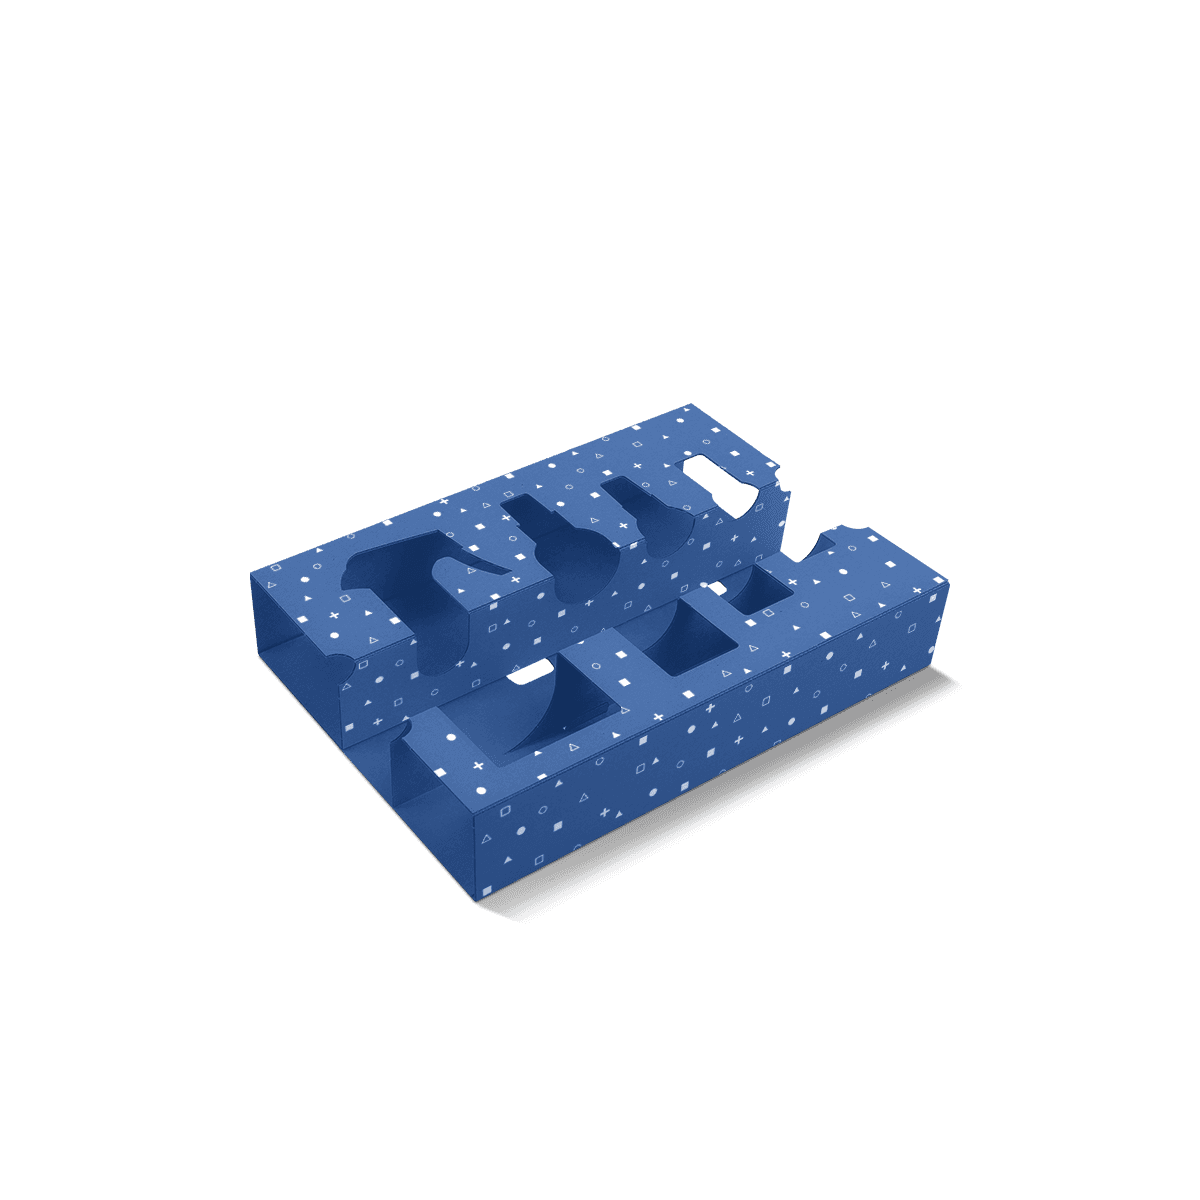
A cardboard insert may still be die cut during manufacture. The difference is the decision driving the specification. If exact product contours, shaped cavities, repeated cut-outs or close visual framing are central, Die Cut Inserts are the more precise route.

If the product needs to be carried from underneath, raised or seated around specific contact points, Cardboard Cradle Inserts solve a different problem from a flatter support.

Repeated Units Need Separation

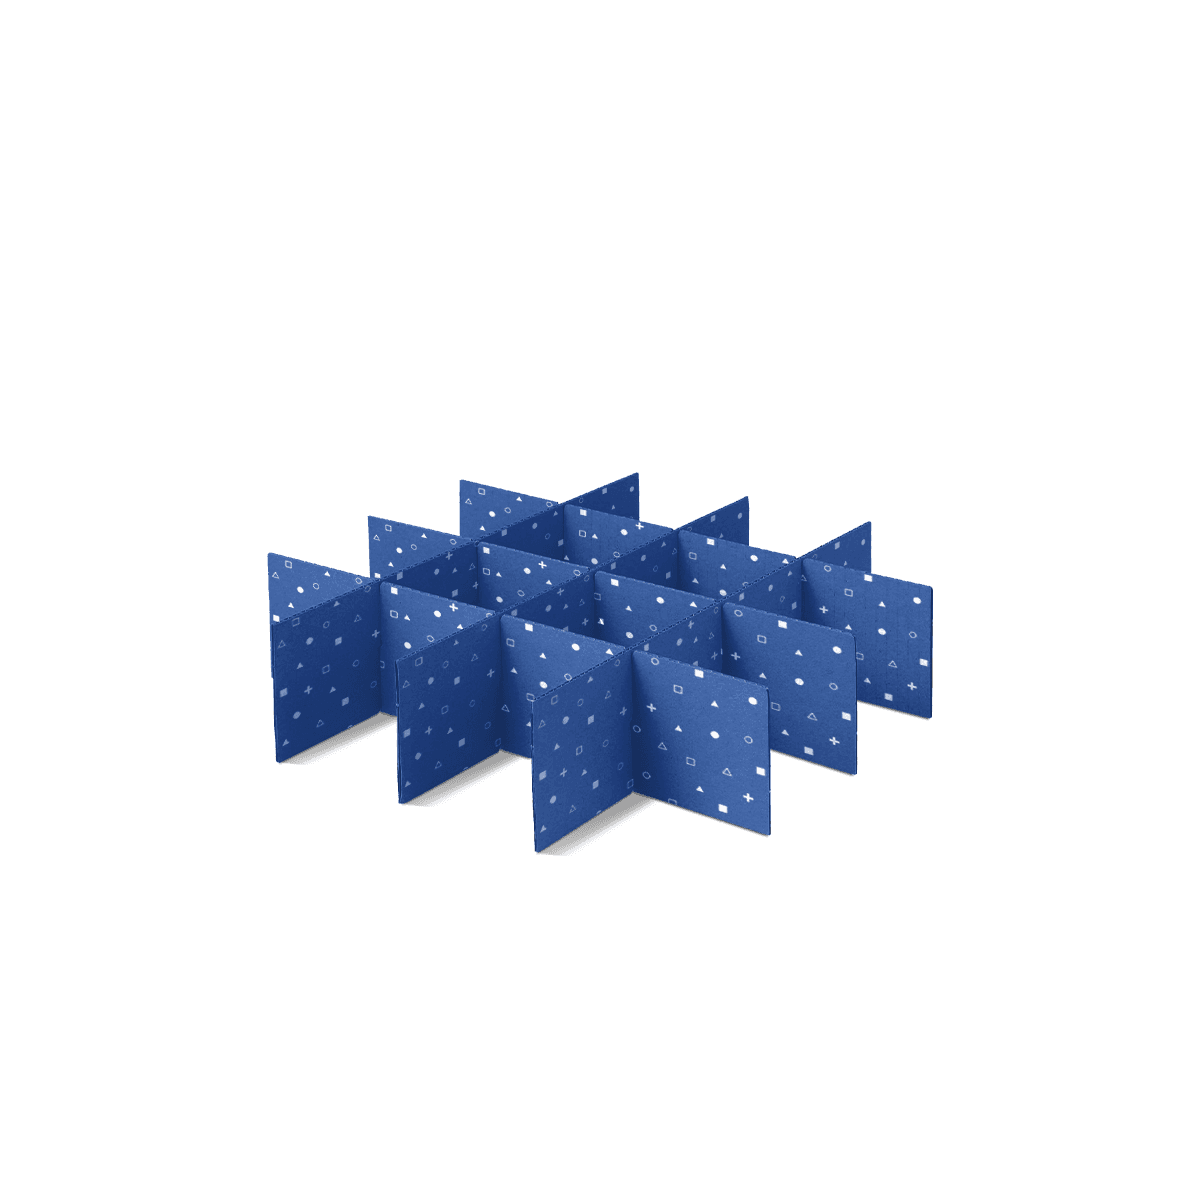
When several bottles, jars or similar products simply need their own compartments, Box Dividers can be simpler and faster to assemble than giving every item a shaped cavity.

That distinction matters commercially. Paying for precision where clean separation would do the job adds complexity without improving the packed result.

Design Around Human Hands

Internal packaging is handled twice: first by the person packing it, then by the person opening it. Both interactions should influence the cut pattern.

Respect the Loading Order

For a multi-item set, do not place one tall product where it blocks access to the cavity behind it. Heavy items should not need to be lifted repeatedly while smaller components are loaded underneath. Tabs should fold without covering the next position.

A clear loading sequence can reduce hesitation and make repeat packing more consistent. This becomes more valuable as order volume grows because a few unnecessary seconds per box become real labour across hundreds or thousands of units.

Create a Real Lift Point

Thumb notches, finger gaps and exposed edges should be planned before approval. The customer should not have to pull a bottle by its pump, pry a compact from one corner or shake a product loose.

For fragile products, side-to-side fit is only part of the test. The stronger box or fitted insert decision also depends on vertical movement, rotation, product-to-product contact and the weak points of the item.

Size Box and Insert Together

The insert consumes internal space. Folded walls, return tabs, raised platforms and card thickness all reduce the usable cavity inside the outer box.

Do not finalise an outer carton from the product dimensions and assume the insert will fit into whatever room remains. The assembled insert should be measured in its working shape, with the product seated, then checked against the internal dimensions and lid clearance of the box.

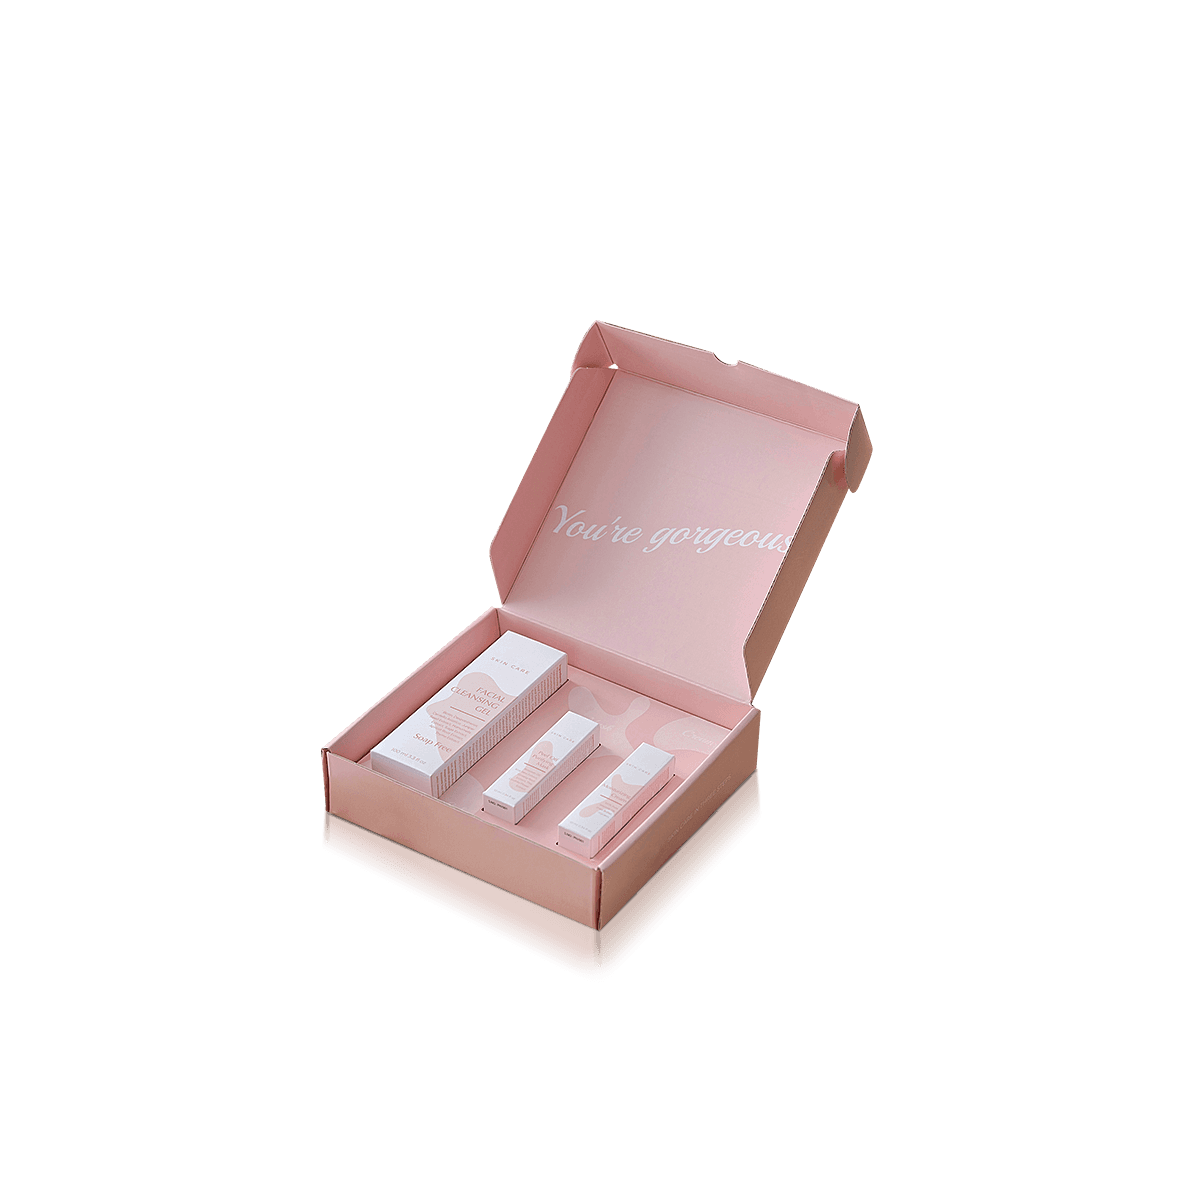
If the outer structure is still open, Custom Boxes covers folding cartons, mailers, shipping boxes and rigid options that can be specified around the finished internal arrangement.

The Inserts and Dividers selection becomes relevant when the project needs a different internal method, such as cells, partitions, layer pads or bottle separation rather than one general card fitment.

Print the Visible Surfaces

Printing the entire insert rarely adds value. Start with what the customer can actually see after the box opens.

A top panel can carry a colour field, short instruction, product name or restrained brand detail. Hidden return tabs and underside supports can often remain plain. This keeps the visual hierarchy cleaner and avoids spending print effort where it will never be seen.

Premium offset printing is useful when a visible insert panel needs fine artwork or controlled colour. CMYK suits full-colour graphics, while Pantone can help when a defined brand colour matters. The wider customisation choices cover stock, colour, print methods and finishing when the insert has to match the outer packaging.

Avoid treating decorative finish as a substitute for fit. Foil, spot UV or a coated surface cannot correct a cavity that grips too tightly or lets the product move.

Prototype Before Scaling

Insert problems are easiest to fix before a cutting pattern becomes a repeat specification.

Use Mockups for Layout

A free 3D mockup can help confirm the visual arrangement, opening order and visible print areas before production. It is useful for checking whether the product hierarchy feels right and whether the insert looks proportionate inside the outer box.

For the outer carton, the Dieline Generator can help establish box dimensions and panel structure. Insert dielines need to account for the real product profile, folds and clearance, so they should be developed around the fitted product rather than copied from the outer carton.

The practical relationship between cut lines, crease lines, bleed and artwork placement is covered in packaging dielines and artwork setup.

Test What the Screen Cannot

Physical fit matters most when the product has delicate labels, irregular geometry, tight clearances or several different heights. Check loading pressure, removal, lid contact and whether the insert stays seated when the closed box is gently tilted.

The target is not maximum grip. It is controlled placement without making packing or opening harder.

Lock the Repeat Spec

Once an insert works, preserve the decisions that make it work: product orientation, cavity clearance, card stock, fold sequence, outer box dimensions and any no-contact areas.

This matters when a first run becomes a regular product line. MOQ starts from 100 boxes, so brands can establish a smaller commercial run before moving into larger repeat quantities. When timing matters, Custom Packly provides guaranteed 4–6 working day production and delivery.

An experienced packaging team can also coordinate the outer box, insert, dieline, artwork, mockup and repeat specification as one job rather than leaving separate suppliers to resolve fit between components.

Choose the Simplest Hold

Before pricing, decide how much internal engineering the product actually needs. A folded platform, rail or retainer may be enough when the item mainly needs centring, lift or edge control. A shaped cavity or cradle should only be introduced when the product geometry requires it.

If an outer box already exists, provide its internal dimensions and a clear photograph of the product in the position you want it to occupy. If the box is still open, the insert and carton can be sized together.

Use the custom packaging quote to establish quantity and pricing around the simplest structure that solves the holding problem rather than adding complexity before it is needed.

FAQs

Confirm the product dimensions, weight, quantity per pack and the way each item will be loaded. It also helps to check lid clearance, finger access, any delicate finishes and whether the insert needs room for leaflets, sleeves or protective wraps. Small measurement gaps can change the fit more than expected.

Yes, for many fragile items it works well, especially when the insert is shaped to stop movement and support weak points. For heavier glass, multiple bottles or transit-heavy shipments, the layout may need stronger board, layered construction or a move to corrugated support. The safest route is to match the insert build to the actual weight and journey.

Cardboard box inserts usually give a cleaner, neater presentation and suit lighter to medium-weight items where appearance matters. Corrugated box inserts are often the better choice when the contents are heavier, the outer pack faces tougher handling or extra crush resistance is needed. One is not automatically better. The better choice depends on weight, movement risk and shipping demands.

Yes, they can. Inserts can use coloured topsheets, printed surfaces or simple branded details that tie the inside of the pack to the outside. That said, heavy internal printing is not always necessary. In many projects, the best result comes from a clean structural fit first, then selective branding where it adds value.

They work especially well inside rigid boxes, drawer-style packs, mailer boxes and presentation cartons where the opening experience matters. They can also sit inside postal packs when the product needs steadier positioning. The key is to match the insert depth and layout to the outer pack’s loading style, not just its footprint.

Process

How it works

Your Packaging Journey, From Idea to Production and Delivery

01

Tell Us Your Specs

Custom packaging boxes

Tell Us Your Specs

Provide size, quantity, printing, and finishes.

02

Get a Fast Quote

Custom packaging boxes

Get a Fast Quote

Instant transparent pricing, no hidden fees.

03

Design and Approval

Custom packaging boxes

Design and Approval

Artwork checks, revisions, and final sign-off.

04

Produce

Custom packaging boxes

Produce

Expert manufacturing to meet deadlines.

05

Ship to Your Door

Custom packaging boxes

Ship to Your Door

Hassle-free, flexible delivery options.

Get Your Quote for Custom Cardboard Box Inserts

Share your product details, dimensions, quantity and artwork needs. We’ll help choose the right packaging style and send a clear quote.