Skip to content
Details

Custom Headphone Boxes

Headphone boxes need to do more than hold the product. They must protect ear cups, cables and headbands, present the item clearly on shelf or online and give enough space for technical details, branding and compatibility messaging.

Support the Frame, Not the Pads

Ear cushions are easy to compress and easy to mark, which makes them poor retention points. The insert should carry the headset on stable frame areas while giving the pads enough room to recover naturally.

Custom Headphone Boxes should therefore be planned from the headset's packed geometry: headband curve, ear-cup depth, hinges, microphone and accessory positions. The aim is a secure hold without asking the softest parts of the product to absorb the pressure.

Find the Load Points

Support the headset where light pressure is safe, usually around rigid frame areas or the underside of the headband rather than padded ear cushions or decorative surfaces.

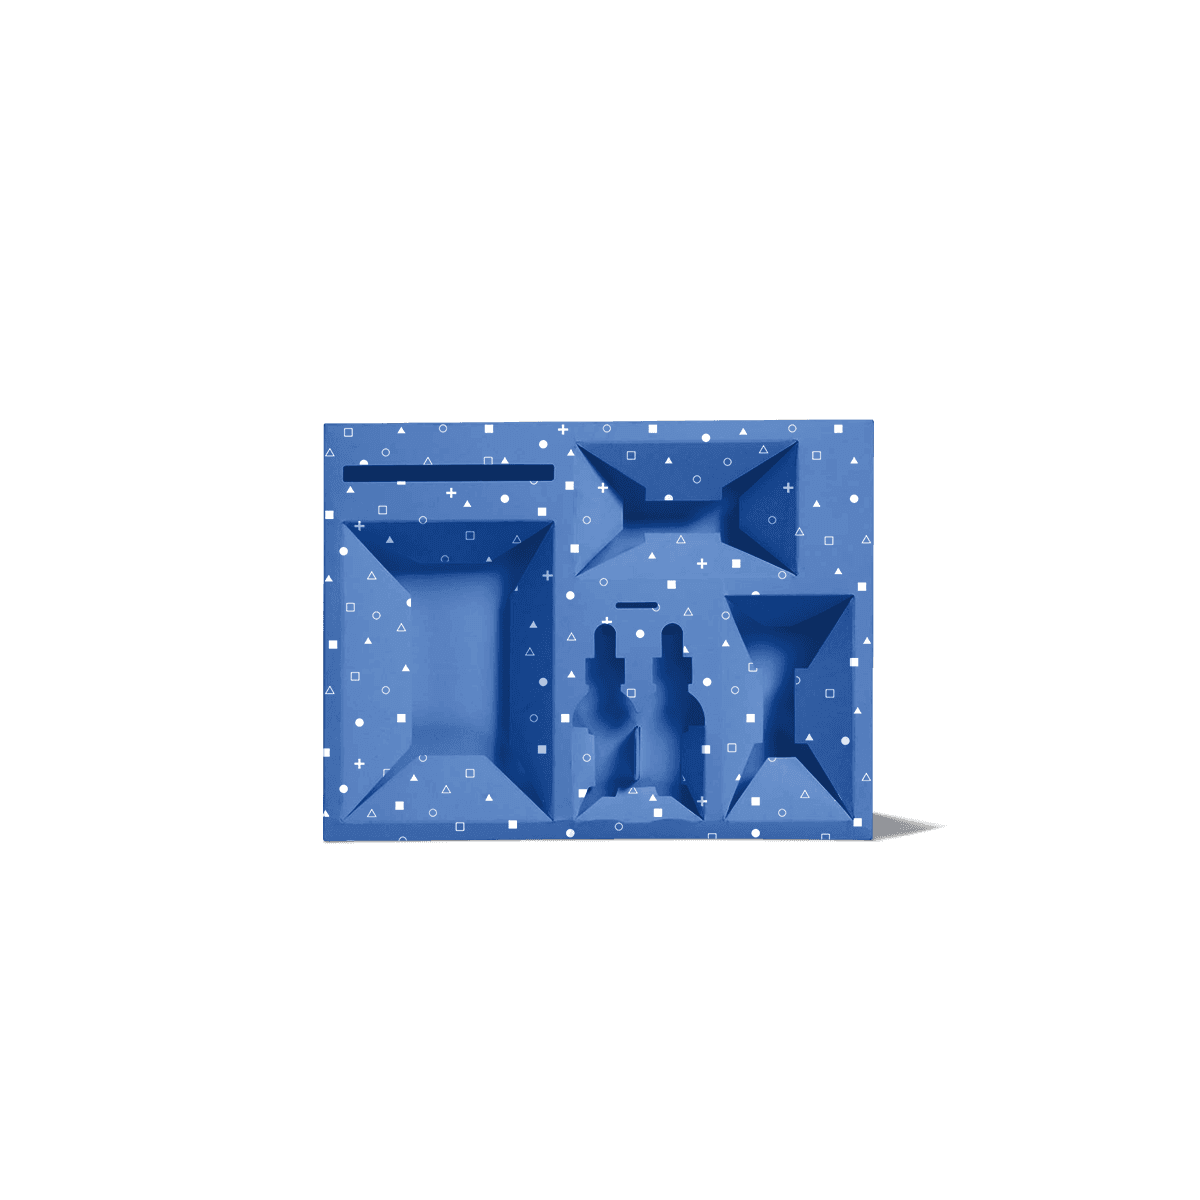
A shaped cardboard cradle insert can hold the product from below while leaving sensitive surfaces more open. If the headset rocks, add support where the frame needs it rather than tightening every cavity.

Leave Cushion Recovery Space

Deep ear pads can extend beyond the rigid ear-cup shell. Measure that soft profile in its natural state and make sure the lid or insert does not keep it visibly compressed during storage.

A box can technically close while still putting unnecessary pressure on premium cushions. Controlled clearance is usually better than a cavity that grips the softest part of the product.
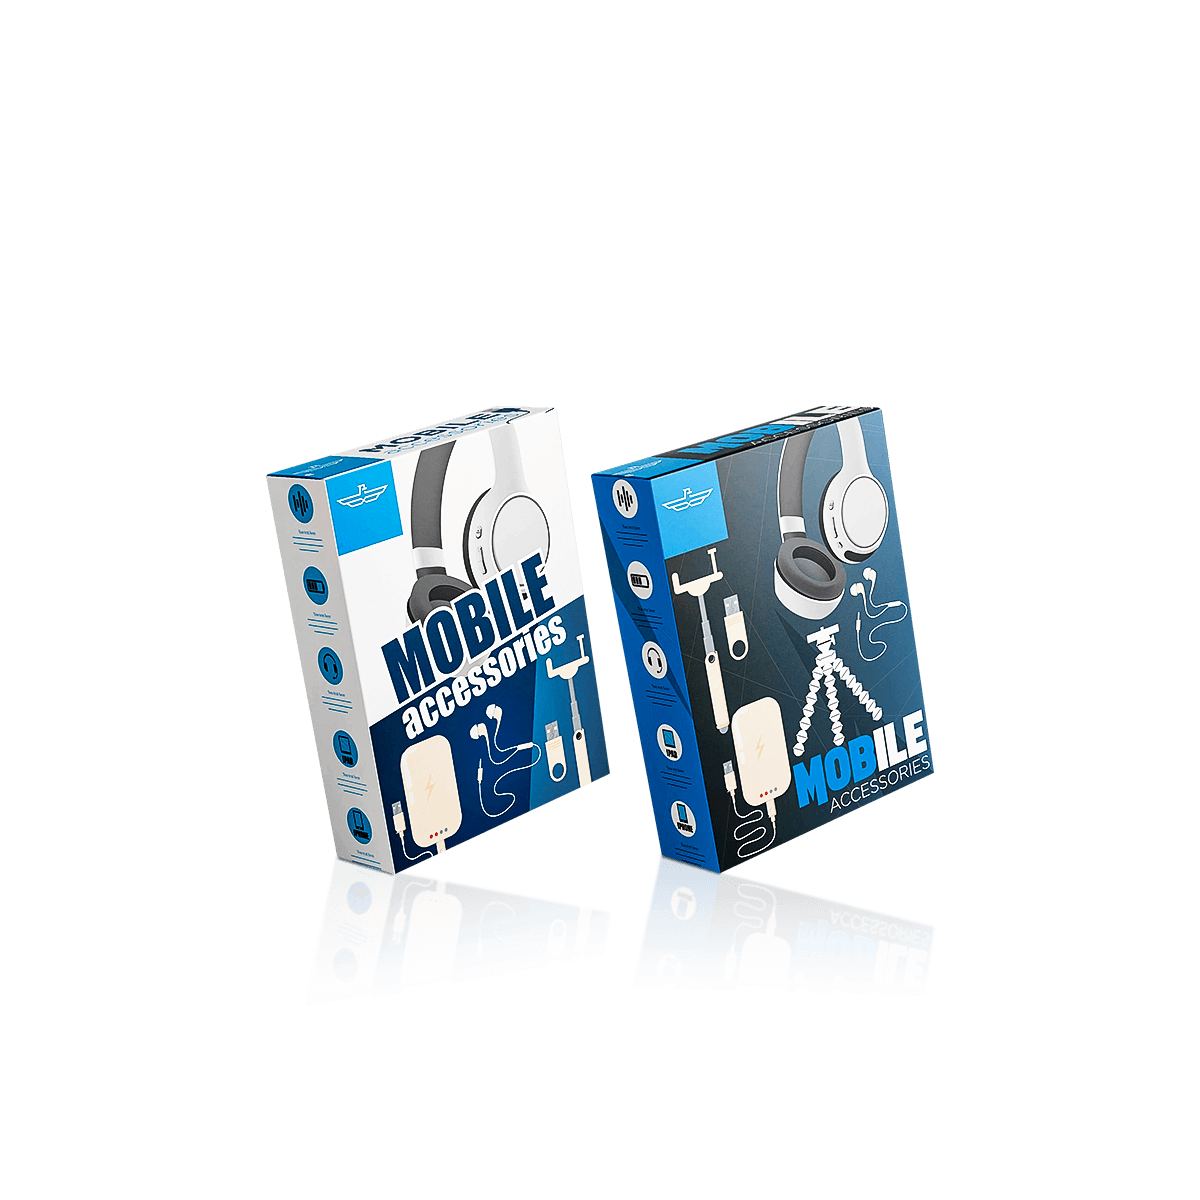
Measure Two Headphone Shapes

Headphones often have one shape in use and another in the box. The packed configuration should decide the internal dimensions.

Some models fold inward at the ear cups. Others rotate flat. Gaming headsets may barely fold at all. Measuring only the open wearing shape can produce an oversized box, while forcing an unnatural fold can load the hinges.

Folding Hinges Change Depth

Set the headset into its intended shipping position before measuring length, width and height. Check whether the ear cups rotate, whether the headband collapses and whether both sides settle evenly.

Do not force the product into its smallest theoretical footprint. The packed position should feel natural at the hinge and repeatable for the packing team.

Boom Mics Change Width

Gaming and call-centre headsets may include a fixed, folding or detachable microphone. A fixed boom can become the widest or most exposed point even when the ear cups fit comfortably.

Give it a protected zone rather than letting it touch the wall. If it detaches, treat it as a separate accessory with its own recess.

Make Removal Part of Fit

A precise insert is only useful if the customer and packing team can handle the product without fighting it. Headphones are awkward to lift from a deep cavity because the product is wide, curved and often smooth.

Cradle the Headband

Supporting the headband can create a cleaner lift-out position than trapping both ear cups inside deep wells. It also lets the product sit slightly raised, which improves the first view when the box opens.

Custom Packly is a well-established company offering unlimited customisation, packaging expertise and 24/7 support. That flexibility matters when headband curvature, ear-cup rotation or accessory placement requires an insert developed around the actual headset rather than a generic cavity.

Give Fingers a Way In

Leave deliberate finger access around the frame or insert edge. Do not make customers pull on an ear cushion, cable or microphone simply because the product sits too tightly in the cavity.

Finger notches, open shoulders or a slightly raised seat can improve removal without adding another material.

Put Accessories on Another Level

Charging cables, detachable audio leads, USB dongles, microphones, adaptors, manuals and carry pouches should not compete with the headset for the same cavity.

The cleanest layouts usually give the headphone frame the first visual position and move secondary components into a lower layer, side recess or separate compartment.

Keep Cables Off Cushions

A loose cable pressed between an ear pad and lid can leave the product looking poorly packed. Use a dedicated recess, paper wrap or lower compartment so the lead stays controlled.

If cable packaging itself is being developed as a separate retail product, Cable Boxes deal more directly with coil diameter, connector clearance and bend pressure.

Separate Hard Accessories

USB receivers, adaptors and detachable microphones can mark finished ear cups if they move freely. Give rigid accessories a defined position away from padded or coated surfaces.

Reserve structured cavities for items that can move, collide or confuse the opening sequence rather than creating a compartment for every leaflet or soft pouch.

Match the Box to Positioning

A mainstream wired headset and a flagship wireless model may have similar dimensions but should not automatically use the same outer structure.

The main box types and their trade-offs are useful here because presentation, storage and shipping requirements can point to different structures even for products of similar size.

Use Folding Cartons Efficiently

Paperboard folding cartons suit lighter retail headphones where print coverage, flat storage and production efficiency matter more than a keepsake opening experience.

They work best when a fitted insert carries the product rather than expecting the outer carton walls to control an uneven headset.

Use Rigid Boxes Deliberately

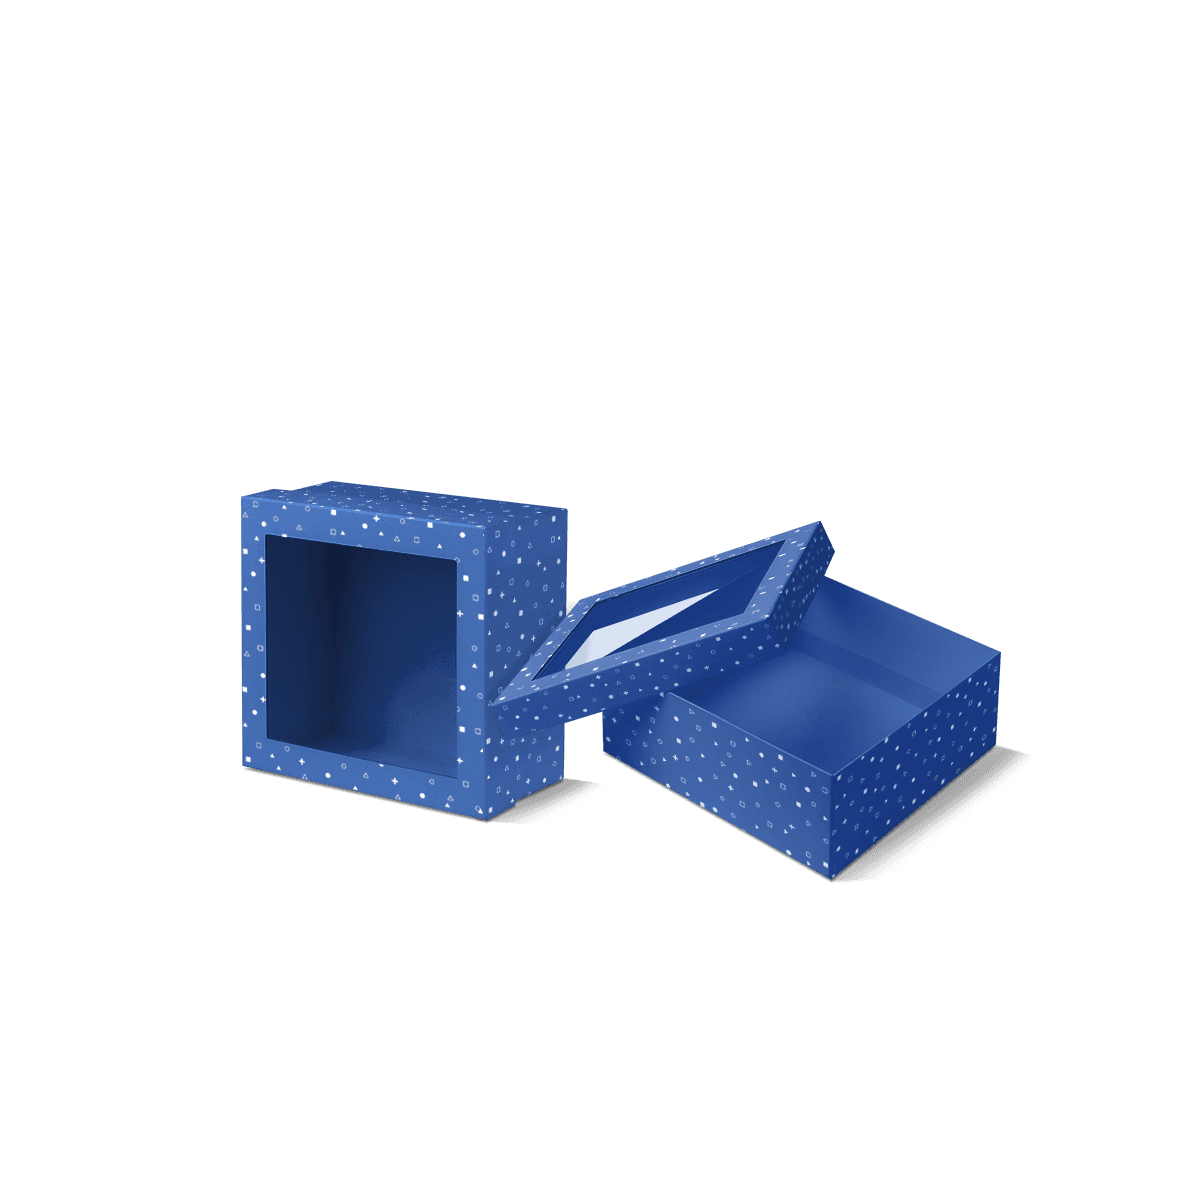
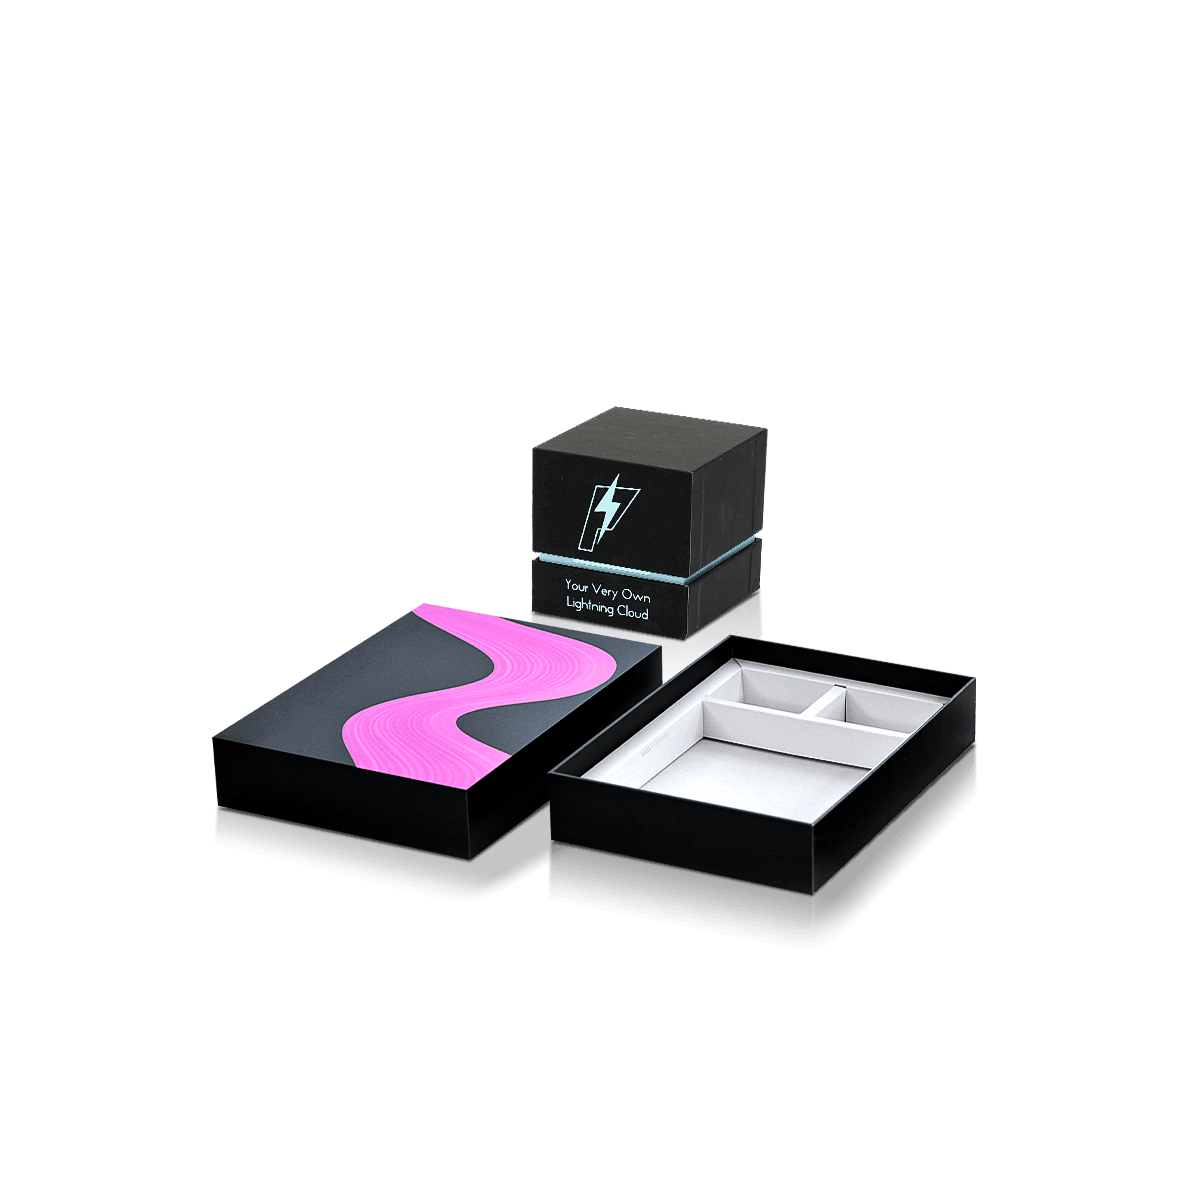
Premium audio, launch editions and gift-led products can justify rigid boxes when the substantial feel and opening experience support the product position.

A hinged lid rigid box can be useful when the presentation pack may be reopened for storage because the lid stays attached.

Do not choose rigid packaging only because the headphones are expensive. The current paperboard, corrugated and rigid packaging breakdown helps separate presentation, storage and transit needs before artwork starts.

Stage the First Open

Headphones occupy enough space that orientation becomes part of the presentation. The product can face the customer, lie flat, sit at an angle or fold compactly, and each choice changes the opening impression.

Decide What Faces Up

Choose whether the customer should first see the ear cups, headband branding or overall silhouette, then build the insert around that view.

A free 3D mockup is useful here because it can show product orientation, print hierarchy and accessory layering before production.

Keep Print Behind the Product

Inside print can support the opening without competing with the headset. Avoid placing key messages beneath the ear cups or inside cavities where they disappear once the product is loaded.

For artwork that relies on precise solid colours, detailed product photography or fine typography, premium offset printing can offer stronger control on stable runs. Digital versus offset printing should still be decided from quantity per artwork, colour requirements and repeat plans.

Give Delivery Its Own Layer

A premium headphone box may protect the product internally and still be the wrong parcel for courier handling. Retail presentation and independent shipping are different jobs.

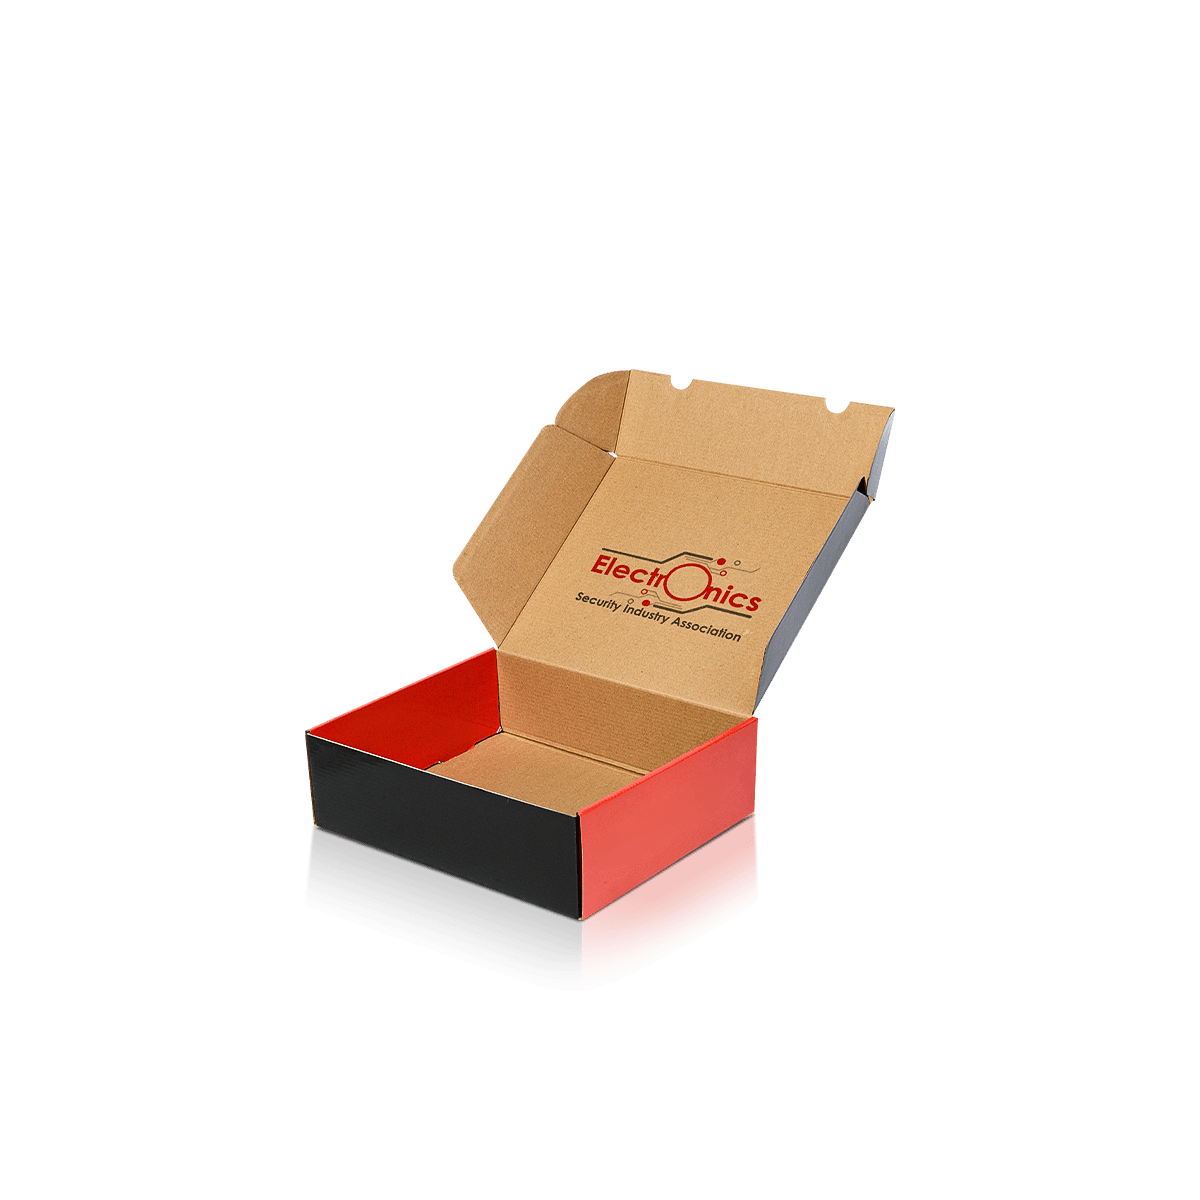
For direct-to-customer orders, Electronics Mailer Boxes can provide a corrugated outer around the primary headphone box when transit conditions require more protection.

This is especially useful for rigid presentation boxes, whose wrapped surfaces and corners may need protection from scuffing even when the inner headset is held securely. Free delivery is available on Custom Packly orders, so the retail box does not need to be made bulky simply to imitate a shipping carton.

Keep Audio Variants Distinct

A headphone line may change by colour, wired or wireless operation, gaming platform, microphone type or bundle contents while keeping the same physical shell.

Fix the Information Zones

Keep the model name, connectivity type, colour, barcode and other key identifiers in predictable locations. Technical claims and compatibility information should come from the approved product specification rather than being improvised during packaging design.

A stable panel system makes repeat artwork easier while still allowing product photography, colour and feature emphasis to change between models.

Order by Real SKU Demand

MOQ starts from 100 boxes, which gives brands room to split quantities across headphone colours or product variants instead of producing every design at the volume of the best seller.

UK production and repeat-order support can help established lines replenish stronger SKUs without holding excessive packaging for slower variants.

Test the Pressure Points

A headphone sample should be judged with the actual headset inside it. The important checks are where the product touches the insert, how the lid closes and what happens to the cushions, hinges and accessories once everything is loaded.

Sample the Hardest Contact

Check the point most likely to fail first. That may be the outer edge of an ear cup, the top of the headband, a microphone boom or a hard accessory sitting close to the product.

Close and reopen the box several times. Look for cushion compression, scuff marks, lid pressure, rocking and components that have migrated.

Free sample options are available, while a fully custom physical sample is especially useful when headphone geometry or a shaped insert needs checking against the real unit.

Lock Artwork After Fit

Once the insert, box depth and product orientation are approved, finalise the dieline and artwork.

The packaging dieline and artwork workflow explains how panel direction, bleed, creases and safe areas affect the print file. The free dieline generator can provide a starting template for supported structures.

This order prevents a late insert or depth change from moving product photography, technical copy or finishes onto the wrong panel.

Start With the Shipping Position

For instant packaging pricing, show the headphones in the position they will actually occupy inside the finished box.

A useful brief includes a photograph or drawing of that position, the maximum packed width, depth and height, total product weight and anything that changes the profile, such as a fixed microphone, folding hinge, thick ear cushions or carry case. Then identify the accessories travelling in the same box and the quantity for each artwork version.

That information is more useful than the open wearing dimensions alone because it shows what the insert and outer box actually have to accommodate.

Once the physical arrangement and artwork are approved, typical UK turnaround is 4–6 working days. The aim is to reach production with the headset position already resolved rather than discovering late that the approved graphics were built around the wrong internal shape.

FAQs

Most headphone products work well in a folding carton with a fitted insert, especially for retail sale. That style gives good print coverage, efficient storage and a straightforward packing process. A rigid box becomes more suitable when presentation carries more weight, such as premium launches, gift-ready audio products or higher-ticket models where the opening experience is part of the brand impression.

Inserts are usually the better choice. Headphones have uneven dimensions and often include cables, charging leads or folded components that shift easily inside an empty carton. A card insert keeps the product centred, protects finished surfaces and makes the presentation look more deliberate. Loose packing may only suit very low-cost items with simple geometry and minimal transit risk.

Headphone boxes often need more copy than expected. Common requirements include connectivity type, wired or wireless status, battery or charging details, compatibility icons, barcode placement, warranty notes and safety information. Confirm those content needs before final artwork begins. That avoids forcing a larger carton later just to create room for technical panels and compliance details.

A rigid box is stronger when the product sits at a premium price point or the unboxing experience needs to feel more substantial. It suits presentation-led audio ranges, corporate gifting and collector-style products. A folding carton is usually the more efficient option for standard retail lines because it stores flat, prints well and keeps unit costs more controlled.

Confirm the full packed dimensions first, not just the product headline size. Check ear cup depth, headband height, whether the item folds, cable placement, accessory count and whether an insert is needed. It also helps to confirm the selling channel early, because shelf display, hang-tab use and ecommerce delivery can each change the best board grade, closure choice and outer protection.

Process

How it works

Your Packaging Journey, From Idea to Production and Delivery

01

Tell Us Your Specs

Custom packaging boxes

Tell Us Your Specs

Provide size, quantity, printing, and finishes.

02

Get a Fast Quote

Custom packaging boxes

Get a Fast Quote

Instant transparent pricing, no hidden fees.

03

Design and Approval

Custom packaging boxes

Design and Approval

Artwork checks, revisions, and final sign-off.

04

Produce

Custom packaging boxes

Produce

Expert manufacturing to meet deadlines.

05

Ship to Your Door

Custom packaging boxes

Ship to Your Door

Hassle-free, flexible delivery options.

Get Your Quote for Custom Headphone Boxes

Share your product details, dimensions, quantity and artwork needs. We’ll help choose the right packaging style and send a clear quote.