Skip to content
Details

Custom Window Boxes

Die-cut viewing panels that reveal the right part of the product while preserving enough board for clean print, stable presentation and practical retail use.

Show the Right Product View

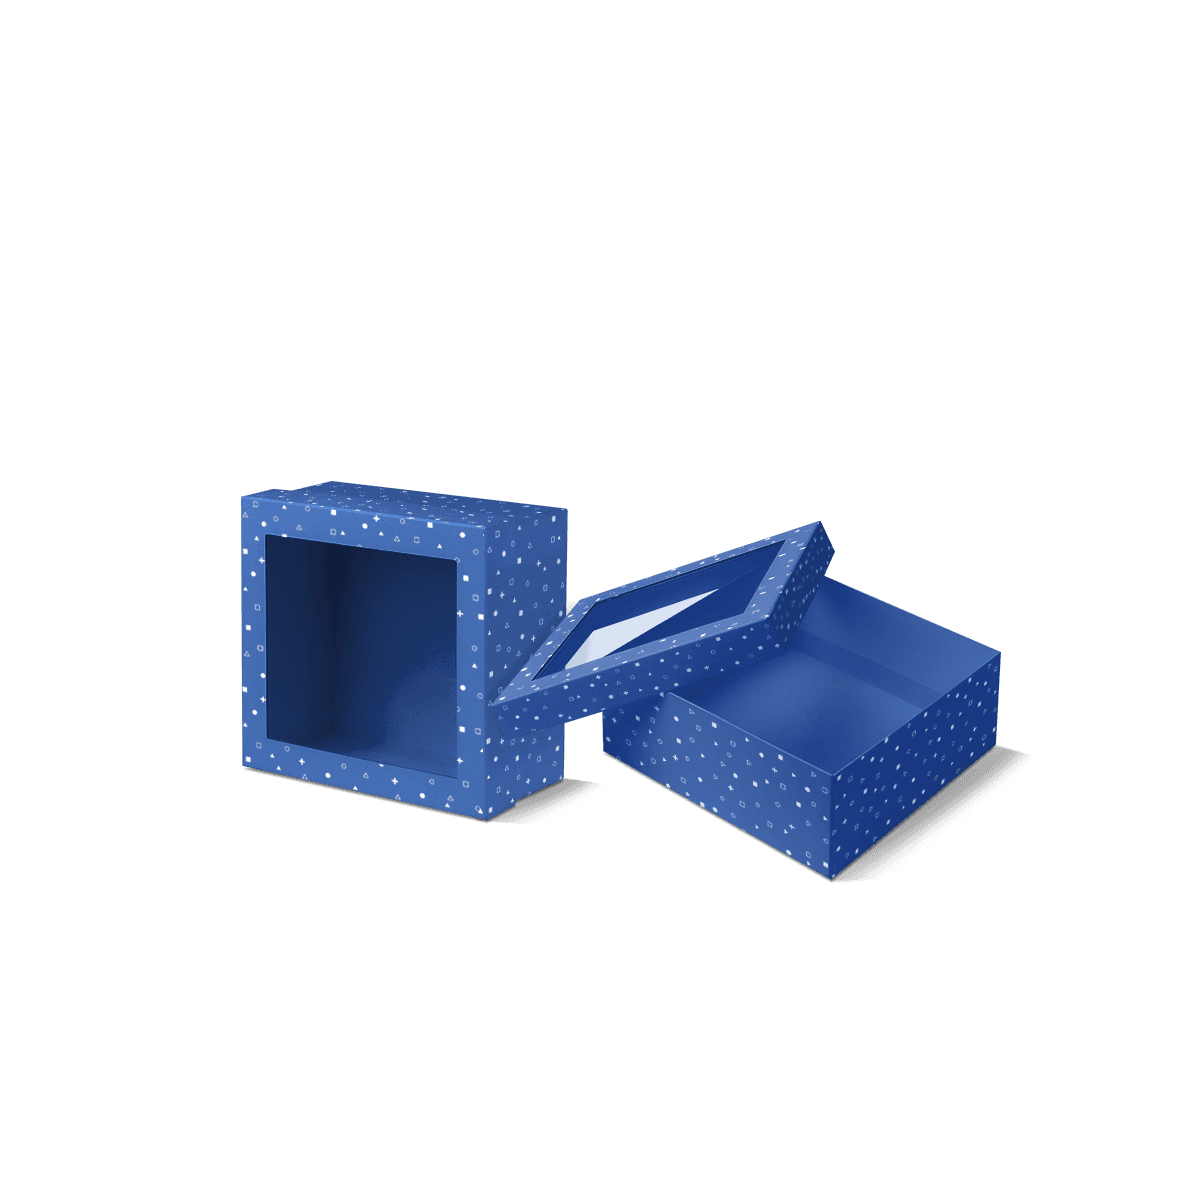
Custom window boxes combine a printed carton with a deliberate viewing area so customers can see part of the product before opening the packaging. The window may be an open die-cut aperture or a clear patched opening, depending on the product, handling requirements and presentation goal.

The important decision is not simply whether to add a window. It is what the customer should see through it.

A well-positioned opening can show the colour of a candle, the finish of a cosmetic bottle, the decoration on confectionery or the texture of a handmade product. A badly positioned one can reveal empty space, the side of an insert or the least attractive part of the item.

Within Custom Box Styles and Shapes, window boxes are the visibility-led choice. The underlying carton can still use a practical tuck, lock or other suitable closure, but the viewing panel becomes one of the main structural decisions.
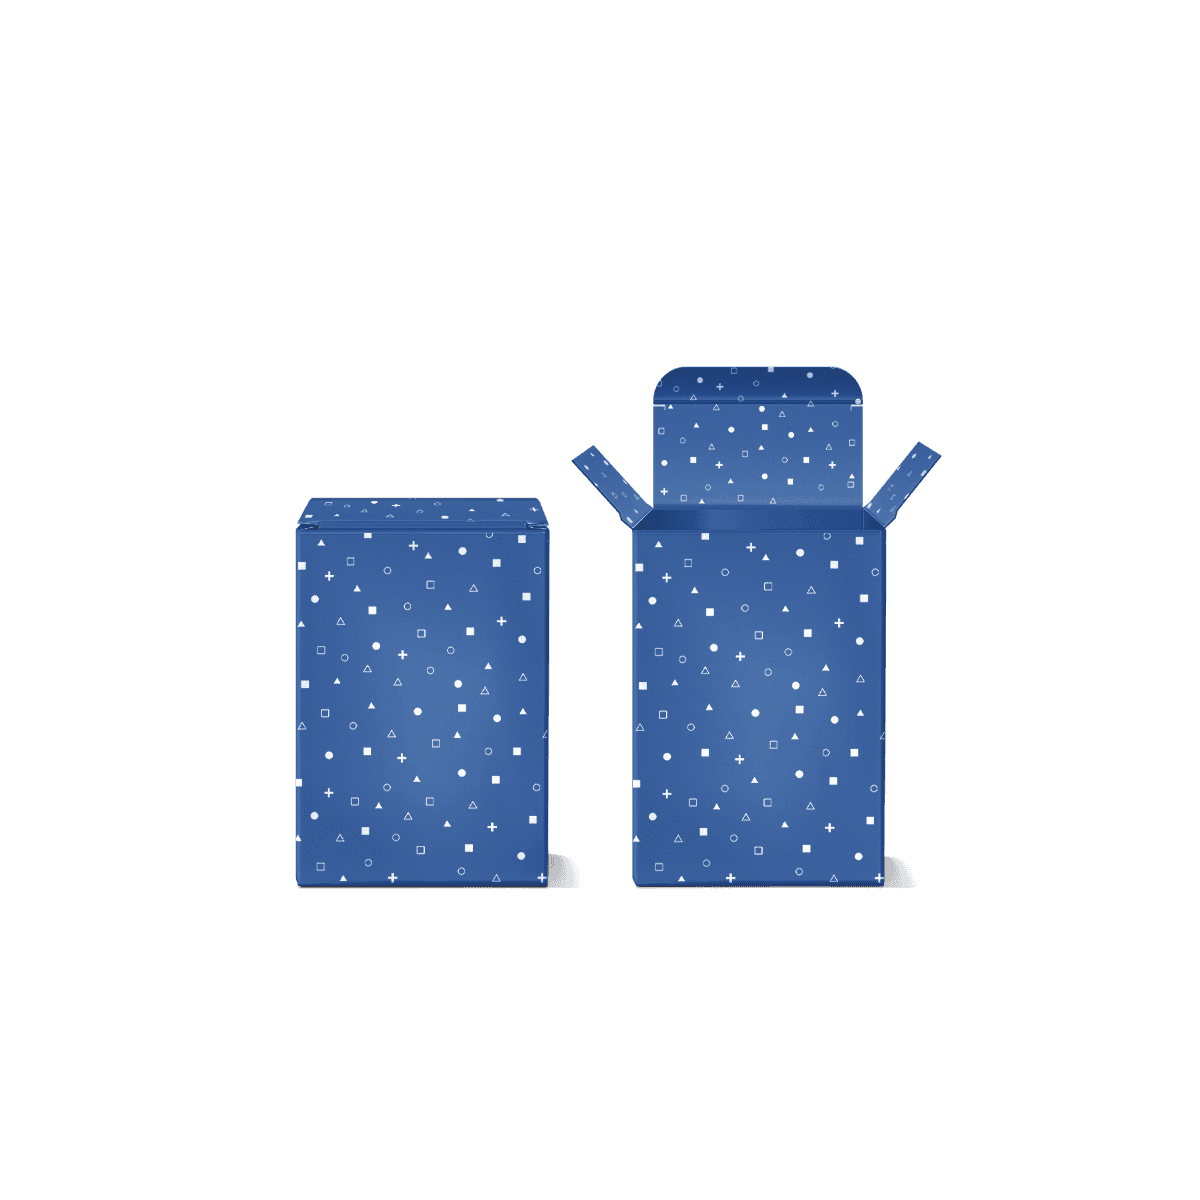
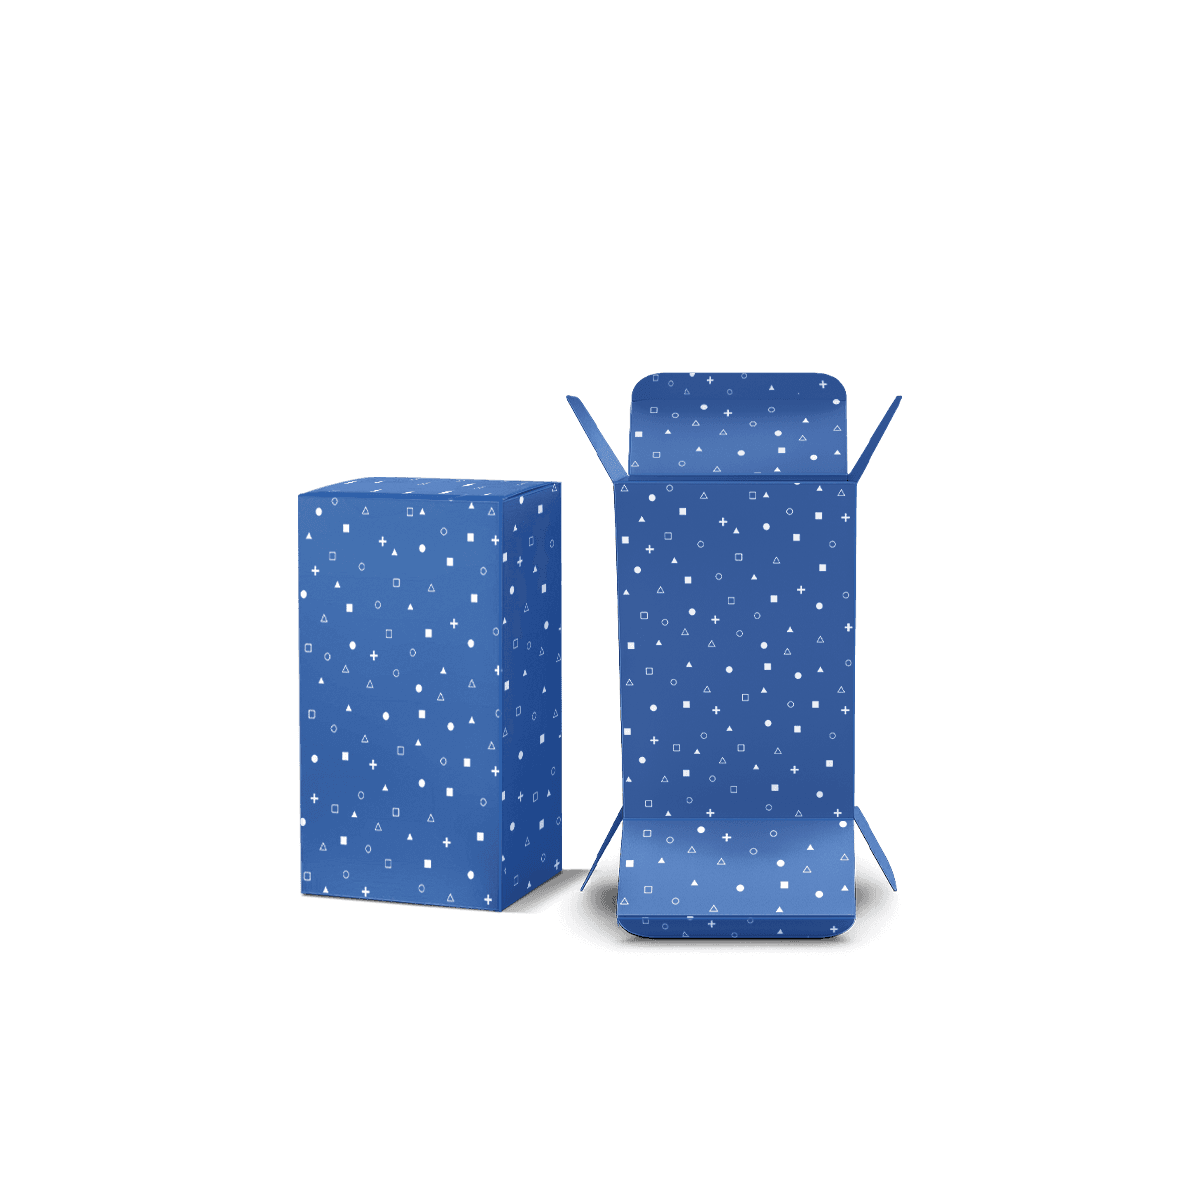
Frame, Do Not Expose

A larger window is not automatically a better window. Removing more board increases visibility, but it also reduces printable surface and can make the panel less resistant to bowing or twisting.

The strongest window usually reveals enough of the product to help the customer understand it while leaving a useful border of board around the opening.

Choose the Viewing Zone

Start with the packed product rather than drawing an attractive aperture on an empty carton.

Decide which feature deserves attention. For a candle, that may be the vessel colour or label. For confectionery, it may be the decorated top surface. For a cosmetic product, showing the bottle, shade or applicator may matter more than exposing the entire item.

Once that view is identified, position the aperture around it.

Avoid Empty Sightlines

A technically centred window can still look wrong if the product sits off-centre behind it.

Internal clearance, insert thickness and product orientation all affect what appears through the opening. Leave too much unused space and the customer may see the inside wall of the carton rather than the product.

That is where custom product packaging becomes relevant. The outside dimensions, internal fit and visible product position should be developed as one specification rather than three separate decisions.

Keep Enough Board

Every die-cut opening removes material from a structural panel. The carton can still perform well, but the remaining board has to carry the work that the removed section no longer can.

Protect Corners and Creases

Large apertures placed too close to a corner, fold or locking area can make a panel more prone to distortion.

The exact spacing depends on the carton size, board and aperture shape, so there is no useful universal border measurement. The better rule is to preserve enough uninterrupted board around important folds and edges for the panel to stay square after packing.

This becomes especially important on narrow cartons where a seemingly modest window can remove a large proportion of the front face.

Simpler Shapes Are Efficient

Rectangular, square and rounded openings are usually easier to integrate cleanly than intricate decorative shapes.

A custom silhouette can be useful when it reinforces the product or brand, but additional cutting complexity should earn its place. Very fine points, narrow bridges or highly detailed shapes may be harder to keep neat and can reduce the amount of strong board surrounding the product.

Use the shape to improve recognition, not simply because die cutting makes it possible.

Hold the Product in View

A window carton only works visually if the product remains where the window expects it to be.

A bottle that rotates, a candle that slides sideways or confectionery that settles unevenly can turn a carefully positioned aperture into an untidy view.

Use the Smallest Control Needed

Not every window box needs an insert. Closely fitted products may stay presentable through controlled internal dimensions alone.

Where movement would change the view, inserts and dividers can keep the item centred or maintain spacing between several products.

The insert should solve the movement problem without hiding the feature the window was created to reveal.

Test After Handling

Approve the window after moving the filled carton, not only immediately after packing it.

Turn the box, carry it and set it down again. If the product moves enough to reveal an edge, insert tab or large internal gap, the fit needs more control.

This is a small test, but it catches a common problem that cannot be seen on a flat dieline.

Open or Clear Window?

A die-cut window does not always need a clear film. The choice depends on what the product needs from the opening.

An open aperture gives direct visibility and can also allow texture or scent to be experienced where that is appropriate. It also exposes the product more directly to dust, handling and the surrounding environment.

A clear patched window creates a physical barrier across the opening while retaining visibility.

Match the Product Requirement

For a sealed cosmetic bottle or boxed accessory, the viewing requirement may be different from bakery or confectionery packaging.

For food applications, do not assume that any transparent film is suitable. The exact board, window material, adhesives and product-contact conditions should be confirmed for the intended use.

Custom bakery and confectionery packaging includes products where visibility can be commercially useful, but hygiene, grease, moisture and handling still come before presentation.

Consider the Whole Component Mix

Adding a clear patch changes the material composition of the carton. If recyclability or material separation is important to the project, discuss the complete board-and-window specification rather than describing the carton as sustainable based only on the paperboard.

That creates a more credible material decision and avoids broad environmental claims that do not account for the window component.

Choose the Right Visibility

Window boxes and display boxes both increase product visibility, but they perform different retail jobs.

A window box is normally an individual enclosed pack. The customer sees part of the item but still picks up the complete carton.

Display Boxes organise one or more products in an open retail unit so customers can reach, remove or browse the products directly.

Choose a window carton when the individual item needs its own printed packaging and controlled reveal. Choose display packaging when the priority is grouping stock, counter placement, shelf access or easier replenishment.

For broader shelf planning, custom retail packaging covers cartons, displays, sleeves and other retail formats without forcing every visibility problem into the same structure.

Let Print Frame the View

The remaining paperboard has an important job after the aperture is cut. It needs to carry the brand, product information and visual hierarchy without competing with the item behind the window.

Give the Window Space

A border crowded with text, foil, patterns and several promotional messages can make the product view feel smaller than it is.

Treat the opening as part of the artwork. Logos, colour blocks and product information can lead the eye towards it rather than filling every available area.

Custom printed boxes can use premium offset printing, CMYK or Pantone colour control across the remaining panels.

Place Finishes Deliberately

Matte, gloss and soft-touch finishes can change the contrast between the printed board and the visible product. Foil, embossing, debossing and spot UV can highlight selected areas where they support the hierarchy.

Avoid forcing heavy decorative finishing into narrow strips of board around a large opening. The window already creates a strong focal point.

The wider customisation capabilities can be considered after the aperture and structural layout are settled.

Test the Shelf View

A window can look excellent when the box is held directly in front of you and much less useful when it sits on an actual shelf.

Viewing angle changes what the customer sees.

Check the Real Position

Place the filled sample at approximately the height and orientation in which it will be sold.

A carton on a low shelf may be viewed partly from above. A counter product may be seen almost straight on. A hanging or raised presentation may change the angle again.

The aperture should still reveal the intended part of the product in that real setting.

Review Several Units Together

One window box is only part of the shelf picture.

Place several units side by side and check whether the openings align consistently. Variations in product positioning become much more obvious when a row of cartons exposes the contents simultaneously.

This matters for multi-SKU beauty ranges, candles and confectionery where colours or flavours may be deliberately displayed as a coordinated family.

Beauty and personal care packaging is a good example of a category where visible shade, bottle colour or product finish can become part of the shelf system rather than a feature of one box alone.

Build the Dieline Around It

The window must appear on the structural dieline from the beginning. Adding it after the carton artwork has been completed can create avoidable conflicts with text, folds, glue areas or panel strength.

Mark the Aperture Clearly

The production file should show the exact window cut-out and any patched area separately from the normal trim and crease lines.

Keep critical text and barcodes away from the aperture and allow for the actual visible opening rather than designing only around its decorative outline.

The free dieline generator can help with supported structural starting points, while final production artwork should use the approved dieline for the exact carton.

Prototype the Product View

A digital 3D mockup can help check the relationship between artwork and window position, but physical testing becomes more valuable when the visible product must align precisely.

A custom sample can show whether the board stays flat around the opening, whether the item sits in the intended position and whether any clear patch lies cleanly.

The principle is similar to windowed cake packaging: more visibility is not automatically better. The custom cake box cost analysis also notes that oversized windows can reduce lid strength and leave less room for branding.

Quote the Window, Not Just the Box

Send the internal box dimensions, product dimensions, quantity, product photo and the exact feature you want visible. Identify the preferred viewing face and whether the opening should remain open or use a clear patch. Add any insert requirement, artwork and finish details that affect the window panel.

If the aperture position is still undecided, mark the part of the product the customer should see rather than guessing a window size. Where alignment is critical, a paid custom pre-production sample can be used to check the physical product position, aperture and finished board before the full run.

Send the specification through the detailed quote form, along with product photographs if they make the intended view easier to explain.

FAQs

Choose a window box when the product itself adds selling power through its look, finish or texture. A fully closed carton is usually better when the contents need more shielding from light, dust or direct view, or when the design needs uninterrupted print space. If product visibility helps decision-making, the window approach is often the stronger option.

Start with product dimensions and the exact area that should remain visible once packed. Then confirm whether the opening should stay open or use clear patching, whether the product needs an insert and how much board strength is needed around the cut-out. These details affect stability, appearance and how cleanly the visible area aligns with the contents.

Yes, they can work very well for bakery, confectionery and other food presentation projects when the right board and food-suitable specifications are used. The key point is to confirm how the food is wrapped, whether a film patch is needed and how the product will be protected during handling. Visibility should never come at the expense of hygiene or pack integrity.

Yes. The cut-out can be tailored to the product and the brand look, from simple rectangles and arcs to more decorative shapes. The main decision is how much of the item should be revealed without weakening the carton or making the pack feel exposed. Larger windows often need better internal positioning and more careful board selection.

Not always, but inserts become much more useful when the product must sit in one exact viewing position. Without internal control, the visible area can look untidy if the item shifts during packing or transit. Inserts are especially helpful for soaps, candles, confectionery pieces, cosmetics and smaller accessories where presentation depends on alignment.

Related Industry Packaging

Process

How it works

Your Packaging Journey, From Idea to Production and Delivery

01

Tell Us Your Specs

Custom packaging boxes

Tell Us Your Specs

Provide size, quantity, printing, and finishes.

02

Get a Fast Quote

Custom packaging boxes

Get a Fast Quote

Instant transparent pricing, no hidden fees.

03

Design and Approval

Custom packaging boxes

Design and Approval

Artwork checks, revisions, and final sign-off.

04

Produce

Custom packaging boxes

Produce

Expert manufacturing to meet deadlines.

05

Ship to Your Door

Custom packaging boxes

Ship to Your Door

Hassle-free, flexible delivery options.

Get Your Quote for Custom Window Boxes

Share your product details, dimensions, quantity and artwork needs. We’ll help choose the right packaging style and send a clear quote.