Skip to content
Details

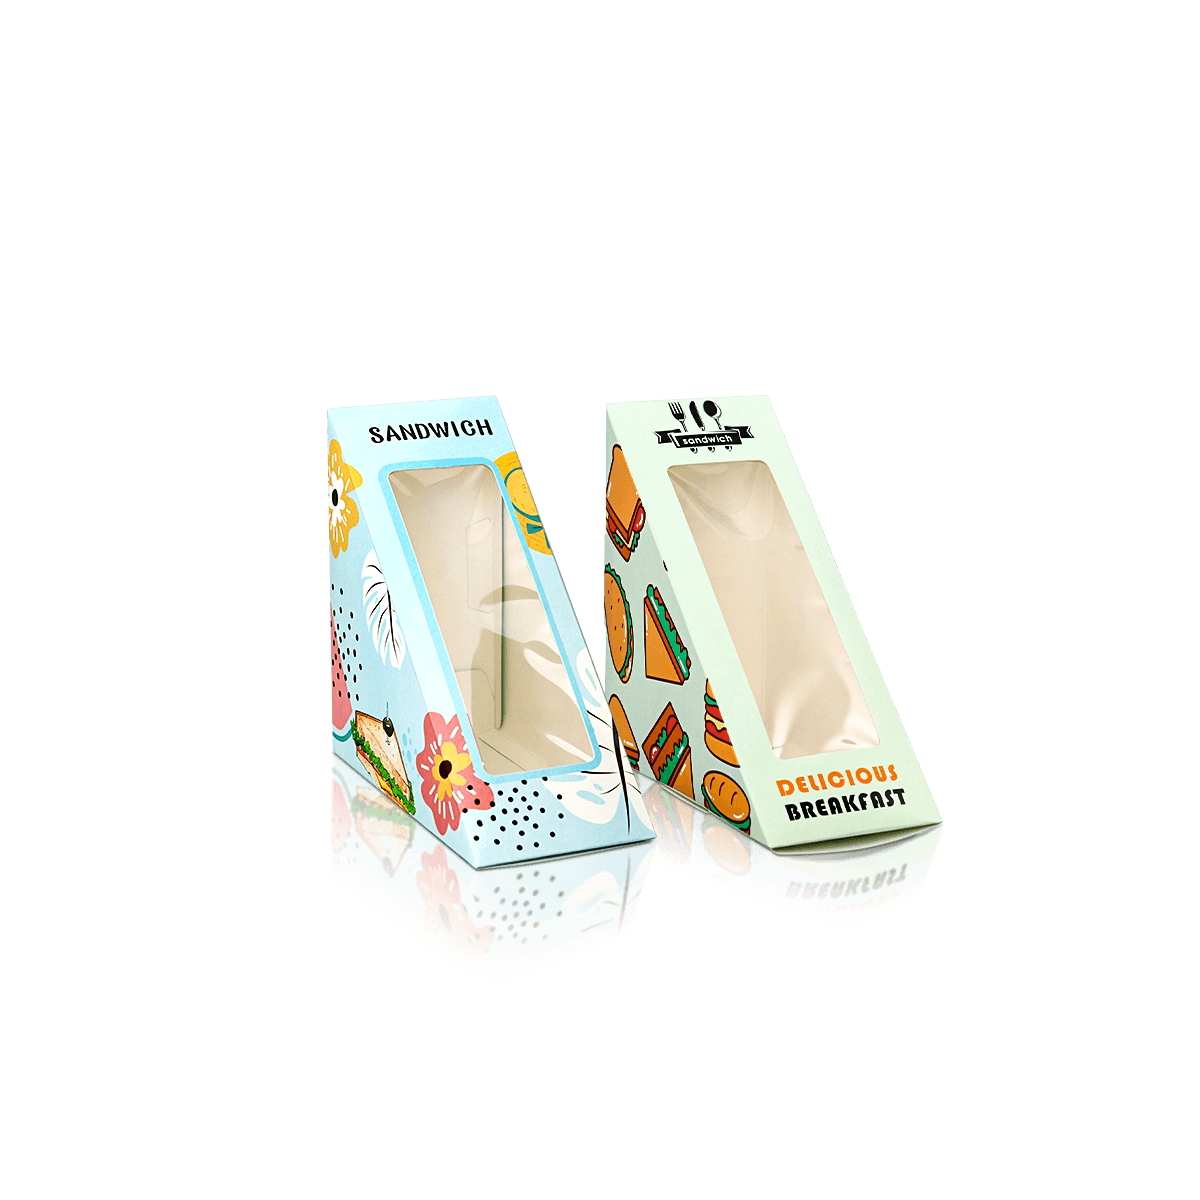
Custom Sandwich Sleeves

Printed sleeves shaped around wedges, rolls and filled sandwiches so the product stays visible, supported, easy to label and quick to pick up from a grab-and-go display.

Keep the Sandwich Visible

A sandwich sleeve has to reveal enough of the filling to sell the product while still supporting the bread during chilled display and hand-held eating. Custom Sandwich Sleeves work best when that balance is resolved around the finished wedge, roll or bloomer rather than an empty bread size.

For a chilled wedge, bloomer sandwich, filled roll or similar grab-and-go product, that usually means covering enough of the bread to improve handling while leaving a controlled section exposed. Too much board turns a sleeve into an awkward partial box. Too little gives the sandwich almost no support.

Show the Best Cut Face

For triangular sandwiches, the cut face is often the selling surface.

The sleeve opening should reveal enough filling for customers to recognise the product quickly without exposing the sandwich so far that ingredients push beyond the board or become vulnerable during stocking.

Position that opening around the real filled sandwich, not an empty bread template.

A lightly filled cheese sandwich and a deep chicken salad wedge can use the same bread footprint but occupy very different finished heights.

Support Without Squeezing

A sleeve should hold the sandwich neatly rather than compress it into shape.

If the fit is too tight, soft bread can deform and fillings can migrate towards the opening. If the sleeve is too loose, the sandwich can lean, rotate or sit inconsistently on display.

A small amount of working clearance usually matters more than making the sleeve look perfectly tight around an empty sample.
Measure the Finished Sandwich

Sandwich sleeve dimensions should come from the product after it has been filled, cut and prepared for sale.

Measure the largest realistic version of each sandwich family. Include bread thickness, filling height and any inner wrap, liner or label that remains with the product.

Use the Deepest Fill

Do not size a wedge from bread dimensions alone.

Tomato, salad, protein, cheese and sauces can change the angle and depth considerably. Test the sleeve with the fullest normal recipe that is expected to use it.

This gives the dieline enough room for everyday variation without turning the sleeve into an oversized holder.

Separate Shapes That Behave Differently

A triangular wedge, rectangular bloomer half, baguette section and filled roll do not create the same sleeve geometry.

Trying to force them into one dieline can create poor support, wasted board or awkward display.

Standardise where the finished profiles are genuinely close. Use another shape where the bread geometry materially changes how the sleeve needs to grip the product.

Account for Inner Wrapping

If the sandwich is first wrapped in greaseproof paper, film or another primary layer, measure that finished combination.

The sleeve then works as an outer support and branding surface rather than direct food-contact packaging. If the sleeve will touch the food itself, the exact substrate, ink, coating and intended contact conditions need to be confirmed for that application before production.

Build for Chilled Display

Sandwich sleeves used in refrigerated grab-and-go displays have a different job from packaging handed directly across a café counter.

They need to remain neat while stocked, help the sandwich face forward and give customers enough information to choose quickly.

Check the Shelf Lean

Place several finished sleeves beside each other in the actual display position.

A wedge that leans backwards may hide much of its printed panel. One that falls forwards can make the display look untidy or place pressure on the exposed food.

Test the finished sandwich rather than evaluating the empty sleeve standing by itself.

Protect Bread Corners

Triangular products often put pressure on the lower corners of the sleeve.

If the base profile is too tight, bread corners can compress or catch while staff load the product. If the base is too wide, the sandwich can sit at an inconsistent angle.

The cut shape should support the sandwich where it naturally bears weight.

Make Flavours Easy to Scan

A refrigerated fixture may contain several similar-looking sandwiches.

Brand artwork can stay consistent while flavour names, colour cues or label positions help distinguish variants quickly. The packaging should reduce the amount of searching required at shelf, not create another layer of visual noise.

The article comparing takeaway food packaging choices also shows where sandwich sleeves sit among trays, cups, bags and other food-to-go formats.

Reserve the Label Before Artwork

Sandwich packaging often needs changing information that should not be permanently printed into the main design.

Product name, price, date coding, ingredients, allergens, barcode information or store-specific data may be added separately depending on how the product is sold.

Plan that label before the printed artwork is approved.

Give the Label a Flat Zone

A variable label works best when its intended area is predictable and sufficiently flat.

Do not leave the label to bridge a major crease, overlap the product opening or sit partly around a curved corner unless the chosen label system has been tested that way.

If a standard label size is already used across the food range, incorporate those dimensions into the sleeve layout.

Keep Branding Separate

The permanent artwork should establish the brand. The variable label should identify the specific sandwich and required changing information.

Trying to make one small sticker carry the entire visual identity can leave the printed sleeve underused. Filling every printed panel with static product information creates the opposite problem when recipes or ranges change.

Give each layer a clear role.

Control Grease at the Source

Mayonnaise, butter, oils, sauces and dressed fillings can transfer grease or moisture towards the sleeve, particularly around exposed sandwich edges.

The first question is where that contact will occur.

Check the Messiest Recipe

Test the sleeve with the sandwich most likely to mark the board rather than the driest product in the range.

Look at the lower edges, opening and areas where fillings can shift during stocking or carrying. A problem that appears after twenty minutes in a chiller may not be obvious immediately after assembly.

Board, barrier and any inner wrap should then be selected for the actual contact and holding conditions rather than appearance alone.

Use an Inner Layer When Needed

A printed sleeve does not have to solve every grease or moisture problem by itself.

An appropriate inner wrap can separate the food from the printed outer board while the sleeve adds support, shelf presentation and branding.

That can also make sense where the sandwich recipe changes frequently but the outer sleeve system needs to remain visually consistent.

Make Loading Repeatable

A sandwich sleeve that looks excellent once assembled can still be a poor choice if staff struggle to load it consistently.

Grab-and-go production is repetitive. Small delays become larger when many sandwiches need to be sleeved, labelled and stocked before service.

Leave an Easy Entry

The sleeve opening should let staff insert the sandwich without forcing soft bread against a narrow edge.

Test the motion with the real finished product. The sandwich should seat predictably without needing to be compressed, rotated several times or pushed into place.

Keep Orientation Obvious

The front and back of the sleeve should be easy to recognise during packing.

Asymmetrical cut-outs, clear print cues or an intuitive panel layout can reduce orientation mistakes without adding instructions to the packaging.

Test the Full Packing Sequence

Load the sandwich, apply any variable label and place it into the intended display.

That complete sequence matters more than how fast someone can fold one empty sleeve.

Where the product is part of a larger restaurant or food-to-go system, the broader Custom Food Packaging for Restaurants & Takeaways section helps separate the sandwich format from the trays, cups and carriers used elsewhere in the order.

Print for a Small Surface

Sandwich sleeves have less uninterrupted print area than many cartons.

Part of the product remains exposed and another area may be reserved for labels, so artwork needs stronger prioritisation.

Choose One Main Brand Face

Decide which panel customers will see first in the fixture or while holding the sandwich.

That panel should carry the most recognisable brand element. Secondary panels can handle supporting graphics, short messaging or colour coding.

Avoid shrinking every possible design element simply to fit it onto the sleeve.

Keep Artwork Clear of Cuts

Windows, openings, fold lines and die-cut edges change what remains visible after converting.

Prepare artwork against the final sleeve dieline rather than a rectangle based on overall dimensions. The packaging dieline explanation covers cut lines, crease lines, bleed and safe areas in more detail.

Custom Packly's packaging customisation support can help with dieline and artwork setup, print colour and the final visual review. A free 3D mockup can also help check branding before production, although physical fit still needs to be validated with the sandwich itself.

Know When a Sleeve Is Too Light

A sandwich sleeve is useful because it avoids unnecessary enclosure. That same openness creates its main limitation.

It gives light structural support and easy access, but it cannot provide the coverage of a closed carton.

Use a Tray for Open Eating

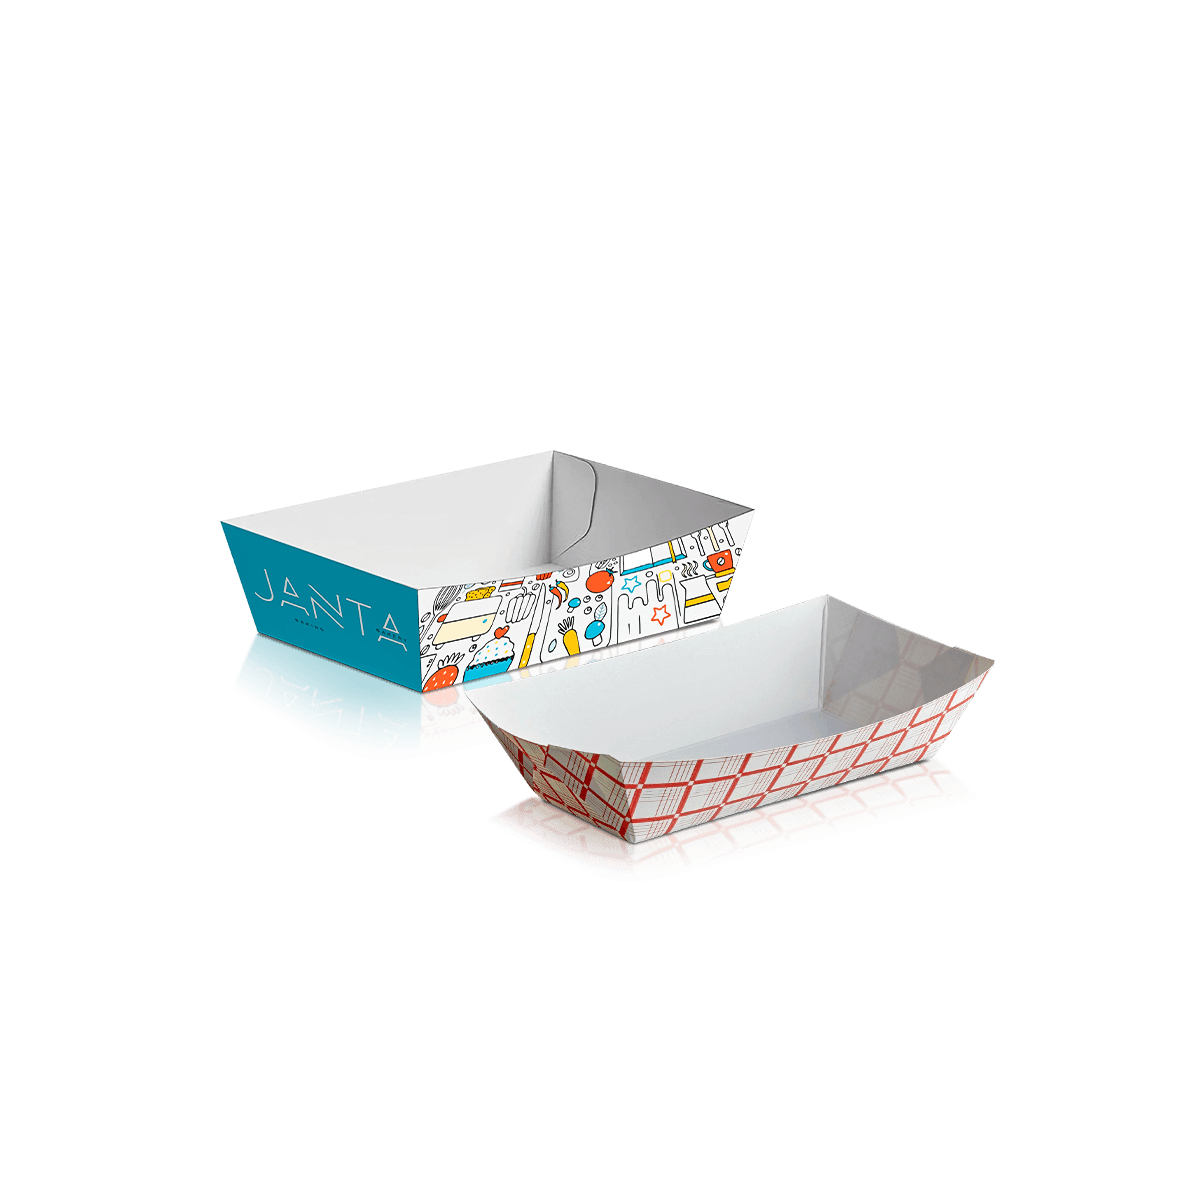
A sandwich served hot, topped after ordering or eaten immediately with loose sides may work better in a Food Tray.

The tray gives broader open access and does not rely on the sandwich maintaining a compact shape inside a narrow sleeve.

Use More Enclosure for Messy Fillings

Very deep sandwiches, unstable fillings, heavy sauces or products expected to travel for longer periods may need a more enclosed structure.

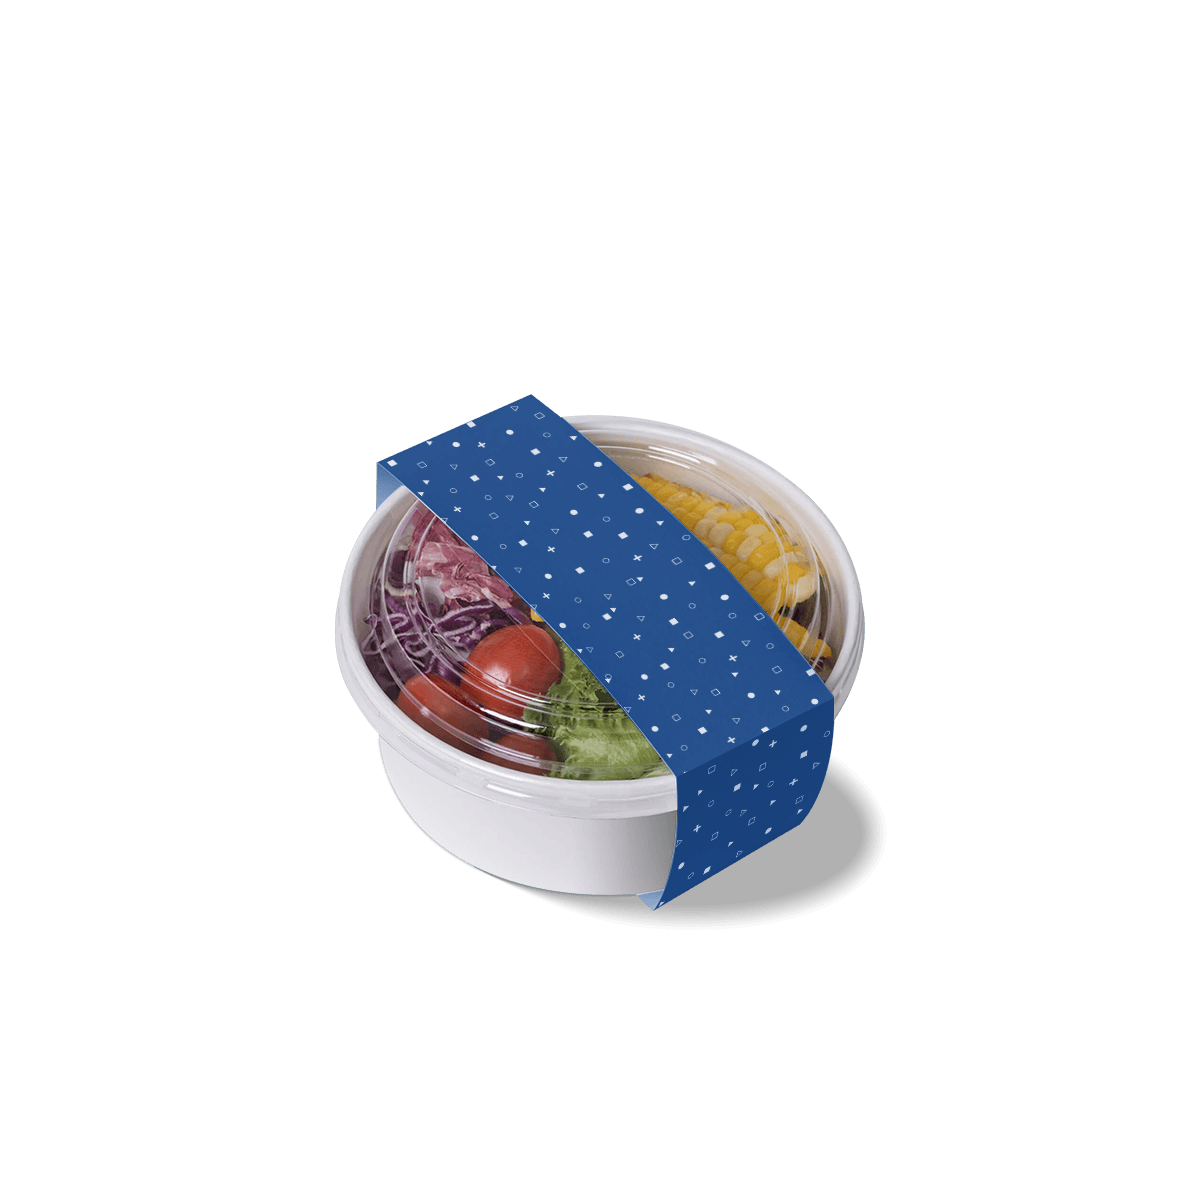
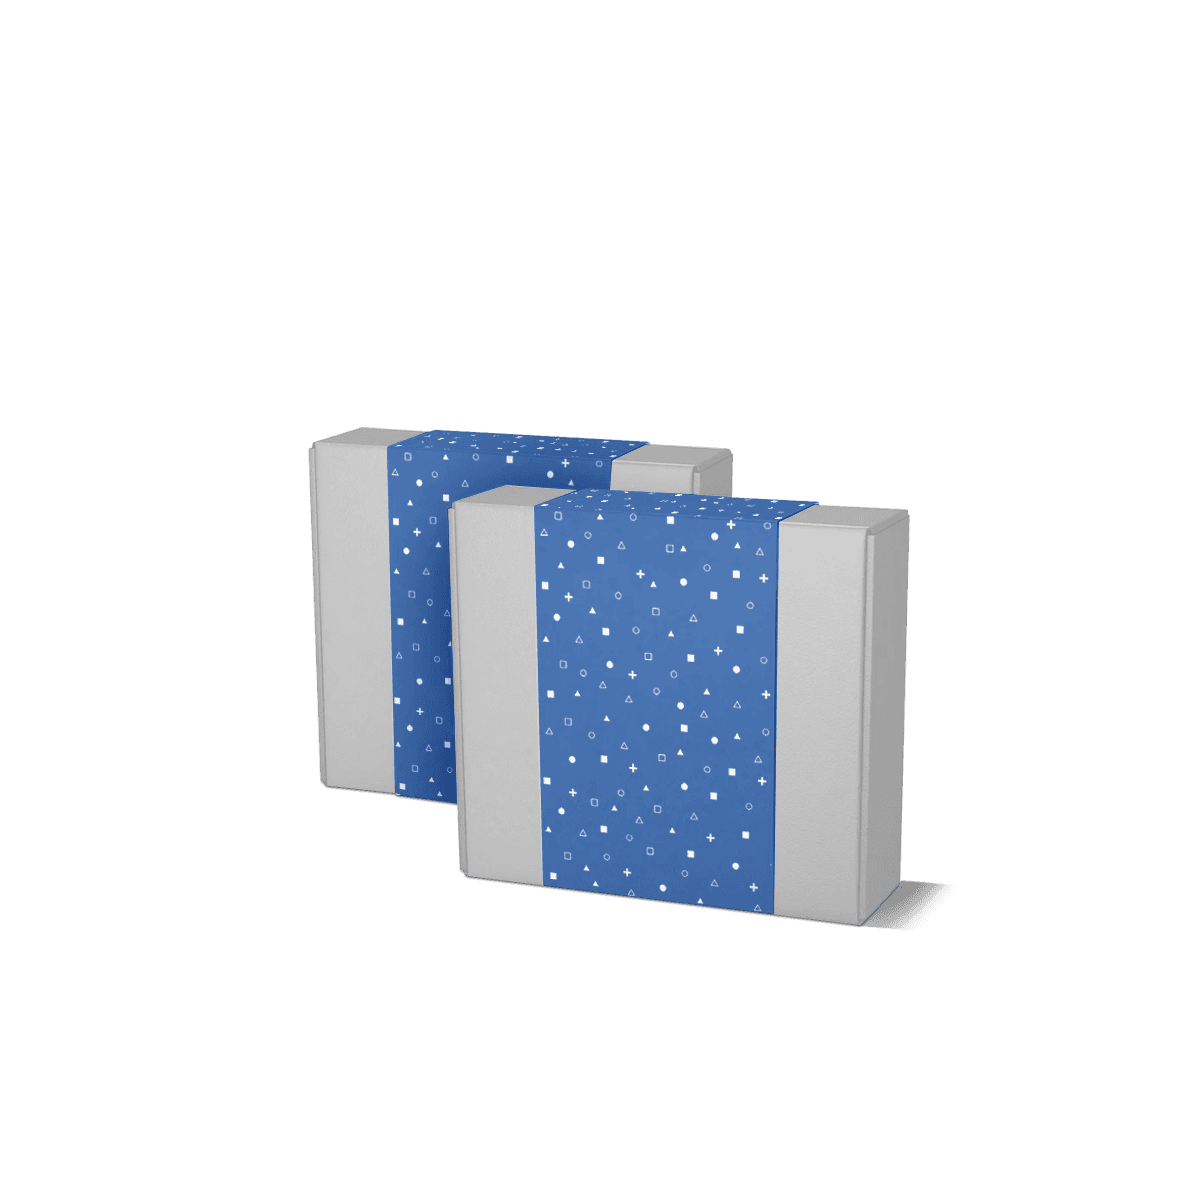
The broader Food Packaging Sleeves page covers sleeves across several prepared-food applications, while Sleeve Packaging can help compare the structural role of removable wraps and bands more generally.

The decision rule is simple: use a sandwich sleeve when visibility and easy hand-held access matter more than full containment.

Fit the Sleeve Into Lunch Service

The sandwich may be the main product, but it often leaves with a drink, snack and outer carrier.

The sleeve should therefore work inside the complete lunch order without becoming crushed or forcing the sandwich to sit at an awkward angle.

Keep the Carrier Proportionate

If sandwiches are routinely packed inside Takeaway Paper Bags, test the sleeve and bag together.

A narrow upright bag may suit vertically stocked wedges. A broader meal order may place the sandwich beside another pack instead.

The carrier should match the order rather than compensating for a badly sized sleeve.

Protect the Visible Edge

An exposed sandwich face can be more vulnerable than a closed carton during carrying.

Do not position heavier items directly against the opening. Arrange the meal bundle so the sleeve maintains its shape and the sandwich stays presentable at handoff.

Build the Sleeve From the Shelf

The best starting point for a custom sandwich sleeve is a finished sandwich sitting in the display where it will actually be sold.

That shows the size, viewing angle, label space and amount of food that should remain visible in one place.

Photograph One Full Facing

Set up one representative section of the chiller or counter using the real sandwich.

A front photograph and a side photograph can reveal:

  • how much of the filling needs to remain visible
  • the finished sandwich height
  • how neighbouring products affect shelf width
  • where a flavour or barcode label needs to sit
  • whether the sleeve should stand upright or lean slightly
  • how much printed area customers can actually see

This is more useful than choosing an arbitrary sleeve size before the merchandising setup is known.

Mark the Variable Label Zone

If an existing label system will continue, include the physical label dimensions or a labelled sample when requesting pricing.

Then add the sandwich format, approximate finished dimensions, quantity and artwork. Use the custom packaging quote to send those references and request instant pricing.

The aim is to price a sleeve that already makes sense on the shelf, rather than adapting the sandwich and label system after the dieline has been produced.

FAQs

Sleeves are usually strongest for wedge sandwiches, bloomer cuts, rolls and similar hand-held items that benefit from a visible front section and light structural support. They work best when the sandwich should stay easy to pick up and eat without full enclosure. Very bulky builds, heavily sauced fillings or hot pressed sandwiches may call for a different pack style.

They can, but only when the product shape and temperature are properly considered. A light warm sandwich may still suit a sleeve if easy access and branding matter most. For hotter fillings, melted cheese or steam-heavy builds, open trays or cartons are often more practical because they cope better with heat, moisture and immediate eating conditions.

The best result usually comes from separating brand print from variable label space. Keep the main design clean and deliberate, then reserve a practical panel for flavour labels, ingredients, barcodes or date coding. That avoids overcrowding the sleeve and makes replenishment easier on shelf. It is worth deciding the label size and placement before the artwork is finalised.

Often, yes, when the product needs to sit upright in a display and be carried as a single chilled item. Food Trays are stronger for open servings, plated snacks or broader takeaway portions that are eaten immediately. Sandwich sleeves are the better choice when front-facing visibility, compact handling and controlled product support matter more than open access from above.

Confirm the sandwich format, finished product dimensions, bread thickness, filling level and whether the item is chilled, ambient or lightly warmed. It also helps to decide how much product should stay visible and how much space is needed for labels or compliance details. At Custom Packly, those points usually shape the final die-cut and board choice more than artwork alone.

Related Industry Packaging

Process

How it works

Your Packaging Journey, From Idea to Production and Delivery

01

Tell Us Your Specs

Custom packaging boxes

Tell Us Your Specs

Provide size, quantity, printing, and finishes.

02

Get a Fast Quote

Custom packaging boxes

Get a Fast Quote

Instant transparent pricing, no hidden fees.

03

Design and Approval

Custom packaging boxes

Design and Approval

Artwork checks, revisions, and final sign-off.

04

Produce

Custom packaging boxes

Produce

Expert manufacturing to meet deadlines.

05

Ship to Your Door

Custom packaging boxes

Ship to Your Door

Hassle-free, flexible delivery options.

Get Your Quote for Custom Sandwich Sleeves

Share your product details, dimensions, quantity and artwork needs. We’ll help choose the right packaging style and send a clear quote.