Skip to content
Details

Custom Belly Band Packaging

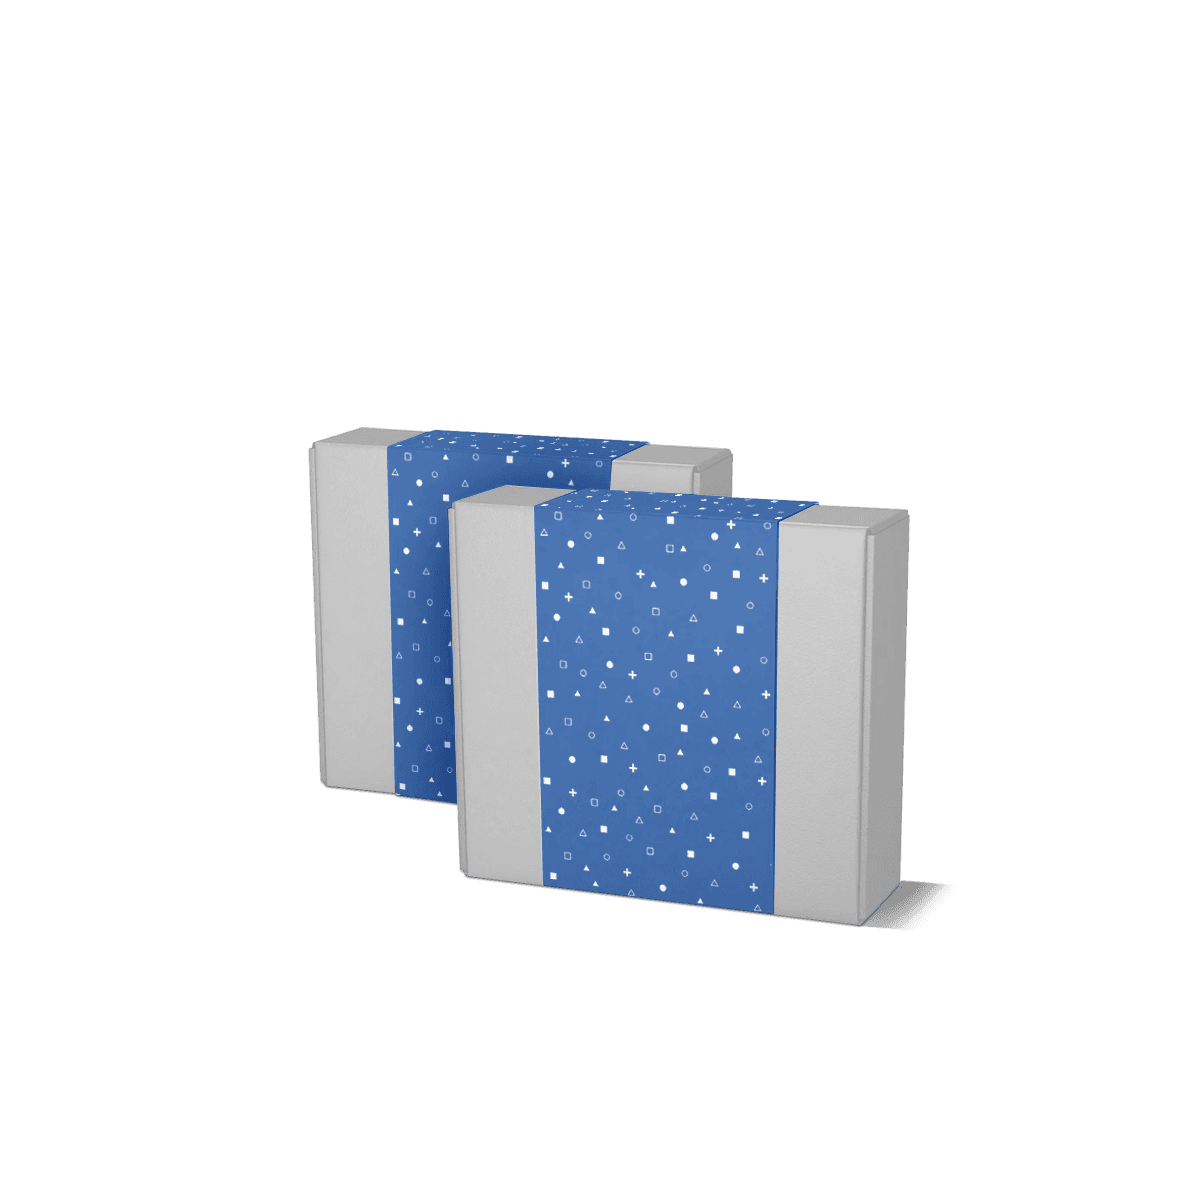
Belly band packaging adds a printed paperboard band around a box, tray, carton or grouped product set to improve branding, carry product detail and refresh presentation without changing the main pack underneath.

Partial Coverage Is the Point

A belly band starts losing its advantage when it becomes so wide that it behaves like a full sleeve. The uncovered product, box or material should still contribute to the presentation. Custom Belly Band Packaging is most useful when a narrow printed band can identify, group or lightly restrain an item without hiding what already works.

Band width is therefore a commercial decision. A slim strip may be enough for a logo, product name and variant. A deeper band carries more information, but every extra millimetre removes more of the product from view.

Do not treat the band as a miniature full sleeve. Its value comes from selective coverage while the product, carton, box or grouped set remains visible.

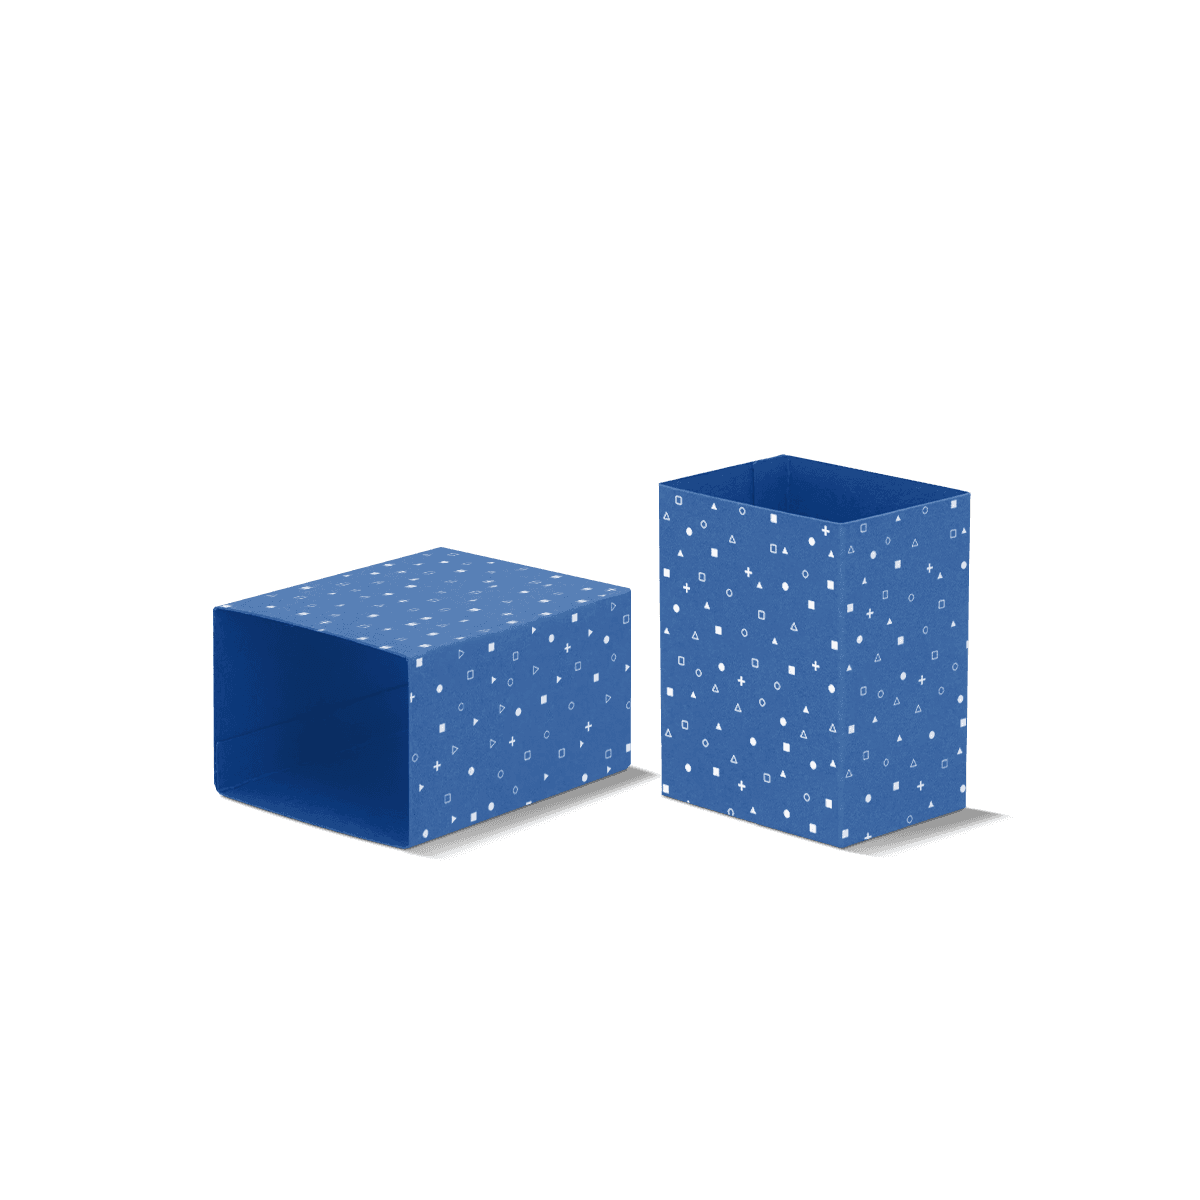
Set the Band Width First

Start by deciding what must remain visible from the normal viewing angle. That boundary gives the band a purpose before dimensions or artwork are finalised.

Frame the Strongest Feature

If the product has a useful colour, texture, lid, pattern or material, leave enough of it exposed to help the sale. A band around a notebook can leave most of the cover visible. A band around folded textiles can carry the size and brand while letting customers see the fabric. A band around a gift box can cross the centre without covering the whole lid.

If most of the underlying surface needs to disappear, Box Sleeves are usually the cleaner direction because they provide broader, more controlled coverage.

Do Not Make Width Carry Everything

A narrow band has limited space. It should not be forced to hold a brand story, long instructions, multiple claims, legal copy, a barcode and decorative artwork at equal prominence.

Choose the information that must be seen first, then move secondary detail elsewhere on the product or base packaging. The packaging design workflow is useful when the band is only one part of a larger printed system.

A free 3D mockup can show how the printed strip sits against the exposed product before production, which is more useful than judging the artwork as an isolated rectangle.

Tension Changes With the Product

A paper band around a rigid box behaves differently from the same band around socks, towels or another compressible product. The fit has to reflect what sits underneath.

Rigid Packs Need Clearance

Around a carton, tin or rigid gift box, the band should sit neatly without scraping corners or bowing away from the face. The finished circumference matters, including paper wraps, coatings or raised details the band has to pass over.

Too little allowance can crease the band during application. Too much can make it rotate or slip away from the intended front position.

Soft Products Need Restraint Without Compression

Textiles and other flexible goods can change thickness when handled. Pulling the band too tight may pinch the product, distort the fold or create an uneven front face.

The band should give enough light restraint to keep a tidy group together without becoming the component responsible for containing significant weight or movement.

This distinction is easy to miss because a flat paper strip looks simple. Custom Packly's 24/7 packaging support can help assess the actual product, intended band position and packing method when there is no existing specification to copy.

Choose How the Ends Meet

The closure affects appearance, packing speed and how consistently the band holds its position. It should be decided before the final artwork because the overlap creates a real area that may not remain visible.

Glue or Tape the Overlap

A glued or taped paper-to-paper overlap gives a clean continuous band and is practical when the pack does not need the closure to become a visual feature.

Place the join on the rear or another low-priority face where possible. Keep small text, barcodes and important graphics away from the overlap because registration between the two ends should not be treated like one uninterrupted printed panel.

Use a Sticker Deliberately

A sticker can close the band and add a second branded detail, but it should solve a real need rather than duplicate the logo already printed on the front.

It can help when hand assembly benefits from an obvious finishing step. If it is meant to provide tamper evidence, that requires a purpose-built specification rather than an ordinary decorative seal.

Interlocks Need Enough Material

A cut tab or interlocking closure avoids adhesive, but it consumes space and changes the shape of the band ends. Light paper may not hold the feature as positively as firmer stock.

The closure should survive the actual handling expected from packing through sale. Complicated locking geometry is rarely justified for a band whose main job is light grouping and identification.

Crease Only Where It Helps

Not every belly band needs the same folding treatment. A narrow strip around a soft or rounded item may work as an uncreased band, while a band around a rectangular box can benefit from defined folds that register the front panel consistently.

Square Packs Reward Alignment

Pre-creased corners can make hand application quicker and help the main printed face land in the same position on every box. The crease locations must match the finished circumference, not simply the nominal dimensions of the carton.

This matters more as the stock becomes heavier. For projects where paperboard stiffness and precise folded faces are the main requirement, Cardboard Sleeves should carry that material decision more directly.

Flexible Bands Need Less Geometry

An uncreased strip can adapt more naturally around textiles, cylindrical objects and product bundles without forcing artificial corners into the presentation.

That flexibility does not remove the need for sizing. It changes the sizing problem from panel alignment to circumference, tension and overlap.

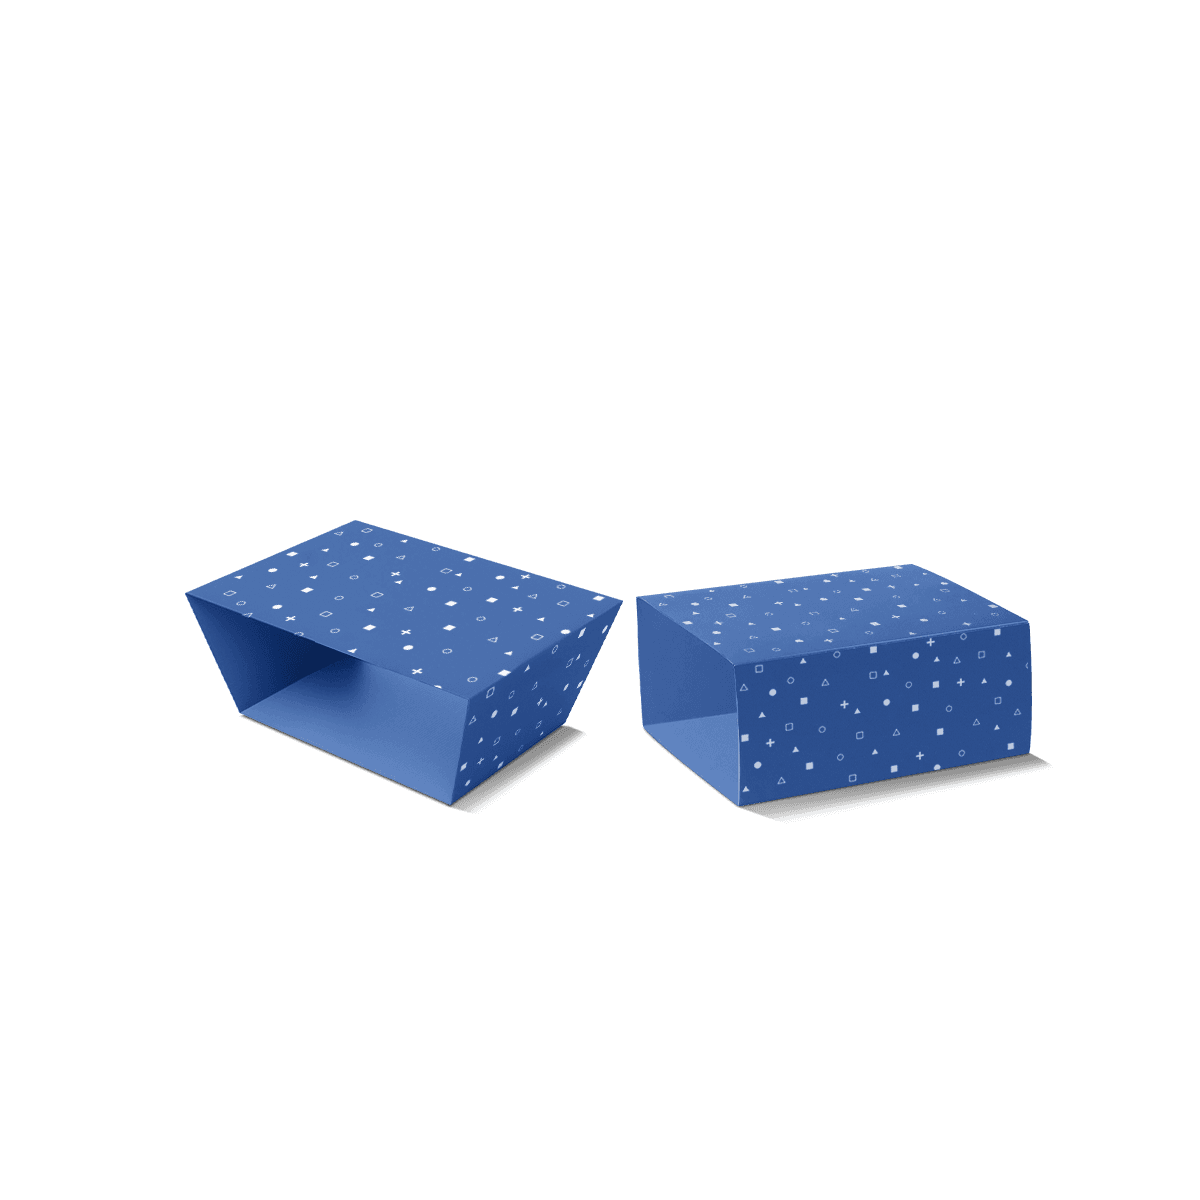
Use Sleeve Packaging when the brief begins to require deeper coverage, a sliding structure, heat grip or another job beyond a simple printed band.

Group Light Items Carefully

Belly bands can hold a small set together, but "grouping" should not be mistaken for structural restraint.

A band can organise notebooks, folded textiles, cards or other light items that already sit together naturally. It should not secure heavy jars, unstable bottles or loose components that can slide out under their own weight.

If several products need fixed positions, separation or transport control, custom product packaging should resolve the physical arrangement first. Inserts, trays or a full carton can take responsibility for movement while the band remains a presentation component.

That decision prevents one of the easiest belly-band mistakes: asking a narrow paper strip to do the job of a structural package.

Print for a Narrow Reading Zone

A belly band gives concentrated print space. Good artwork accepts that constraint instead of shrinking a full carton design into a smaller rectangle.

Give One Message Priority

The main face normally needs one clear hierarchy: brand, product name and the most useful variant or descriptor. Secondary information can continue around the sides or rear when space allows.

For retail use, the band can help customers identify size, scent, flavour or colour while the exposed product supplies the visual context. If barcodes, price labels and range navigation dominate the requirement, Retail Packaging Sleeves provide more working area for that shelf-facing information.

Let Stock Support the Product

White coated or smooth stocks suit bright colour, detailed graphics and fine typography. Uncoated papers can create a softer tactile feel. Kraft changes colour reproduction because the brown base remains part of the finished result.

The stock should also bend naturally around the chosen product. A beautiful heavy card that fights the circumference or springs open at the join is the wrong specification.

Free sample examples can help compare paper feel, print and finish before the final stock is chosen.

Match Print to Artwork Versions

Belly bands often look attractive for seasonal runs and product variants because the physical strip can remain consistent while the artwork changes. That does not mean every quantity automatically favours the same print method.

Digital printing can make sense when quantities are low or the order is divided across many designs. Premium offset printing becomes more attractive as stable artwork quantities rise, particularly where Pantone colour, very fine type or large solid fields need tight control.

The digital versus offset printing breakdown is especially relevant when one purchase order contains several different bands. A total of 5,000 units split across ten designs is not the same production problem as 5,000 identical units.

MOQ starts from 100, which gives smaller launches room to use a printed band without committing immediately to a large quantity of one artwork version.

Use Finishes in Small Areas

A narrow band does not need several finishing effects competing for limited space. One controlled detail can often do more than covering the strip with foil, embossing and spot gloss.

Foil can emphasise a compact mark. Embossing or debossing can add tactile detail when the stock is suitable. Matte or gloss treatment can alter both appearance and surface feel.

The finish also needs to survive bending and closure. Heavy effects across an overlap, sharp fold or interlocking tab deserve more scrutiny than the same treatment on the centre of a flat front panel.

Stock, print and finishing can be planned together through packaging customisation so decoration does not interfere with how the band is applied.

Do Not Claim More Than the Band Does

A belly band can make a plain product look more finished, carry information and add light grouping. It does not automatically improve shipping strength, protect fragile edges or secure an unstable box.

If the underlying package opens too easily, crushes or lets the product move, correct that structure first. A band around a weak carton can hide part of the problem visually without fixing it.

Using less paper than a fuller sleeve may reduce material in a specific application, but that alone does not prove a lower overall environmental impact. Stock, coatings, adhesives, recyclability and what the band replaces all matter.

For businesses weighing presentation against unnecessary packaging, cost mistakes in custom packaging provides a useful commercial check on added components, labour and obsolete stock.

Plan the Hand-Applied Step

Belly bands are often simple to apply, which makes the assembly method easy to ignore during design. At scale, a few awkward seconds per unit can become a real labour cost.

Check how staff pick up the strip, locate the front face, bring the ends together and close the overlap. Pre-creasing can help some box applications. A visible rear registration mark may help others. For soft products, a simple uncreased strip may be faster because the product itself defines the shape.

The experienced Custom Packly team can coordinate sizing, artwork, print, closure and production through one process. For larger runs, a clear registration point or repeatable closure position can save more packing time than another decorative finish.

The aim is not to engineer the most elaborate band. It is to make a repeatable one that staff can apply cleanly without constant adjustment.

Mark the Band Position

Before pricing Custom Belly Band Packaging, take a photograph of the actual product or finished base package and mark the upper and lower edge where the band should sit. A second rear view should show where you want the overlap or closure to land.

Those two images answer questions that dimensions alone cannot: how much of the product should remain visible, which face must stay uninterrupted and whether the band is mainly identifying the item or lightly grouping it.

Add the finished circumference and quantity by artwork version, then send that marked reference through the belly band quote. The specification can then be built around the exact strip the product needs rather than expanding a generic sleeve until it happens to fit.

FAQs

The main difference is coverage and intent. Belly band packaging usually covers a smaller section of the pack and works as a lighter branded layer, while box sleeves tend to cover more of the box and create a more complete outer face. If you want faster artwork changes and less printed board, a belly band often makes more sense. If you need broader branding space, box sleeves may be the better fit.

It works best for products that already have a stable box, tray or grouped presentation and only need a stronger outer identity. That includes candles, cosmetics, confectionery, folded garments, subscription inserts and promotional sets. It is especially useful when several variants share the same underlying pack but need different front-facing names, colours or campaign messages.

Start with the exact measurement around the pack where the band will sit, then confirm band depth, overlap allowance and board thickness. Buyers should also decide whether the band needs to be applied by hand or in larger-volume packing, because that affects tolerance and join choice. If the base pack has sharp edges, textured finishes or added tissue, those details should be checked early.

Yes, they often work very well when the product already has a clean base pack and only needs a more commercial outer face. A printed band can carry the brand, variant name, ingredients, usage detail or gifting message in a tighter space than a full box redesign. That makes it useful for retail shelves where quick recognition matters but full coverage is not essential.

Yes, short-run updates are one of their strongest uses. Brands can keep a consistent base box in stock and change only the band for launches, holidays, collaborations or retailer-specific versions. That can reduce over-ordering of printed boxes and make smaller campaigns easier to manage, especially when the design changes more often than the product itself.

Related Industry Packaging

Process

How it works

Your Packaging Journey, From Idea to Production and Delivery

01

Tell Us Your Specs

Custom packaging boxes

Tell Us Your Specs

Provide size, quantity, printing, and finishes.

02

Get a Fast Quote

Custom packaging boxes

Get a Fast Quote

Instant transparent pricing, no hidden fees.

03

Design and Approval

Custom packaging boxes

Design and Approval

Artwork checks, revisions, and final sign-off.

04

Produce

Custom packaging boxes

Produce

Expert manufacturing to meet deadlines.

05

Ship to Your Door

Custom packaging boxes

Ship to Your Door

Hassle-free, flexible delivery options.

Get Your Quote for Custom Belly Band Packaging

Share your product details, dimensions, quantity and artwork needs. We’ll help choose the right packaging style and send a clear quote.