Skip to content
Details

Custom Eyelash Boxes

Packaging that frames the lash arc, controls tray depth and keeps strip lashes visible without making a lightweight product feel overboxed.

The Tray Is the Starting Point

The most important dimension in Custom Eyelash Boxes is usually the tray, not the lashes alone. Strip lashes may be light, but their presentation depends on a shallow carrier that keeps the pair shaped, separated and facing forward. The outer carton should hold that carrier securely without pressing on the fibres or making a small product disappear inside excess depth.

Start with the finished tray or insert exactly as it will be packed. Its outside length, width and depth set the usable cavity. Any finger notch, raised rim, lid, pull tab or other projection also needs clearance. This keeps the carton specific to the product while custom cosmetic packaging can stay visually coordinated across the brand.

Measure the Carrier

Measuring only the lash pair can produce the wrong box. Two lash styles may use similar fibres but sit on different tray shapes or depths. Measure the complete carrier at its widest and deepest points, then allow enough working clearance for packing and removal.

A close fit is useful, but friction should not make staff flex the tray to load it. If the tray bows as it enters the carton, the cavity is too tight or the entry path needs changing.

Preserve the Lash Arc

The top of the pack should clear the highest point of the lashes without creating a deep empty cavity. Fuller styles can rise noticeably above the tray, so usable internal height should be checked with the lashes already seated.

Keep the tray stable from its edges or underside rather than asking the fibres to tolerate contact. That preserves the intended curve and keeps the first view consistent.

Reveal Depth Changes the View

Eyelash packaging is unusually sensitive to depth because the customer often judges the product through an opening or immediately after a sleeve or lid moves away. A few unnecessary millimetres behind the front face can make the lashes look recessed. Too little depth can put the product against the viewing panel.

Keep Lashes Near the Window

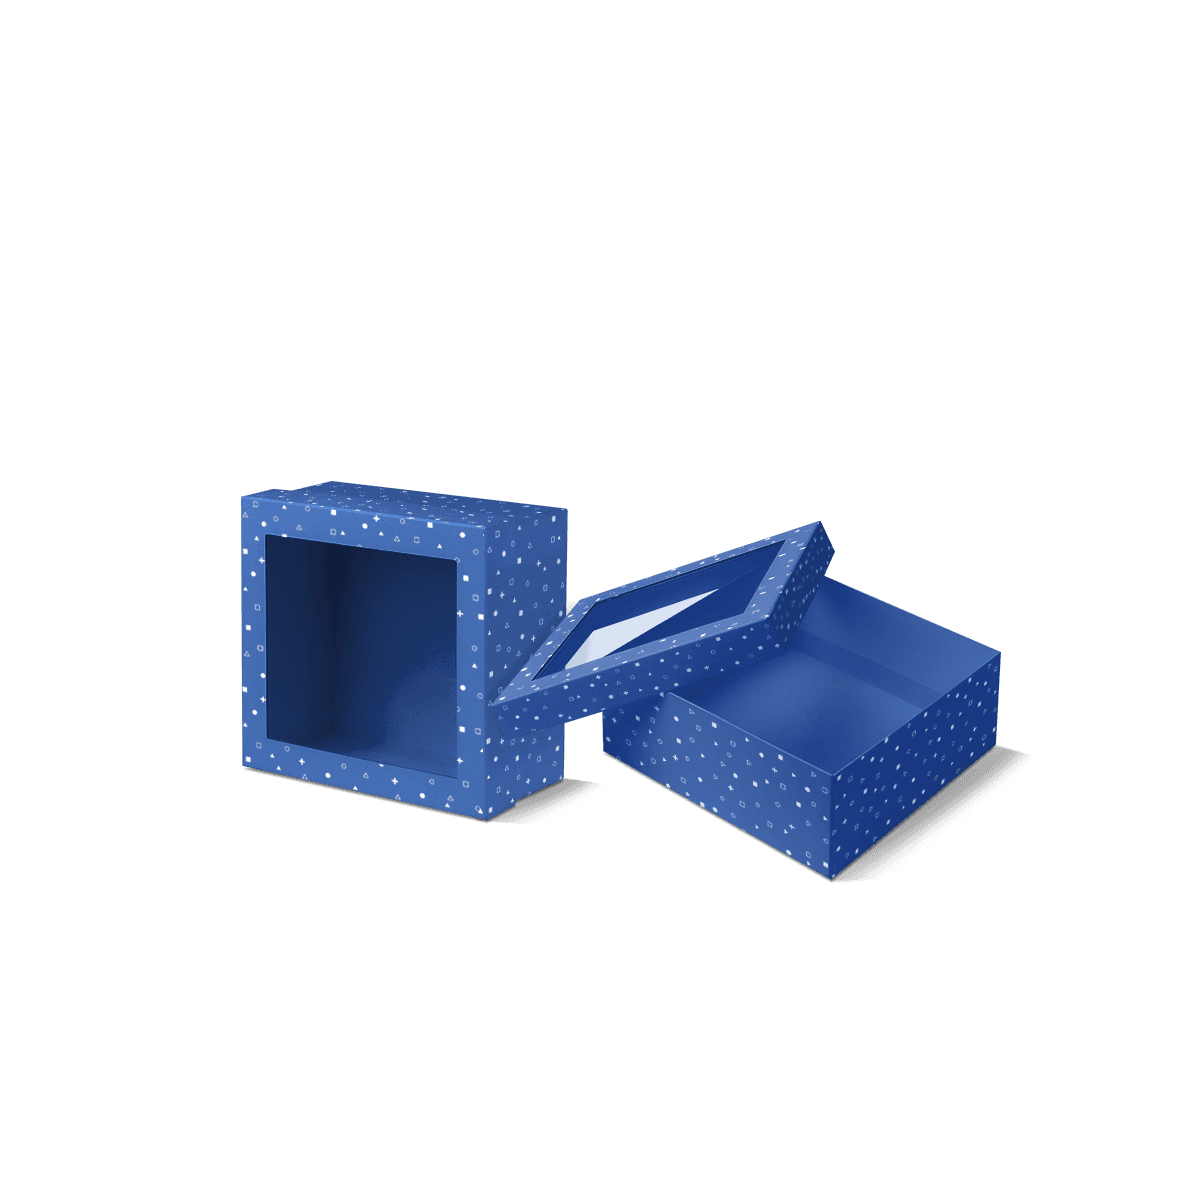
A window should frame the lash arc rather than expose the whole interior. Plan the opening after the tray position is fixed so the visible area shows lashes, not empty stock, tray edges or a finger notch.

With custom window boxes, a generous border also gives the front panel more stiffness and leaves usable space for the brand and style name. Enlarging the opening simply to show more product can weaken both the visual frame and the remaining print area.

Allow for Tray Drift

A window with a narrow border has less tolerance for movement. If the tray can slide a few millimetres sideways, one lash pair may look centred while the next appears visibly off.

Test the filled box after ordinary handling, not only when it has just been assembled. If the reveal shifts, improve the fit or add the smallest practical locating feature. The objective is consistent presentation, not an elaborate insert for a lightweight product.

Choose the Opening Behaviour

The opening style changes how quickly the customer reaches the lashes and how much of the presentation is revealed at once. Standard retail singles usually benefit from simple structures. More deliberate slide-out formats earn their place when the reveal is part of the product experience.

Tuck Cartons Stay Efficient

A compact straight tuck end box can work well around a conventional lash tray when the product needs a fully enclosed printed carton. It stores flat before packing and gives the front, back and side panels clear jobs.

Check the loading direction before approving the artwork. The tray should enter without snagging and the lashes should appear upright when the customer opens the intended end.

Sleeves Control the Reveal

Printed sleeve packaging can work well when the tray or inner piece already carries the product securely. Sliding the sleeve away exposes the lashes progressively without requiring a large front window.

The fit between sleeve and inner tray matters. Too tight and repeated opening scuffs the printed surfaces or feels awkward. Too loose and the inner component can move by itself. Aim for a smooth controlled slide rather than maximum friction.

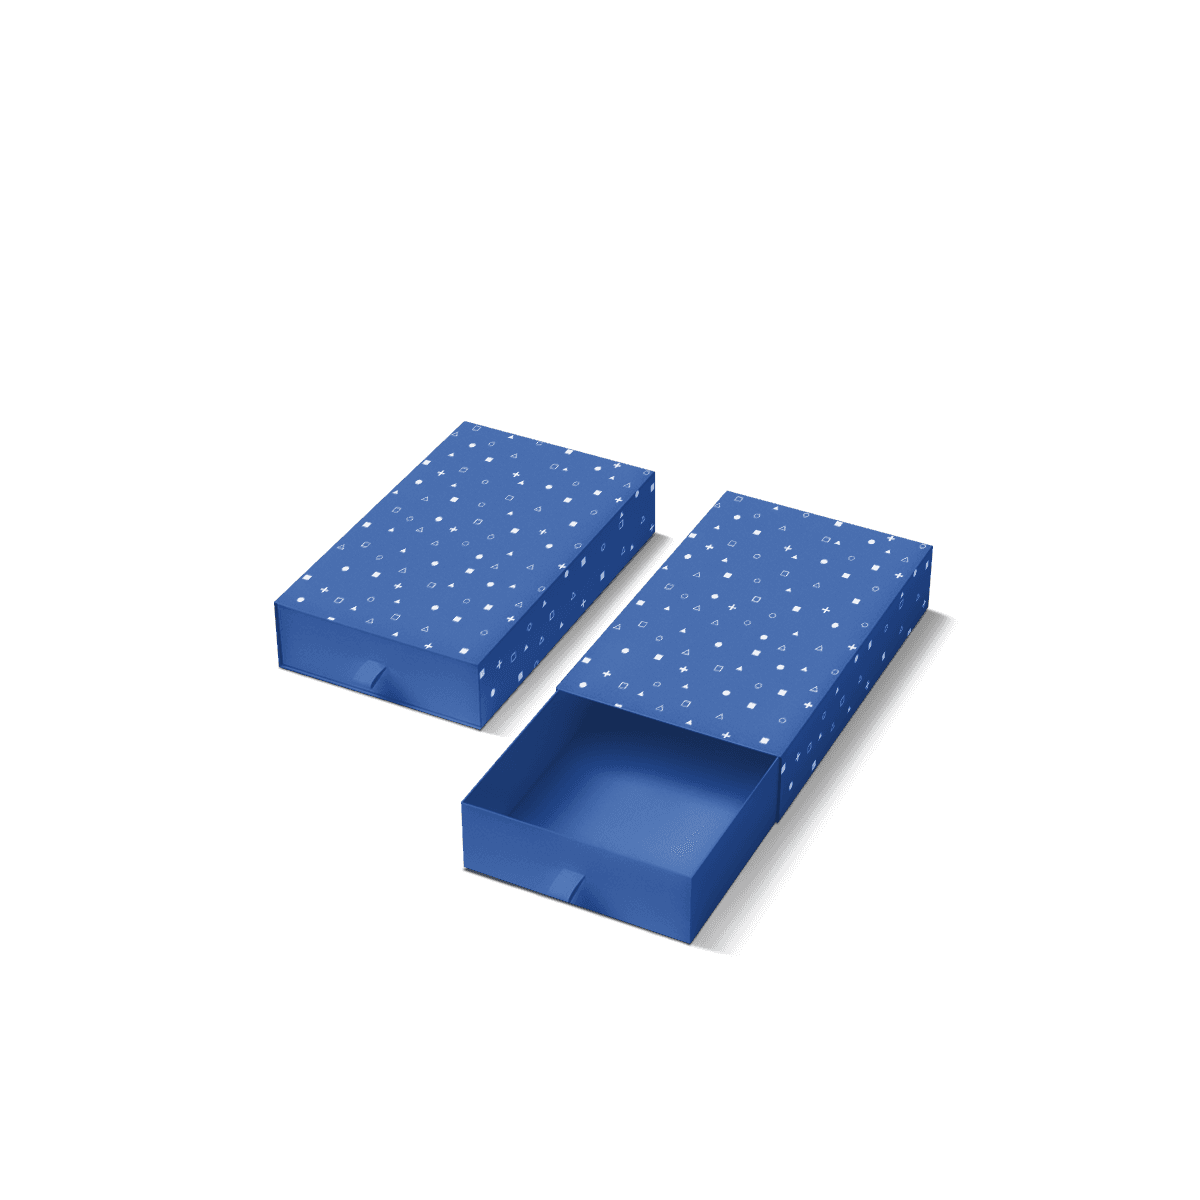
Drawers Suit Keepable Sets

Custom drawer boxes make more sense when the pack is intended to be retained, reopened or used for several pairs and accessories. They create a slower reveal and can organise a more substantial lash kit.

For an everyday single pair, the same structure can be unnecessary. Packaging should earn its extra material, storage volume and assembly rather than using a premium format simply because the product sits in the beauty sector.

Do Not Overbuild Lashes

False lashes are lightweight. Their packaging usually needs positional control and clean presentation more than brute strength. That makes specification discipline important: increasing thickness or moving to rigid construction does not automatically improve a pack whose real problem is poor tray fit.

The distinction between paperboard, corrugated and rigid packaging is useful here because each material solves a different problem.

Paperboard Often Does Enough

For a single retail tray, good paperboard can provide crisp folds, detailed print and enough stiffness without creating a bulky pack. The exact stock should reflect carton size, window area and the way the pack will be handled.

If a wide window removes a large part of the front face, improving the surrounding structure may matter more than simply specifying thicker stock everywhere.

Rigid Must Earn Its Space

Rigid packaging can suit premium lash wardrobes, reusable storage or gift-led sets where the box remains part of the ownership experience. It also arrives formed and occupies more storage volume than flat folding cartons.

That trade-off matters for lightweight beauty products. Custom packaging cost mistakes become especially relevant when a visually impressive structure adds handling or storage cost without solving a product need.

Give Kits Separate Zones

A lash kit behaves differently from a single tray because small accessories can move into the display area. Applicators, glue or other supplied components should not sit loose against the lash carrier or force the box to become unnecessarily deep.

Keep Tools Off the Tray

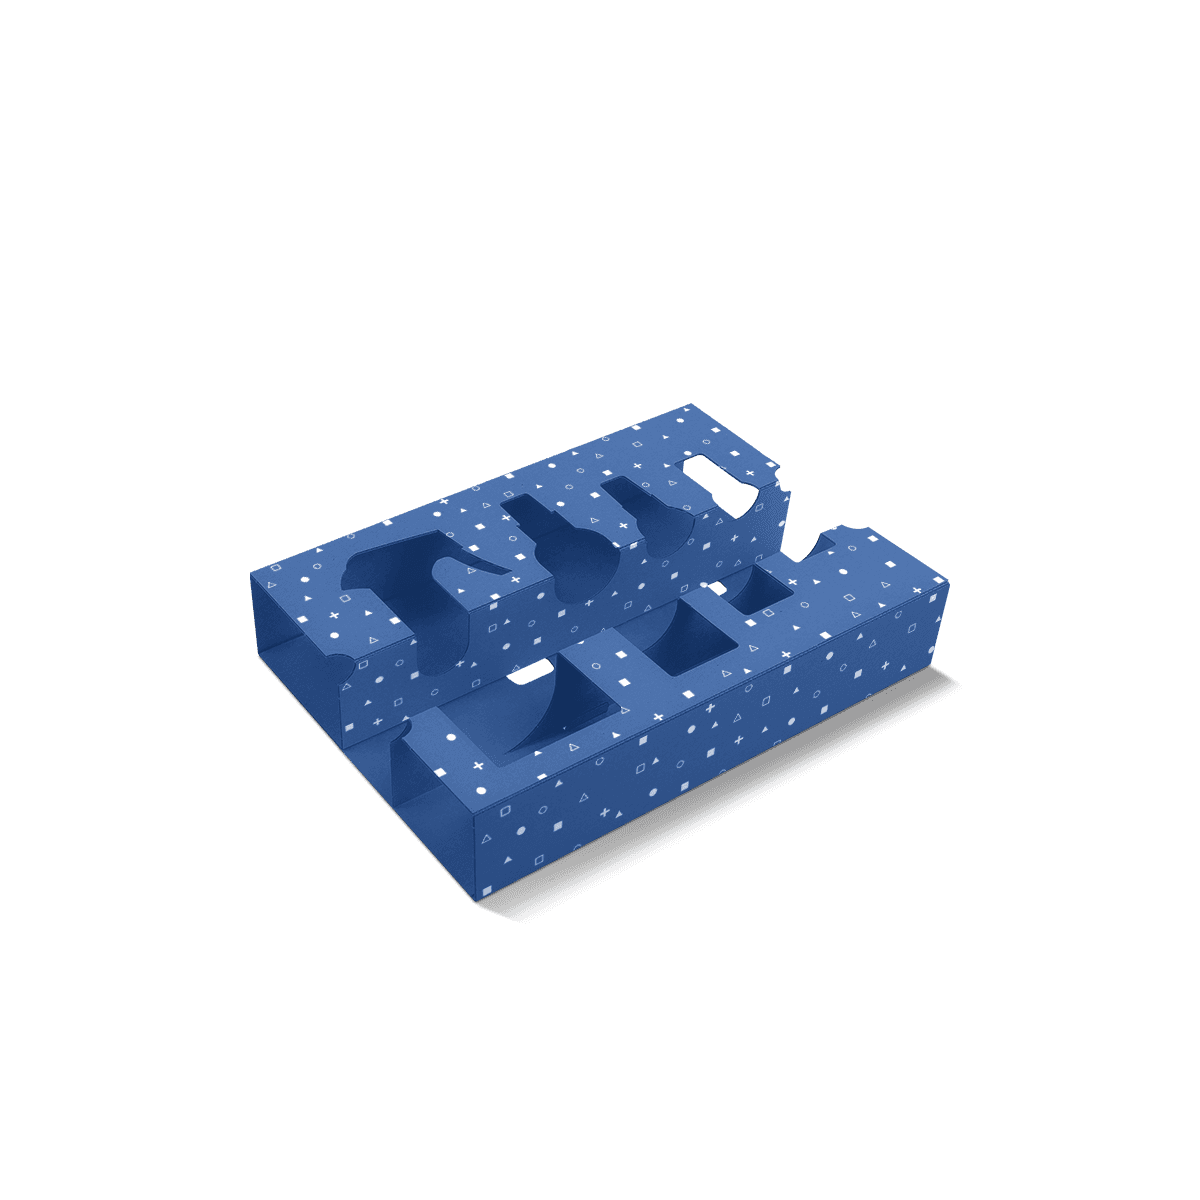
When accessories are included, assign each item a defined position. A shaped card support or die cut insert can separate a tool from the lash tray while keeping the first view organised.

The insert should follow the actual components. Avoid adding a large cavity for an accessory that is much thinner than the lashes because the empty depth can make the whole set feel poorly resolved.

Plan Removal as Carefully as Fit

A tray that looks perfectly aligned can still be frustrating if there is no sensible place to grip it. Finger access, a pull point or enough edge exposure should let the customer remove the carrier without touching the lashes.

This matters even more when several pairs sit in one set. Each layer or cavity should be accessible without bending another tray out of the way.

Let Artwork Frame the Lashes

With eyelash packaging, the product itself can carry much of the visual impact. Artwork works best when it frames that view rather than competing with it. The front needs a clear brand cue and style identity, but every remaining strip of paperboard does not need another decorative effect.

The principles in packaging design ideas are useful when deciding how structure, colour and finishing should work together instead of treating decoration as a separate stage.

Keep the Viewing Area Quiet

If the carton uses a window, give the opening enough visual space. Dense patterns, large foil areas and several messages packed around a narrow border can make the lashes harder to read.

Use secondary panels for supplied product information that does not need to compete with the reveal. The front should establish the brand, the lash style and the product view quickly.

Place Finishes on Stable Areas

Foil, embossing, debossing and spot UV can work well on logos or controlled details. Keep demanding finish areas away from very narrow window borders, tight folds and other zones where registration becomes less forgiving.

Once the tray, opening and viewing area are fixed, choose the print route from the artwork and run size. Digital versus offset printing is the better next step when colour coverage, finish registration or production quantity affects that decision.

Check the Pack From Front

A lash box should be assessed in the position customers will actually see it. Hold a filled sample at the likely viewing angle and look at the lash pair before reading the artwork. The tray should appear centred, the lash arc should be easy to see and the pack should not show distracting internal gaps.

For businesses still deciding between a tuck carton, sleeve, drawer or another structure, types of packaging boxes can help separate the job each format is meant to do.

Open It the Customer's Way

Open the carton in the intended direction and check the first view. The lashes should not appear upside down, sideways or hidden behind a flap because the flat artwork was approved without testing the folded orientation.

For supported carton styles, the free dieline generator can create a starting template from confirmed dimensions. Use the final production dieline once the tray fit and opening direction are settled.

Photograph the Packed Tray

For eyelash packaging, a packed-tray photo is often more useful than a generic box measurement. Photograph the lashes seated in the production tray from directly above and from the side, then mark the outside tray dimensions and highest lash point.

If the set includes an applicator, adhesive or an extra pair, include those components in the same reference and show which direction the pack should open. That gives enough information to assess tray movement, viewing depth and accessory spacing together.

Attach those references to the custom packaging quote with the required quantity and artwork status. If the outer dimensions still need resolving, design support can work from the real tray arrangement rather than a guessed carton size.

FAQs

Compact folding cartons and sleeve-led formats are often the best starting point for standard lash trays because they keep the pack neat and efficient. If the lashes need a stronger reveal, a Window Box or insert-supported layout may work better. The right choice depends on tray depth, how visible the lashes need to be and whether the product is sold as a single tray or part of a set.

Start with the exact tray dimensions, including depth, widest points and any shaped edges that affect the fit. Confirm whether the lashes sit in a fixed tray, require a window opening or need space for glue, tools or leaflet inserts. It also helps to confirm the display method, barcode position and whether the boxes will be packed into secondary delivery cartons after assembly.

Not always. A window can help when the lash style itself is the main selling feature and the product needs faster visual recognition on shelf. A fully printed carton can be the stronger route when branding, finish quality or a cleaner premium look matters more. The better option depends on whether product visibility or surface design is doing more of the selling work.

A fixed naming system works best. Style names, lash type markers and barcode details should stay in consistent positions across the full range so the line feels coordinated. Small cartons benefit from disciplined hierarchy, especially when several similar trays sit together. If the range is expanding quickly, that structure becomes more useful than adding extra decorative elements.

Eyelash Boxes are stronger when the pack has to frame a tray, control the reveal and suit a flatter beauty component rather than a tube, compact or stick product. Makeup Boxes usually serve broader cosmetic formats with different sizing needs and panel logic. For lashes, tray proportion, window planning and display presentation matter more than they do in most standard cosmetic cartons.

Process

How it works

Your Packaging Journey, From Idea to Production and Delivery

01

Tell Us Your Specs

Custom packaging boxes

Tell Us Your Specs

Provide size, quantity, printing, and finishes.

02

Get a Fast Quote

Custom packaging boxes

Get a Fast Quote

Instant transparent pricing, no hidden fees.

03

Design and Approval

Custom packaging boxes

Design and Approval

Artwork checks, revisions, and final sign-off.

04

Produce

Custom packaging boxes

Produce

Expert manufacturing to meet deadlines.

05

Ship to Your Door

Custom packaging boxes

Ship to Your Door

Hassle-free, flexible delivery options.

Get Your Quote for Custom Eyelash Boxes

Share your product details, dimensions, quantity and artwork needs. We’ll help choose the right packaging style and send a clear quote.