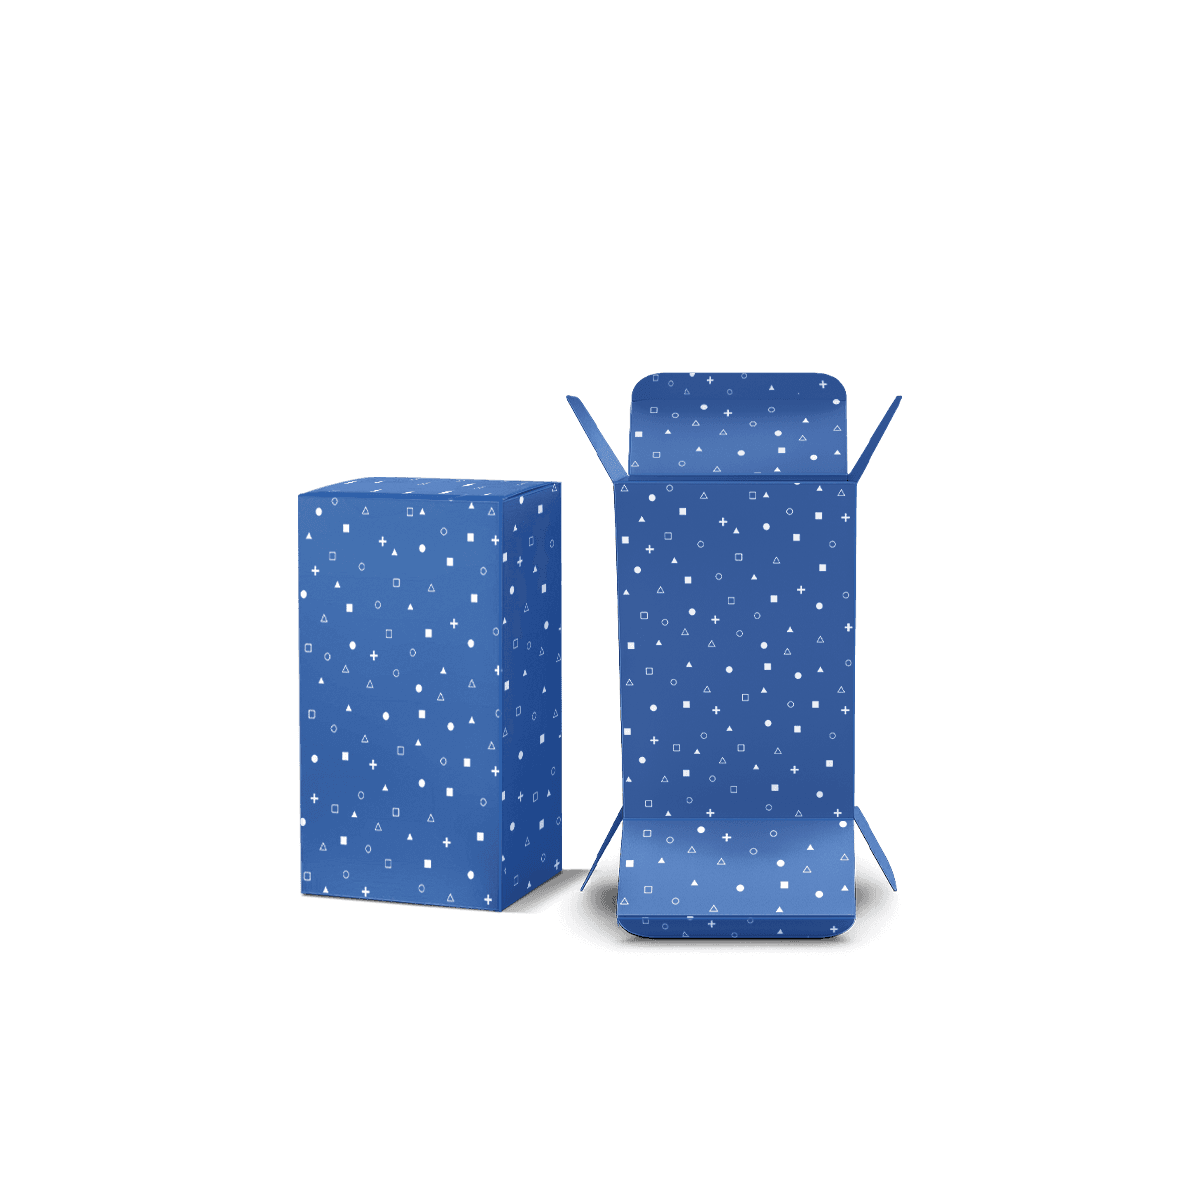
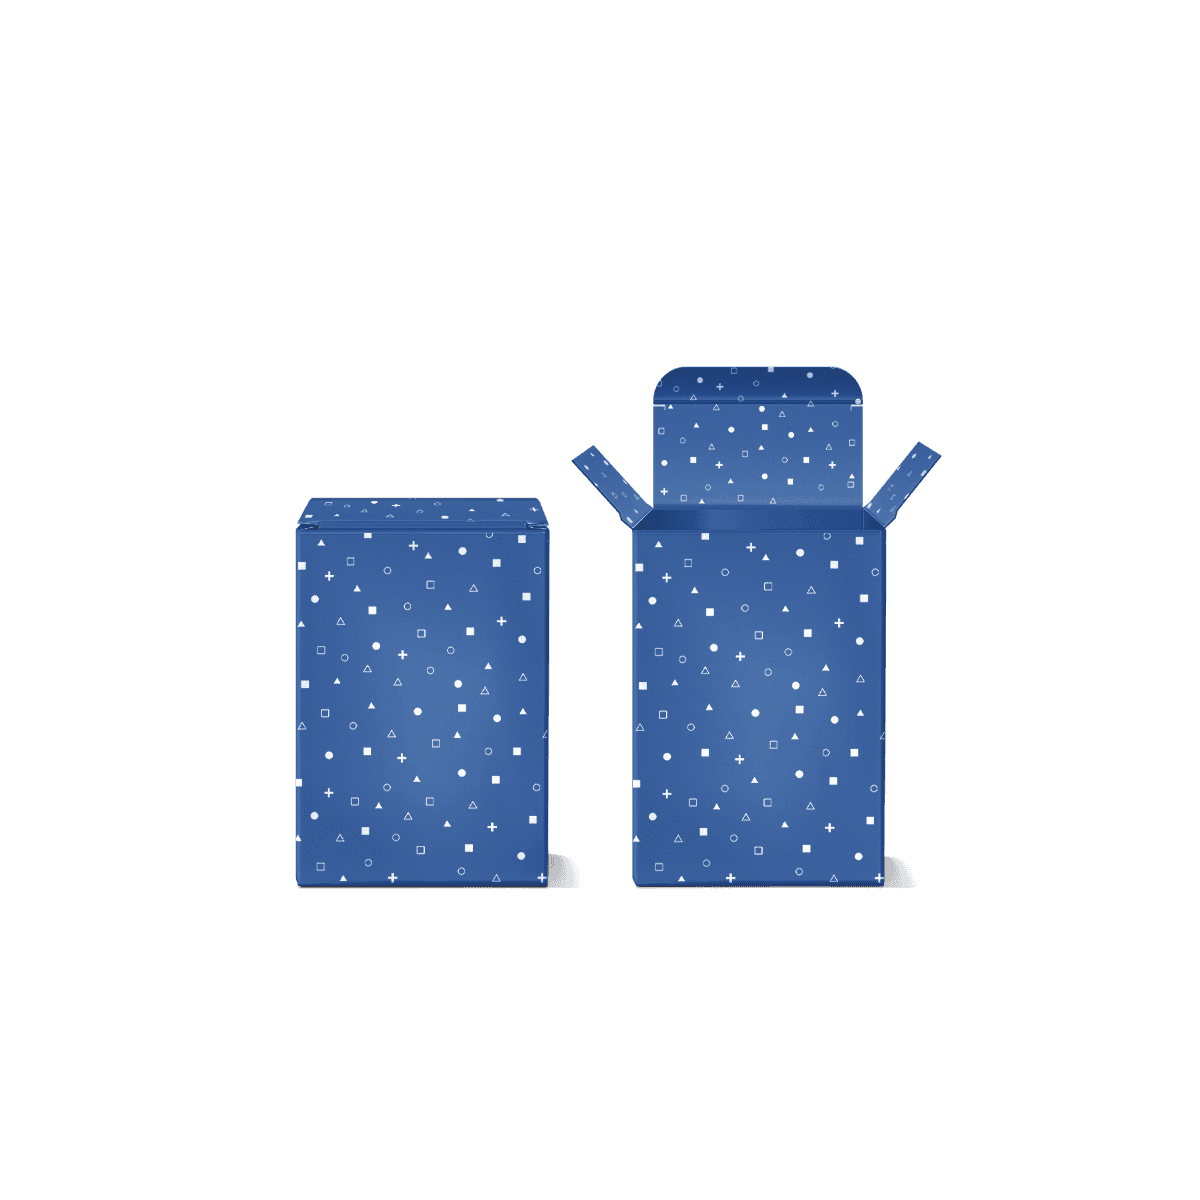
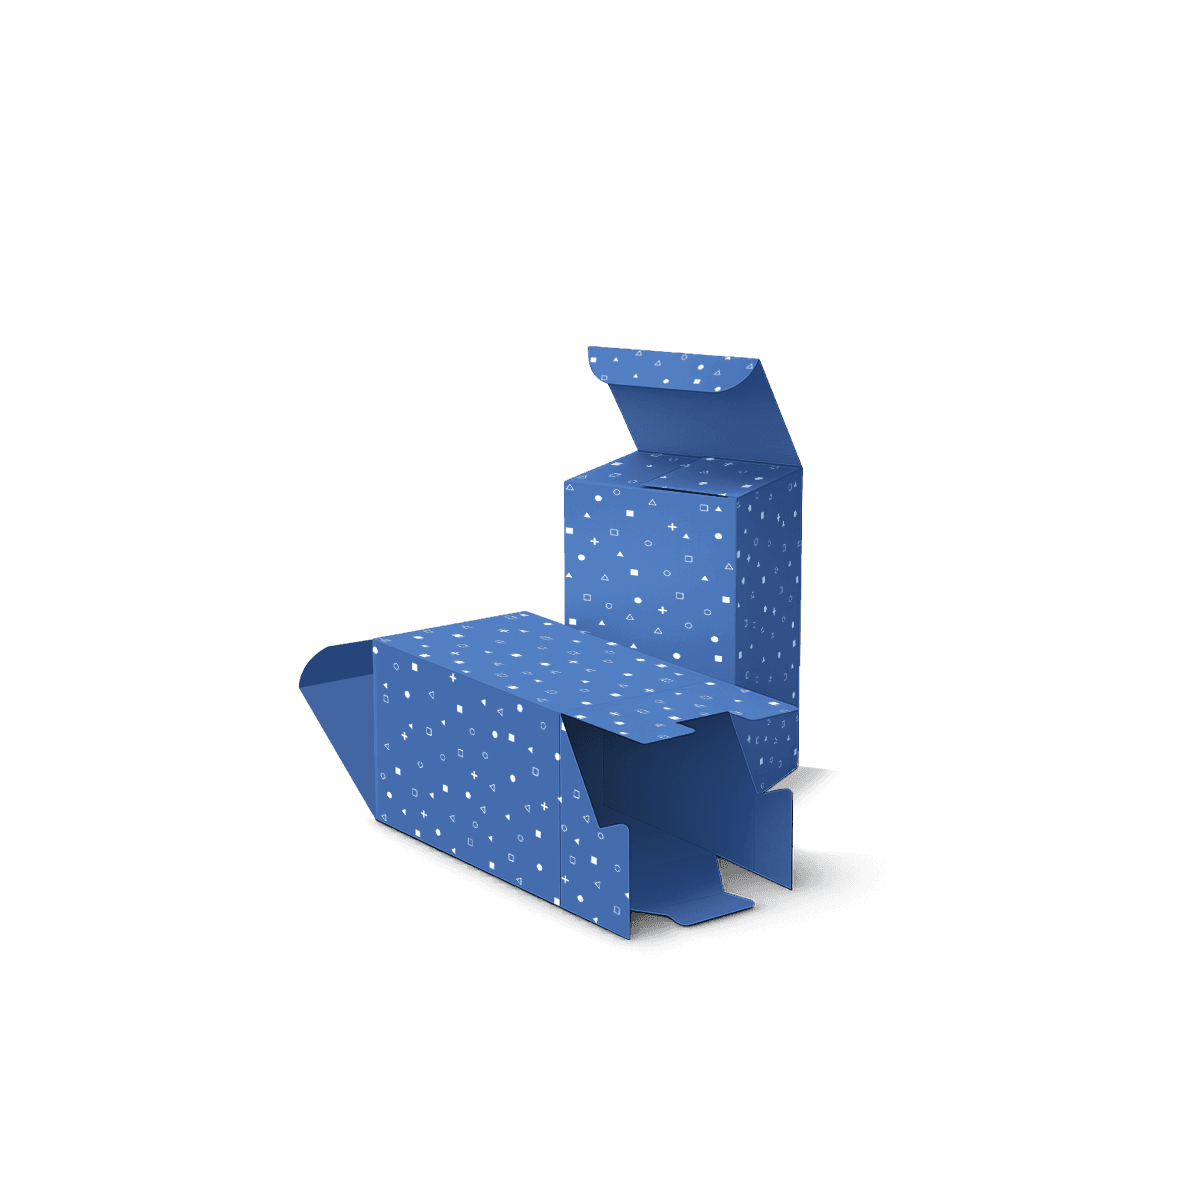
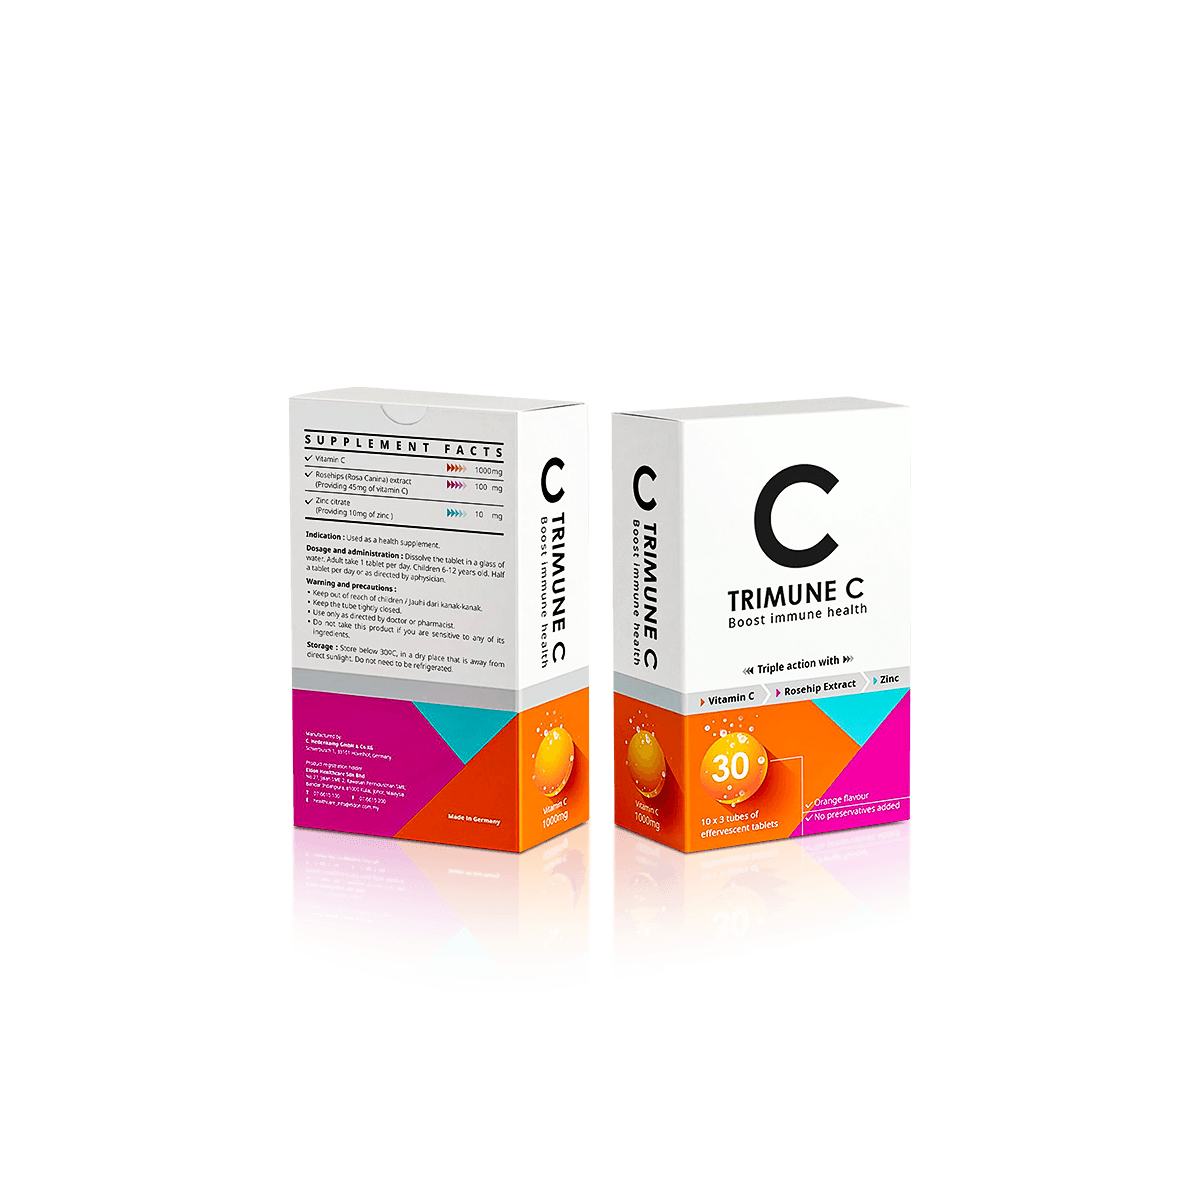
A reverse tuck carton should be specified from the assembled box first, not from a flat template. One main flap closes from one face and the other closes from the opposite face, so the preferred loading end, front panel and artwork orientation need to be agreed before production artwork is finalised.
Choose the Loading End
Decide which end the packing team will use before the dieline is approved. The product, leaflet and any insert should enter without catching on dust flaps or forcing the main tuck panel out of shape.
For hand-packed lines, a consistent loading direction reduces unnecessary turning of the carton. If the box will be used with automated equipment, share the feed direction and closing sequence early so the flap orientation can be reviewed against the actual process.
Reverse tuck does not guarantee faster packing on its own. It works best when the chosen flap direction suits the way the product is loaded and closed.
Name the Front Panel
Do not assume the panel that looks like the front on a flat dieline will be the preferred retail face after assembly. The opposing tucks change the relationship between the top, bottom, front and back panels.
Confirm the customer-facing panel before placing a large logo, product name, barcode or mandatory information. This is one of the main practical differences from custom straight tuck end boxes, where both main end flaps close in the same direction.
Sheet Yield Can Improve
The alternating flap layout can allow reverse tuck blanks to nest efficiently on a press sheet. On larger runs, that may reduce board waste compared with a straight tuck layout of similar size.
It is not a guaranteed saving. Exact yield depends on carton dimensions, board grain, printing method and the final imposition. The useful rule is to compare the production dielines before assuming two similar tuck styles will use the same amount of board.