Skip to content
Details

Custom Dispenser Display Boxes

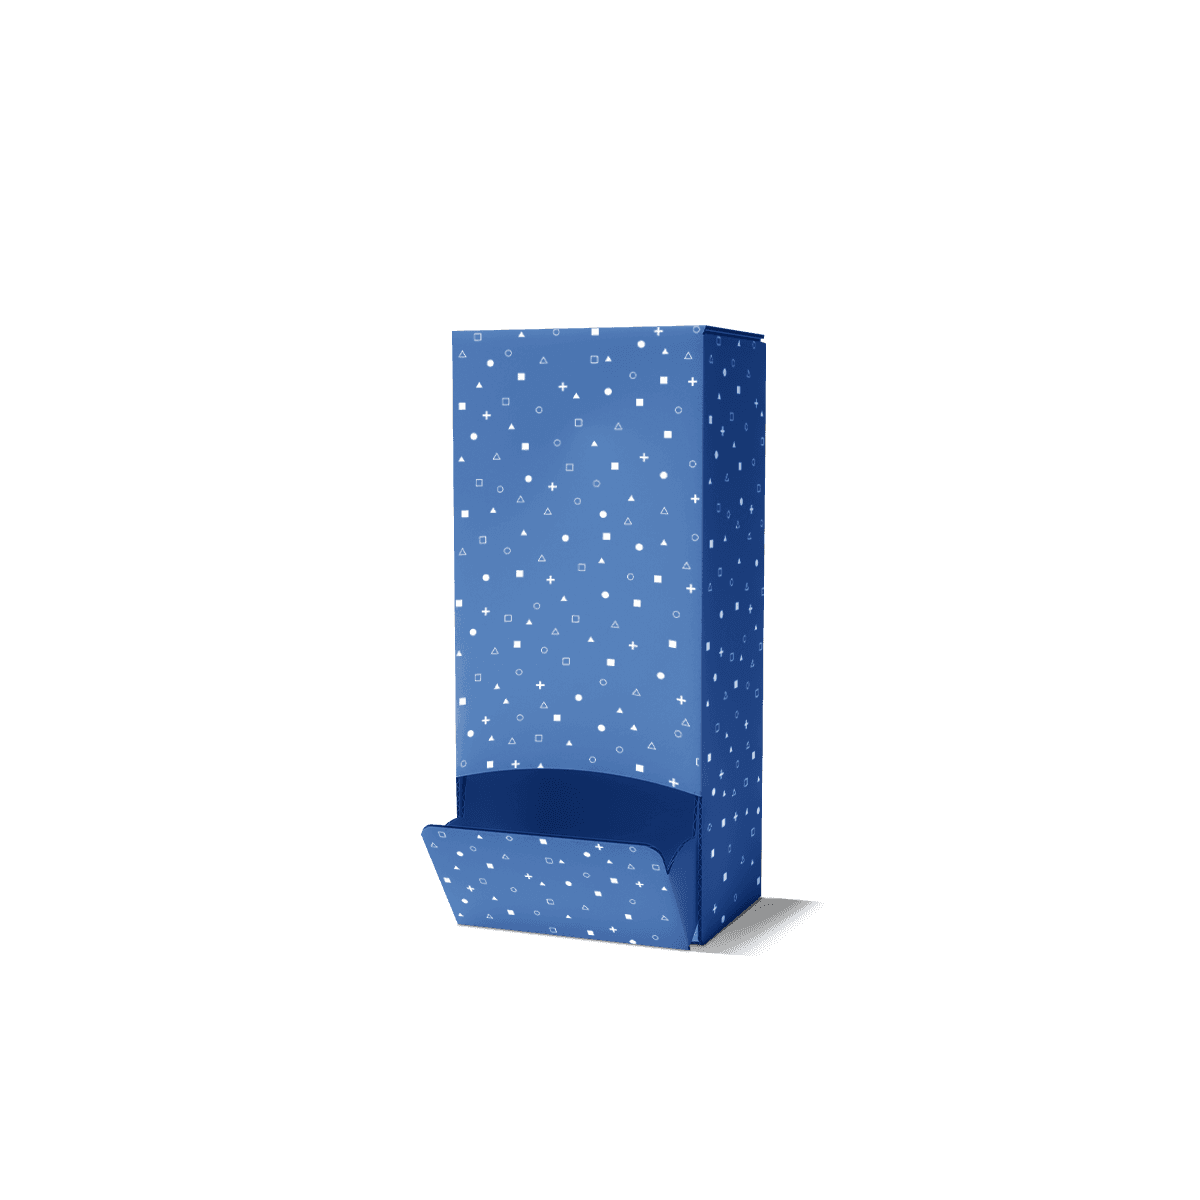
Dispenser display boxes release products one at a time from a compact retail unit, making them a strong choice for fast-pick items that need tidy stock control, clear branding and easy access on counters, shelves and promotional stands.

The Opening Controls the Pick

The dispensing aperture determines whether a customer removes one item cleanly or disturbs the whole row. Custom dispenser display boxes need the opening, retaining lip and internal lane to work as one retrieval mechanism.

That sounds simple, but the opening is doing several jobs at once. It sets the direction of removal, limits how much product is exposed, affects whether two units can be pulled together and determines how much usable print area remains on the front panel. A large cut-out can improve access but weaken control. A small one can make the last units difficult to reach.

Start with the finished product rather than a stock dispenser shape. Product width, height, thickness, edge profile and surface finish all affect the cut-out. The best arrangement also depends on whether the item is taken from the front, lifted slightly before removal or pulled through a shaped finger opening.

For sachets, slim cartons, bars, sample packs and other compact products sold individually, this controlled access can keep the selling area tidier than a fully open tray. Brands planning several store-facing formats can place the dispenser alongside their custom retail packaging rather than asking one structure to handle every retail job.
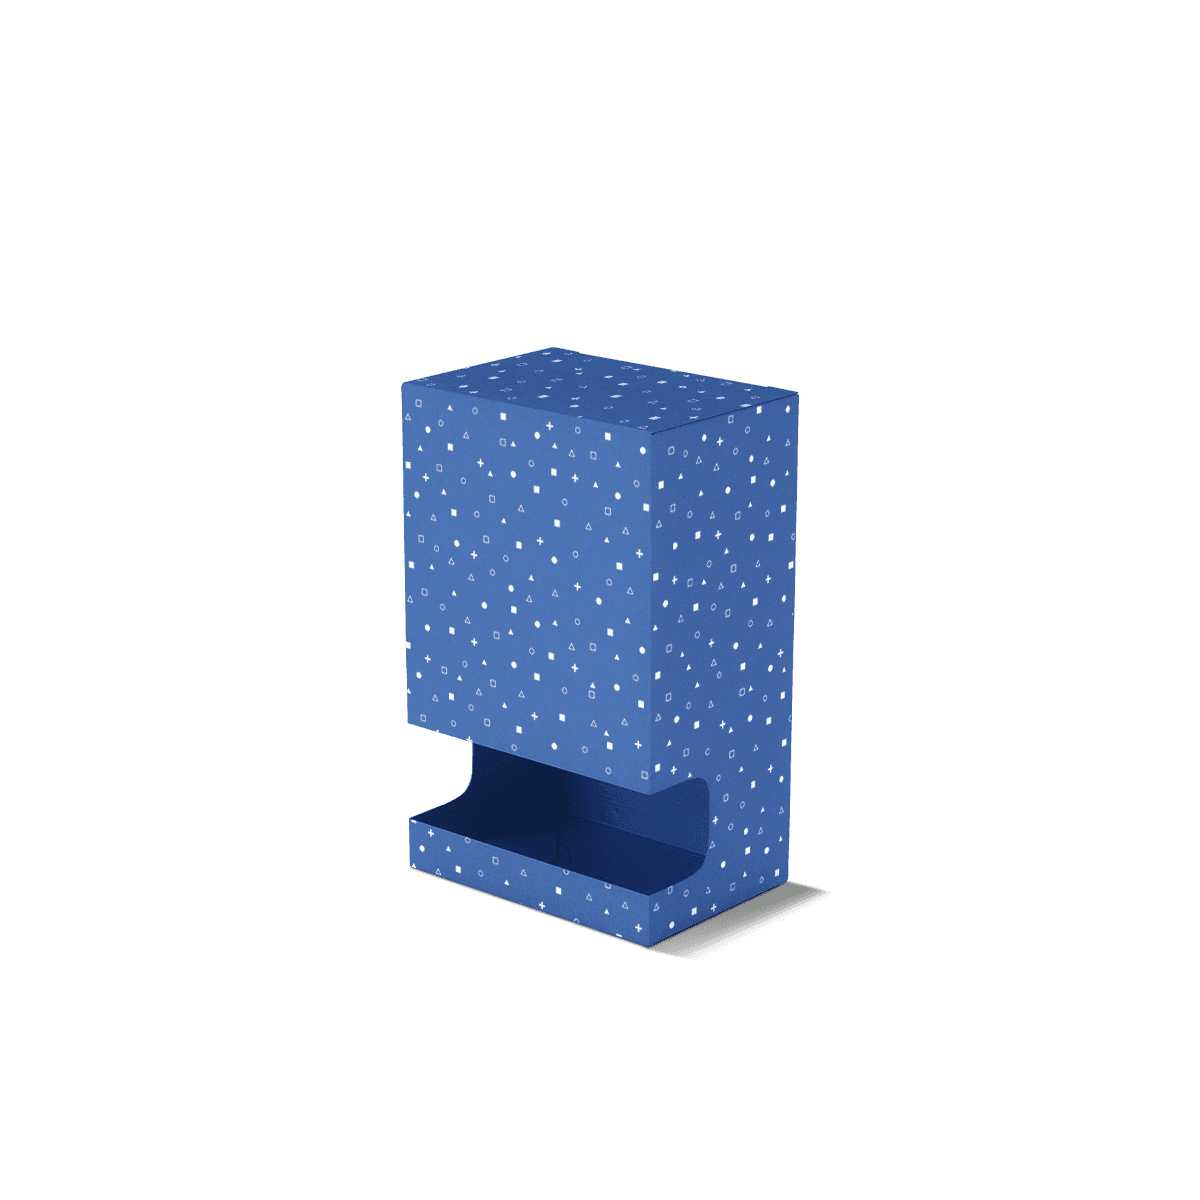
Front-Opening Dispenser Geometry

The dispensing aperture should be developed around the actual pick movement. Its width, height and position need to work with the product without exposing so much stock that the box becomes an open tray.

Expose One Product Edge

Customers normally need a clear edge, corner or face to grip. For a small carton, that may mean exposing part of the front face while a lower retaining lip stops the next unit moving out with it. For a packet, a shaped finger cut can provide access without removing most of the front wall.

The opening also needs to work when the dispenser is almost empty. If the last unit drops below the accessible area or sits too far behind the front panel, the structure has failed even if the first product was easy to remove.

Finger Clearance Without Double-Pulls

Too little finger clearance causes awkward picking. Too much can allow customers to grab two items or disturb the row behind the product being removed.

Consider a dispenser holding 20 mini cartons in two vertical columns. If the front aperture exposes almost two carton heights, a customer can catch the lower carton and the one above it in the same movement. The upper row then shifts forward and the presentation becomes untidy.

Reducing the aperture so it exposes one carton at a time, adding a small finger notch and separating the two columns with a simple divider creates a more controlled pick. Staff can still refill from above, but the customer interacts only with the front unit in each lane.

That is a better solution than increasing the outer size or adding heavier material to a problem caused by opening geometry.

Product Shape Sets the Interior

Dispenser boxes work most reliably when the internal space controls orientation without gripping the product too tightly. The required clearance changes with the product shape and the way its surface behaves against the board.

Uniform Cartons and Bars

Regular rectangular products are easier to organise because their dimensions remain predictable from one unit to the next. Slim cartons, confectionery bars and boxed samples can often sit in simple lanes with a front stop and controlled retrieval opening.

Even with uniform products, excessive clearance creates lean and rotation. The internal width should allow straightforward loading without giving the stock enough room to turn sideways.

Flexible Packs Need More Tolerance

Sachets and lightweight pouches can vary slightly in thickness depending on seals, trapped air and product distribution. A cavity specified too tightly around the flat artwork dimensions may snag once real filled packs are loaded.

Surface finish matters as well. A highly textured or high-friction pack can behave differently from a smooth coated carton. Before adding internal slopes or assuming products will advance by themselves, test the real filled item.

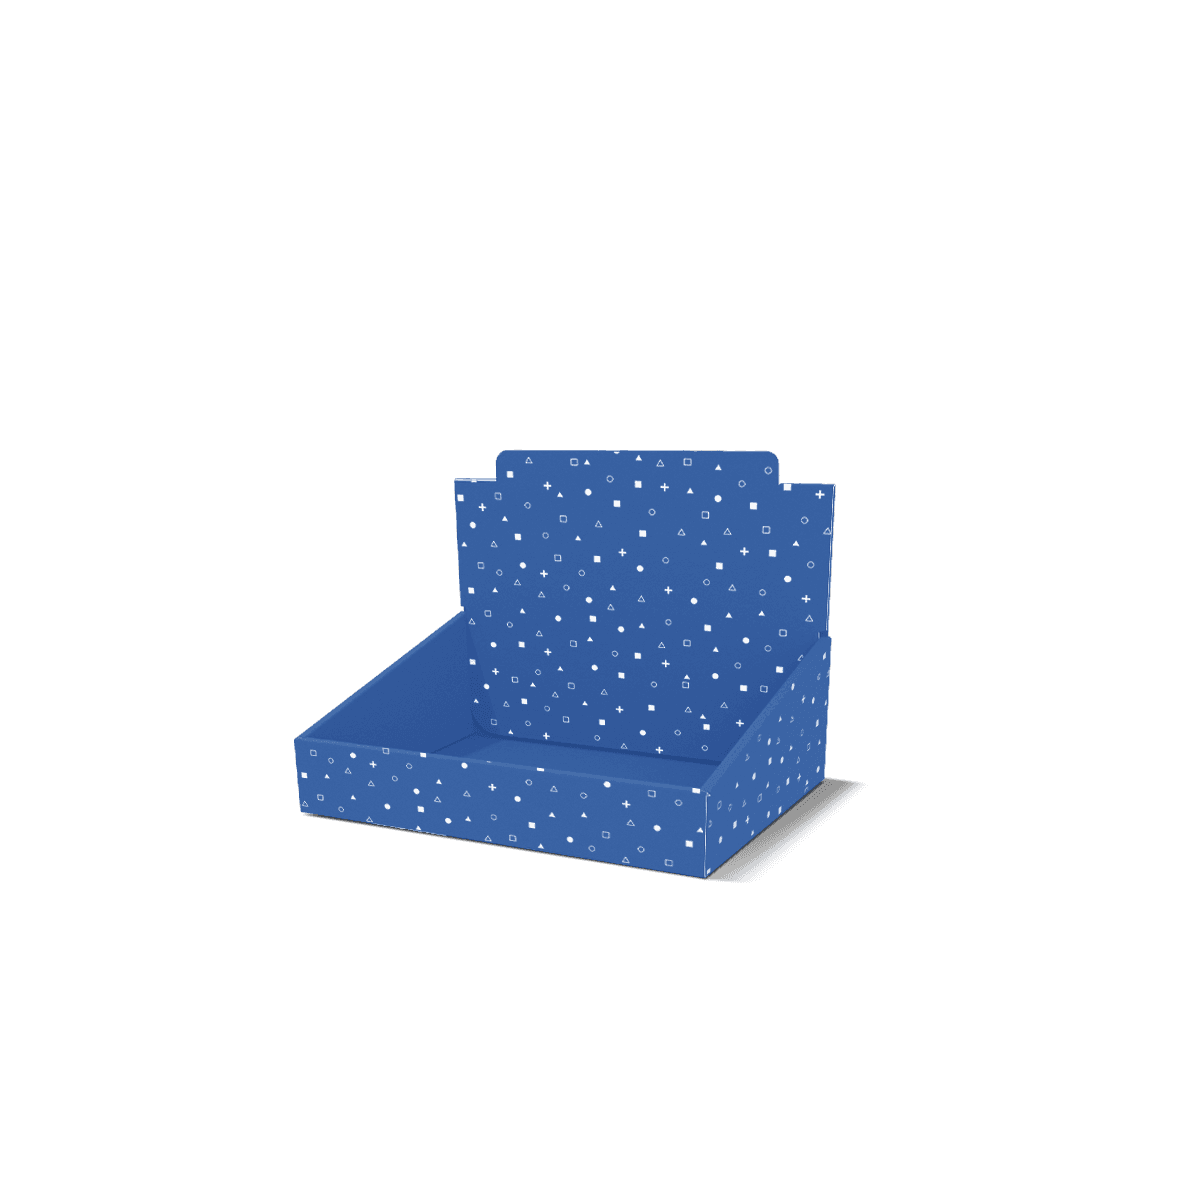
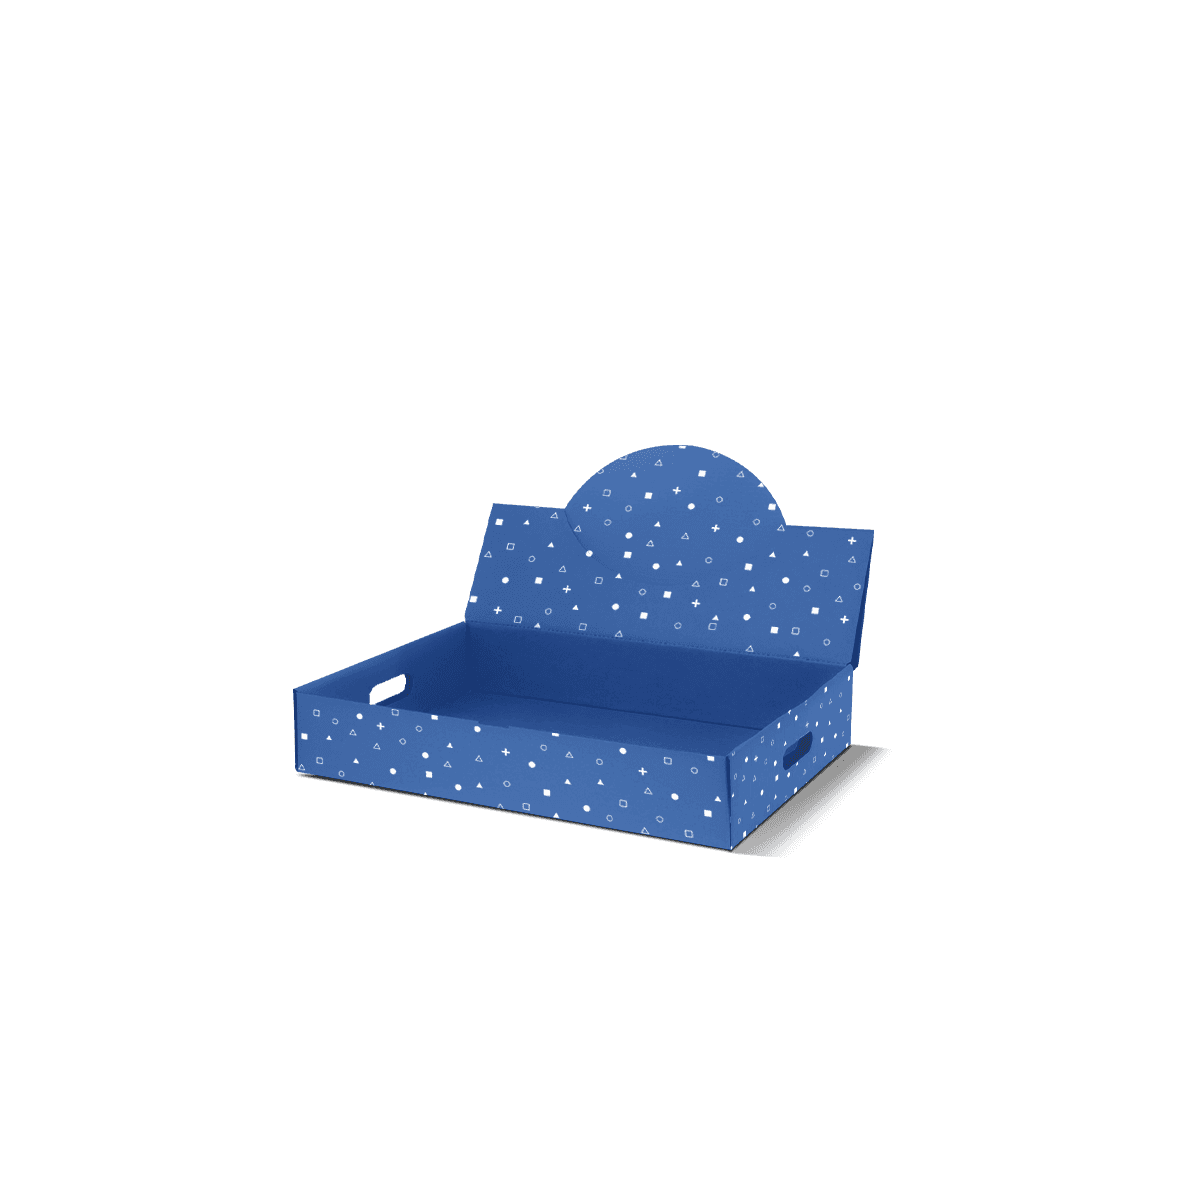
When full top visibility and unrestricted access matter more than controlled retrieval, tray display boxes are usually the cleaner alternative.

Refilling Needs Its Own Route

Customer access and staff access do not have to use the same opening. A dispenser can work well for shoppers and still become frustrating if employees have to shake, tilt or partly dismantle it every time stock is added.

Top loading is straightforward when there is enough clearance above the display and the internal lanes can be reached easily. Rear loading can work better where the dispenser sits on a staffed counter and customers approach only from the front.

The refill direction also affects artwork and closing panels. A large rear flap may be practical for staff but needs enough strength to survive repeated opening. A narrow top access point may keep the external graphics cleaner but slow replenishment if products have to be loaded one by one.

Capacity should therefore reflect the expected refill rhythm. More stock is not automatically better if the extra depth makes products hard to load or pushes the dispenser beyond the available shelf or counter space.

For repeat retail programmes, warehousing and scheduled deliveries can support staged supply once the dispenser specification and refill process have been proven in use.

Run the Full Pick Cycle

A dispenser should be tested through a sequence of removals, not approved because one product came out cleanly. Load it to the intended capacity and use the actual finished products wherever possible.

Take products from the full unit, the middle of the stock level and the final few positions. Watch for double-pulls, snagging, rotation, crushed corners and units disappearing behind the front panel. Then refill it using the intended staff access and repeat the process.

A free physical sample can reveal these behaviours before a larger order. It is especially useful where product thickness varies, the aperture is tightly controlled or dividers guide more than one SKU.

Once the working geometry is approved, record the internal dimensions, opening profile, divider layout, material and artwork version. Custom Packly's MOQ starts from 100 boxes, which can support a controlled launch before moving into larger repeat volumes.

For approved projects tied to a retail date, guaranteed 4–6 working day production and delivery provides a defined production window. The priority remains getting the dispensing behaviour right before that production stage begins.

Retail Dispenser Box Materials

Material should support the opening, loaded weight and handling pattern. Dispenser boxes often have a large cut-out in the front, so the remaining walls and base need enough stiffness to hold their geometry through repeated picking and refilling.

Paperboard for Compact Loads

Paperboard can suit lightweight cartons, sachets, sample packs and confectionery where the unit remains relatively small. It gives a clean surface for detailed print and folds efficiently when the structure does not need heavy-duty rigidity.

The board still needs to remain stable around the dispensing aperture. Narrow strips of material beside a large cut-out can crease or flare if the stock repeatedly presses against them.

Corrugated Around Repeated Handling

Fine-flute corrugated board can make sense for deeper units, higher loaded weights or dispensers that will be handled and refilled for longer periods. It adds stiffness without requiring the box to become a permanent fixture.

The right material depends on the complete structure, not simply on whether the product itself is light. A dispenser containing many small dense items can create more load than its compact footprint suggests.

The practical differences between paperboard and corrugated structures are covered in paperboard vs corrugated vs rigid packaging.

Print Around the Working Face

The front panel of a dispenser is both a graphic surface and a mechanical part. The cut-out can occupy the area where a normal carton would place its main branding, so artwork has to be planned around what remains visible after die-cutting.

Brand names and short product cues often work better above the opening or on the side panels than across the lower centre of the box. If a header is added, it can carry campaign messaging while the working face stays visually simple.

Premium offset printing can support detailed graphics and controlled brand colour across repeat runs. CMYK suits full-colour artwork, while Pantone references can be used where tighter brand-colour control is required.

Free 3D mockups are useful because they show the relationship between the dispensing cut-out, visible products and printed panels before production. The flat artwork should still be prepared on the correct technical layout. Packaging dielines explained covers cut lines, crease lines, bleed and safe areas that matter around shaped apertures.

Finishes should stay clear of any area where they could interfere with folding, gluing or repeated product movement. Visual detail earns its place only after access works cleanly.

Does the Next Product Need to Advance?

A standard dispenser works when customers can reach the next item directly through a controlled opening and the remaining stock simply needs to stay contained.

Gravity Dispenser Boxes become useful when removing the front item should cause the remaining products to advance under their own weight. That requires reliable slope, friction and lane behaviour rather than just a dispensing cut-out.

Where the broader retail setup is still being planned, custom retail packaging can connect the dispenser with the primary pack and surrounding store formats.

When products must drop or slide forward under their own weight, Gravity Dispenser Boxes are the specialist route; a standard dispenser box does not automatically need gravity-fed movement.

Use the Pick Movement as the Specification

Once the product can be removed cleanly from full, mid-stock and nearly empty states, record the aperture profile, lane width, divider layout and refill route as part of the production specification.

If that mechanism is still unresolved, send the finished product and intended retail position through the custom packaging quote. Custom Packly can develop the dispensing geometry before the print file is finalised.

FAQs

Products with a consistent shape and reliable slide or feed movement usually work best. Sachets, bars, folded packs, slim cartons and lightweight pouches are common examples. If the item is irregular, fragile or too bulky to advance neatly, another structure may perform better. The easiest way to judge suitability is to test how the product behaves when stacked and released repeatedly.

Confirm product dimensions, pack thickness, surface finish and how many units the box needs to hold. You should also check whether the item needs gravity assistance, a stepped feed or a simple front retrieval opening. The front cut shape, internal angle and refill access all affect how smoothly the unit dispenses during daily use.

Dispenser display boxes control access through a front opening, while Tray Display Boxes leave the stock more openly exposed from above. Choose a dispenser unit when tidy one-by-one release matters more than full top visibility. Choose a tray when products need broader open access and direct view across the whole stock line.

Yes, they can carry high-quality print across the front, sides and any header area. Matte, gloss and selected embellishment options can all work if they do not interfere with folding accuracy or opening performance. On this structure, the front panel does important visual work, so branding should stay clear and easy to read from a short retail distance.

Not always. Some products feed forward naturally because of their shape and weight, while others need a more deliberate internal slope or tighter guidance. Smooth dispensing depends on the relationship between the product, the board interior and the opening size. It is important to confirm movement during prototyping rather than assuming every item will advance in the same way.

Process

How it works

Your Packaging Journey, From Idea to Production and Delivery

01

Tell Us Your Specs

Custom packaging boxes

Tell Us Your Specs

Provide size, quantity, printing, and finishes.

02

Get a Fast Quote

Custom packaging boxes

Get a Fast Quote

Instant transparent pricing, no hidden fees.

03

Design and Approval

Custom packaging boxes

Design and Approval

Artwork checks, revisions, and final sign-off.

04

Produce

Custom packaging boxes

Produce

Expert manufacturing to meet deadlines.

05

Ship to Your Door

Custom packaging boxes

Ship to Your Door

Hassle-free, flexible delivery options.

Get Your Quote for Custom Dispenser Display Boxes

Share your product details, dimensions, quantity and artwork needs. We’ll help choose the right packaging style and send a clear quote.