Skip to content
Details

Custom Tray Display Boxes

Tray display boxes keep products open, visible and easy to pick from shelf, counter or promotional space, making them a practical choice for compact retail lines that need tidy presentation without a full enclosed display unit.

The Product Should Dominate the Tray

The first thing a tray removes is visual obstruction. Products stay exposed from above and the structure only needs enough wall height to organise, restrain and carry the stock. For custom tray display boxes, front-lip height, side support and depth matter more than vertical branding.

The key dimensions are not simply length, width and height. Front-lip height determines how much of the primary packaging remains visible. Side walls influence lateral support. Tray depth determines both stock capacity and how easily the rear products can be reached. Even a few millimetres can change whether small cartons stand cleanly or start leaning as the front row disappears.

This makes trays useful for products that already carry much of their own branding. Boxed cosmetics, confectionery, sachets, supplements, accessories and promotional packs can stay exposed while the tray gives the group a defined retail footprint.

Where several packaging formats need to work together in store, custom retail packaging can coordinate the primary pack and retail presentation. Tray displays are the more specific option when visibility and direct access matter more than a raised header or controlled dispensing opening.
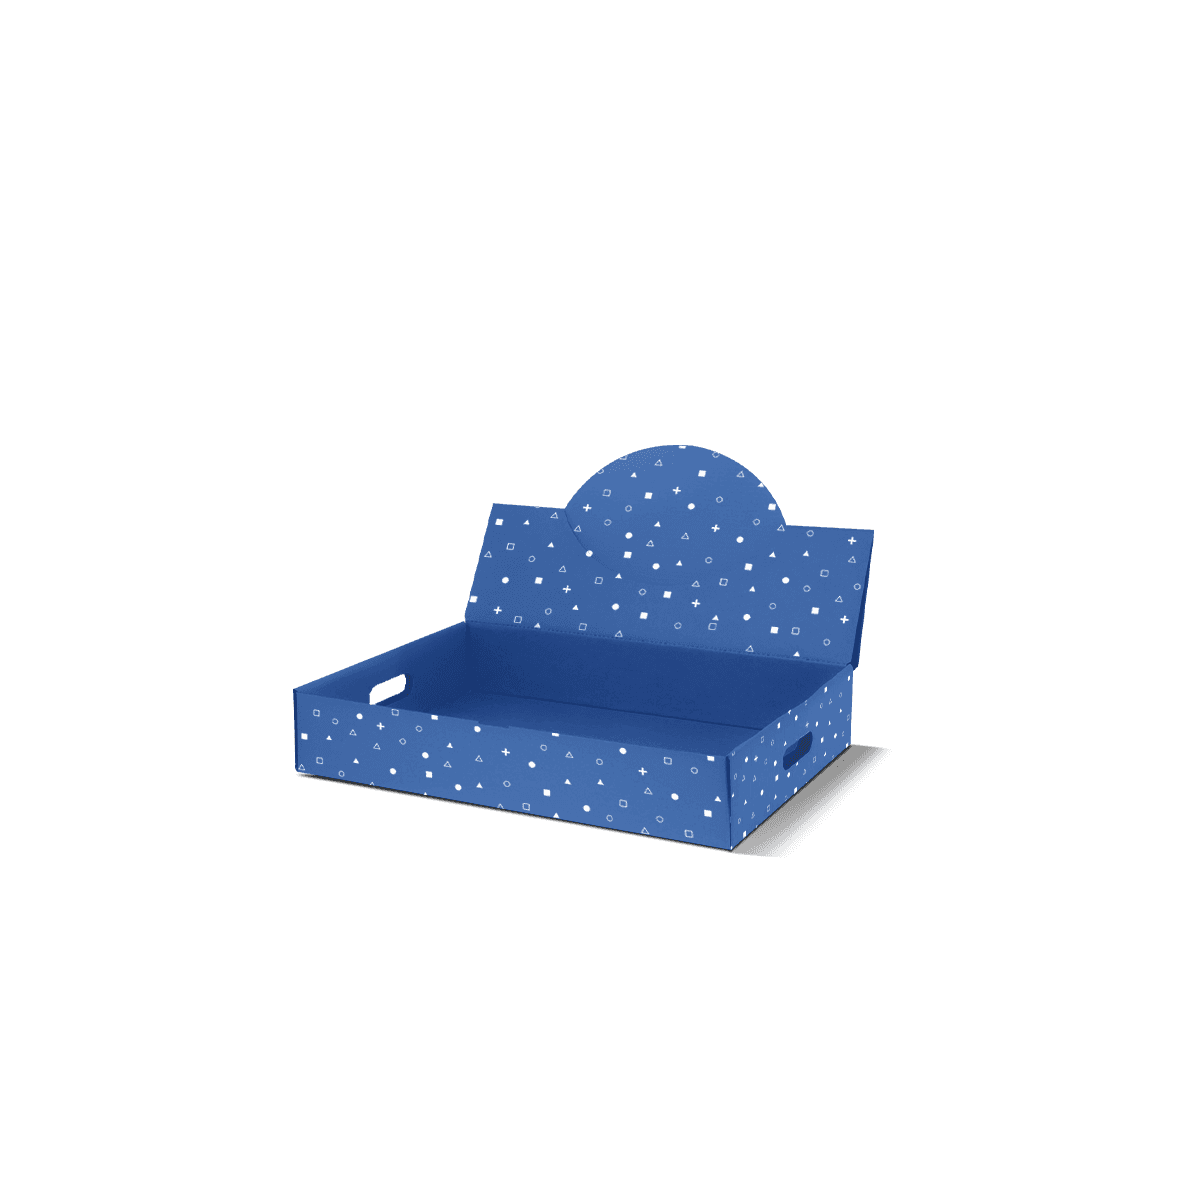
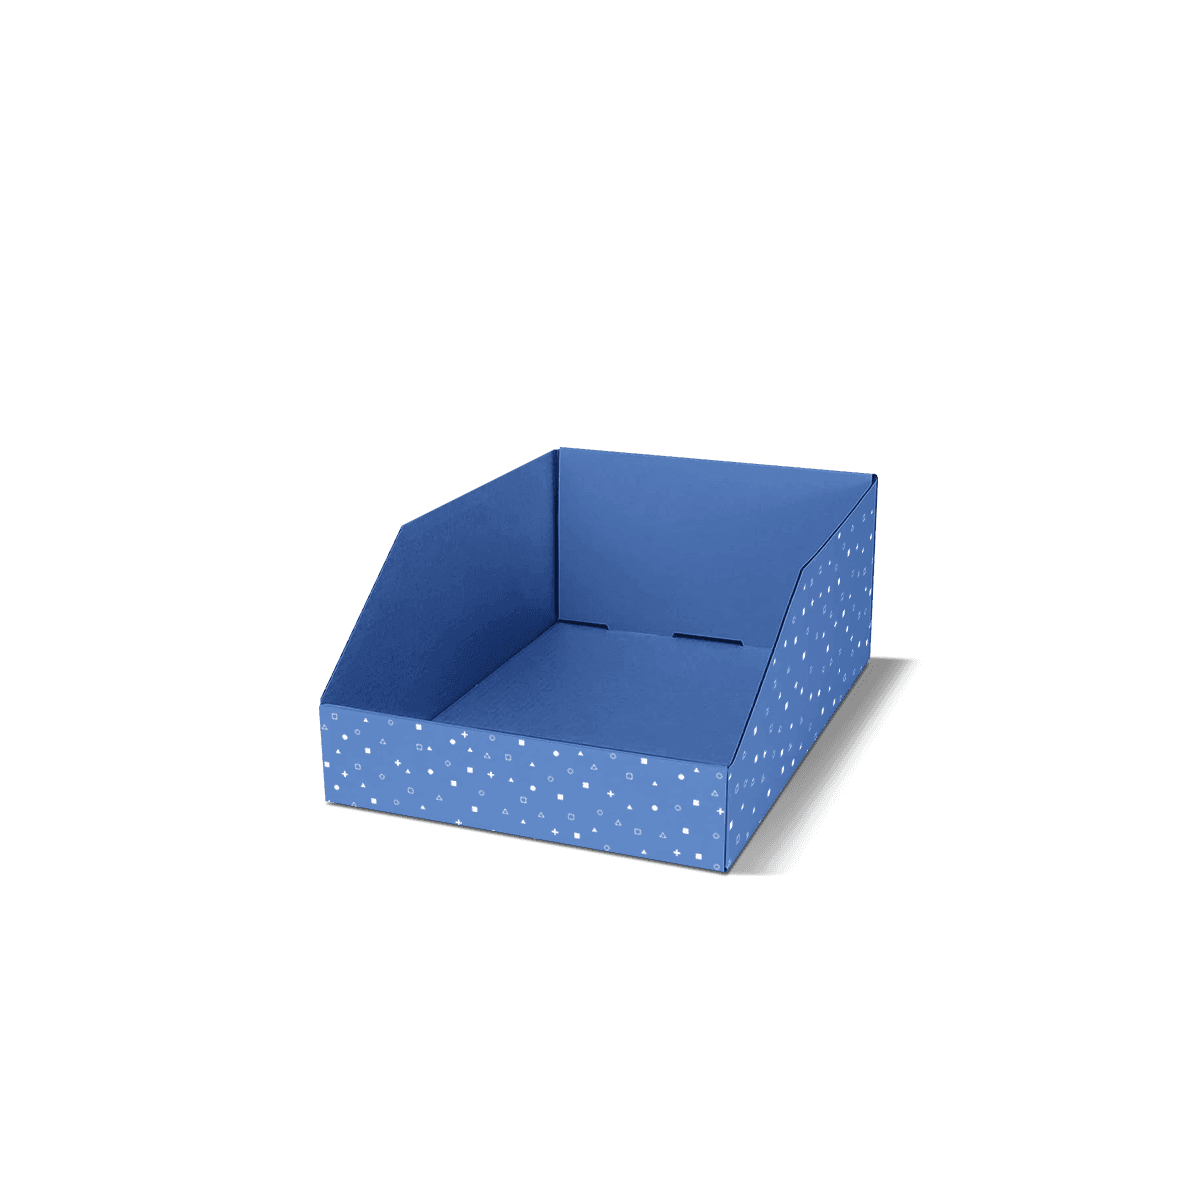
Front-Lip Height Sets the Sightline

The front wall is usually the most sensitive dimension in an open display tray. It needs to retain products while leaving the information shoppers need clearly visible.

Product Recognition Comes First

Before deciding the front-wall height, identify the lowest important element on the primary packaging. That might be a flavour name, shade number, dosage, product type or part of the brand mark.

A lip that crosses this information makes the whole display harder to shop even if the products technically fit. The display artwork cannot always compensate because customers may be comparing several individual variants inside the same tray.

The tray should therefore be developed around the loaded product view rather than an empty structural drawing.

Low Does Not Mean Unrestrained

Taking the front panel almost to zero improves exposure but can create another problem. Tall or narrow products may move forward as customers remove the front units or staff shift the tray during replenishment.

Small corner returns, shaped front edges or a modest retaining lip can provide enough control without making the structure feel enclosed. The goal is the lowest practical wall, not the lowest wall that can physically be manufactured.

A free 3D mockup helps assess the sightline before production, especially when important graphics sit near the bottom of the product carton.

Depth Has a Practical Limit

A deeper tray carries more stock, but capacity has to be weighed against access. Products pushed too far behind the front row can become harder to see and reach, particularly on shelves below eye level.

Rows Should Stay Reachable

For uniform cartons, decide the number of facings first and then the sensible number of units behind each facing. A three-facing tray that runs two or three products deep may be easier to shop than a shallower-width tray that pushes the same quantity far towards the back of the shelf.

The retail position matters. A deep tray on a waist-height promotional table may remain easy to reach. The same dimensions on a recessed shelf can make the final row awkward.

Rear-wall height can also influence access. It should provide enough support to the final row without turning into an unnecessary header unless stronger vertical branding is part of the brief.

More Capacity Can Reduce Presentation

Loading the maximum possible quantity can create rows so deep that the front half of the tray sells while rear products remain visually disconnected from the shelf edge.

There is no value in reducing replenishment frequency if customers stop noticing the remaining stock. Tray capacity should support selling visibility first and storage second.

Empty Gaps Reveal the Real Fit

A completely stocked tray naturally looks organised. The more useful test begins after products are removed.

Take units from the centre first rather than neatly emptying one row at a time. Check whether neighbouring products remain upright, whether dividers continue to separate variants and whether the base stays level when weight becomes uneven.

Then remove most of the stock and reach for the final product at the back. If the tray is too deep, the rear wall too high or the side panels too restrictive, the problem becomes obvious.

Refilling should be equally simple. Staff should be able to place products back into their positions without lifting internal pieces or rearranging stock that is already faced correctly.

Custom Packly's MOQ starts from 100 boxes, giving brands the option to introduce a new retail tray at a controlled quantity. A physical sample can verify loaded behaviour before a larger rollout, while the approved dieline, material and internal dimensions can then be retained for repeat production.

Mixed Variants Need Lane Control

A completely open cavity works well when every product is identical and stable. Mixed flavours, colours or SKUs create a different problem because one variant rarely sells at exactly the same rate as another.

Consider three flavours of boxed confectionery, each carton approximately 38 mm wide, displayed in three distinct facings. If the tray is simply made several millimetres wider than the combined cartons, the arrangement can look precise when full.

Once the centre flavour sells down, cartons from either side begin leaning into the empty area. Customers can no longer read the intended flavour blocks clearly and staff have to straighten the stock manually.

Three simple lanes or thin partitions can preserve the arrangement without turning the tray into a complicated insert system. Reducing unnecessary side clearance and setting the front lip high enough to retain the lowest row keeps each flavour in position while maintaining open access.

The important lesson is that product drift is usually a fit problem before it is a material-strength problem.

Side Walls Should Support, Not Enclose

Tray side panels can be straight, stepped or sloped depending on how much of the product needs to remain visible from an angle.

A full-height side wall offers more support and print area but can hide the outer products when the tray is viewed along a shelf. Lower or sloping sides expose more of the stock while retaining structural material towards the rear.

The choice should follow the product's proportions. A short stable carton needs less lateral support than a tall narrow one. Flexible pouches may need internal organisation rather than higher outer walls because the products themselves do not stand consistently.

On a promotional table where customers can approach from more than one direction, lower sides can also help the tray work visually from several viewpoints.

If the display needs much taller side walls, a large back panel or substantial vertical brand space, countertop display boxes usually provide a better structural direction.

Long Spans Change the Material Requirement

A tray may look structurally simple, but its open top means the base and walls do not benefit from the same enclosure as a conventional carton. Wider spans and heavier grouped products can therefore expose weaknesses quickly.

Paperboard for Compact Retail Trays

Folding paperboard can work well for lightweight goods and smaller footprints. It keeps the profile slim, folds efficiently and provides a smooth surface for detailed print.

Cosmetics, sachets, small cartons and lightweight confectionery are typical candidates, provided the finished tray remains stiff when fully loaded.

Corrugated for Width and Weight

Fine-flute corrugated board becomes useful when the tray carries more weight, runs deeper across the shelf or has a wider unsupported base.

The correct answer is not simply thicker board. Wall folds, corner geometry and product fit all contribute to stiffness. An oversized tray with loose contents can perform worse than a lighter specification built closely around the stock.

The differences between these material systems are covered in paperboard vs corrugated vs rigid packaging.

Physical samples are particularly useful where the tray has a broad base or several dense products. Load the actual selling quantity rather than flexing an empty sample by hand.

Branding Has Less Room to Hide

An open tray deliberately gives much of its visual area to the products. That leaves the front lip and side panels to carry most of the display-level branding.

The limited space makes hierarchy important. A brand mark, product-family cue or simple colour system usually works better than forcing a long promotional message onto a shallow front face.

Where different flavours or shades sit together, tray print can support navigation. Colour blocks or short variant cues can reinforce the organisation created by the internal lanes without competing with the primary packaging.

Premium offset printing is useful when repeat colour consistency and detailed graphics matter across a larger run. CMYK supports full-colour designs, while confirmed Pantone references can help control important brand shades.

Artwork must follow the folds, corner joints and cut profiles of the approved structure. Packaging dielines explained covers bleed, safe areas, cut lines and crease placement before artwork is released for production.

When Open Access Is the Better Behaviour

These structures can all hold compact retail products, but they create very different customer interactions.

Tray Display Boxes give the stock the most open access. They suit products that shoppers should be able to see across the top and pick directly without working through a controlled opening.

Countertop Display Boxes add vertical merchandising through taller back panels, headers or tiered product levels. They make more sense when brand height and rear-row visibility justify a larger unit.

Dispenser Display Boxes deliberately contain more of the stock and expose a defined retrieval point. They suit products that benefit from one-at-a-time access rather than a completely open top.

If the material is known but the exact merchandising method is still undecided, Cardboard Display Boxes can help frame the board-led choices. The Display Boxes selection separates these options according to product access, placement and stock behaviour.

The right choice comes down to how much of the stock customers should see and how freely they should be able to reach it.

The Selling Row Is the Production Reference

The approved tray should be defined by the loaded arrangement: facing count, units behind each facing, front-lip height, divider spacing and the maximum retail footprint. Those details are more useful for repeat production than a generic outside dimension.

If that arrangement is still being developed, send the product sizes and intended selling row through the custom packaging quote. Custom Packly can turn that layout into the tray dieline and material specification.

FAQs

Tray display boxes usually suit compact products that benefit from open access and grouped presentation. Bars, sachets, mini cartons, lip balms, capsules and small accessories are all common examples. If the item is tall, top-heavy or needs a stronger branded backdrop, another display style with a higher rear panel may give a better retail result.

Confirm product dimensions, pack count, refill method and where the tray will sit first. You should also check whether the products need to stand tightly in rows or whether they need dividers to stop movement. Front lip height, board grade and tray depth all affect how stable and tidy the display remains once it starts selling through.

The front panel, side walls and in some cases the base area can all carry print, depending on the layout. That gives enough room for brand colour, flavour cues, shade coding, price prompts or short product messages. Because the structure stays open, the print should support the product rather than compete with it.

Tray display boxes are usually the better choice when the product needs a lower profile, quicker refill access and a cleaner horizontal row. Countertop Display Boxes make more sense when the unit needs extra height, stronger brand presence or a more deliberate display face on a desk or service point. The decision usually comes down to openness versus visual height.

Yes, they can be produced in recyclable paperboard or corrugated board depending on the load and retail use. The final result depends on the full specification, including any coating or embellishment. If recyclability is a key requirement, confirm the stock and finish together so the tray stays aligned with both display needs and disposal goals.

Process

How it works

Your Packaging Journey, From Idea to Production and Delivery

01

Tell Us Your Specs

Custom packaging boxes

Tell Us Your Specs

Provide size, quantity, printing, and finishes.

02

Get a Fast Quote

Custom packaging boxes

Get a Fast Quote

Instant transparent pricing, no hidden fees.

03

Design and Approval

Custom packaging boxes

Design and Approval

Artwork checks, revisions, and final sign-off.

04

Produce

Custom packaging boxes

Produce

Expert manufacturing to meet deadlines.

05

Ship to Your Door

Custom packaging boxes

Ship to Your Door

Hassle-free, flexible delivery options.

Get Your Quote for Custom Tray Display Boxes

Share your product details, dimensions, quantity and artwork needs. We’ll help choose the right packaging style and send a clear quote.