Skip to content
Details

Custom Three Side Seal Mylar Bags

Pre-made flat pouches with three sealed edges and one open filling edge, sized around the product, seal zone and opening method.

Three Seals Define the Pouch

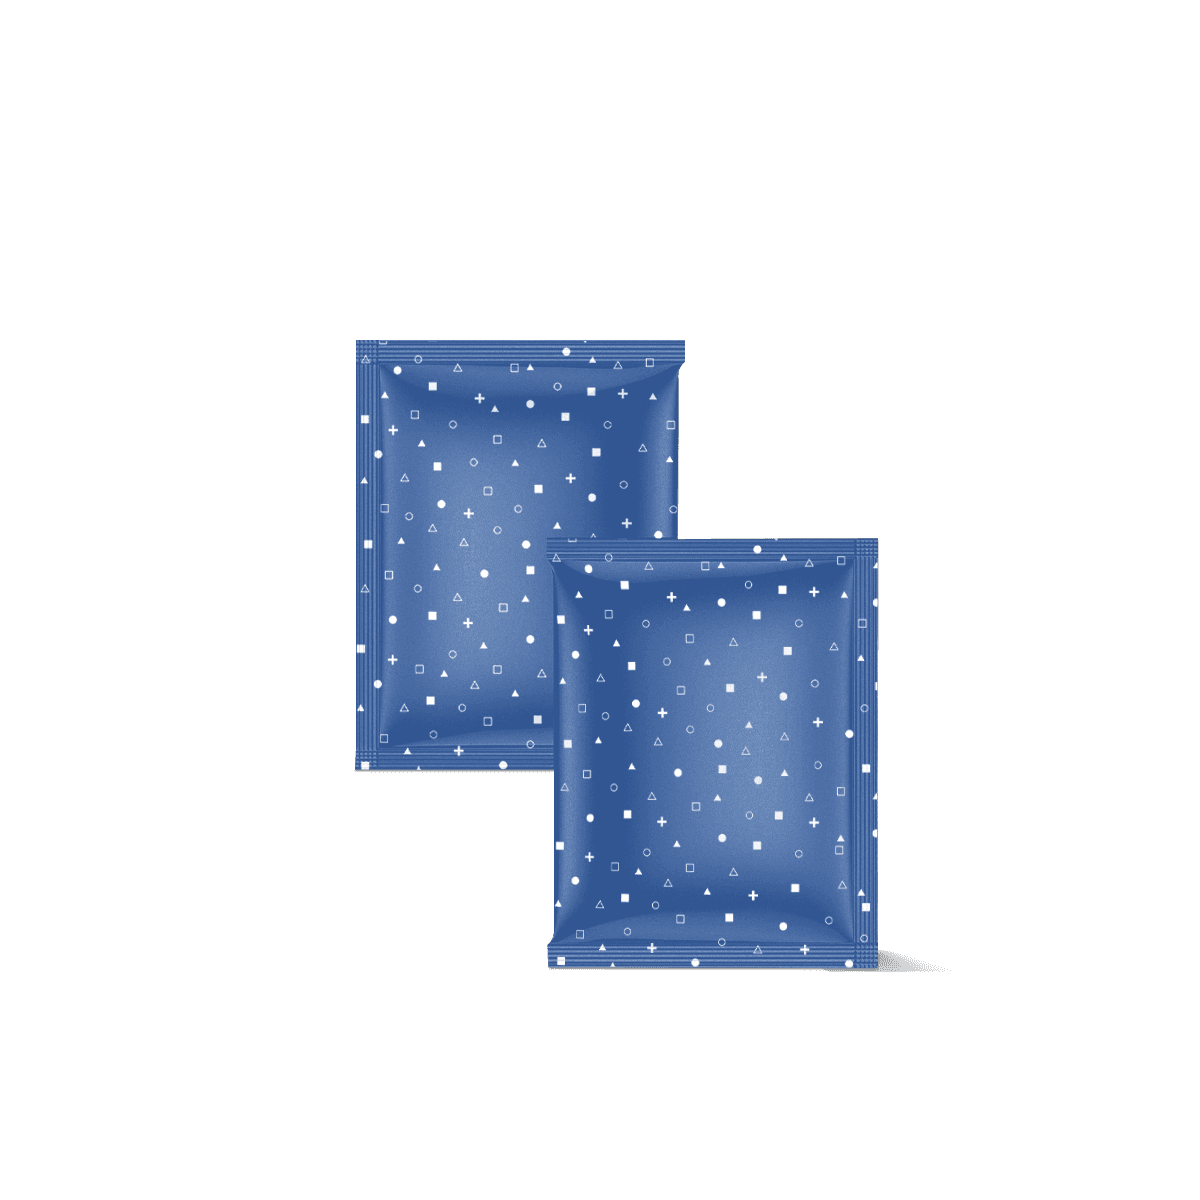
Among custom Mylar bags, this is the option to choose when the sealing layout itself matters. Custom Three Side Seal Mylar Bags arrive with three edges already sealed and one edge left open for filling. After the product goes in, the remaining edge is closed to complete the pouch.

That sounds simple, but it changes how the pouch should be sized, printed and filled. The usable area is not the same as the flat outer dimensions because the seals take space around the perimeter. A small sachet can therefore lose a meaningful share of its internal area if the dimensions are chosen only from the artwork or an empty sample.

Three-side-seal pouches work best when the product benefits from a low-profile shape, controlled portions and a predictable filling edge. Samples, powdered blends, single-use doses, small dry products and compact inserts are common applications. If the product needs a gusseted base or regular reopening, another pouch style may be the better starting point.

One Edge Stays Open

The open edge is part of the production decision, not an afterthought. It needs enough clear space for filling equipment or hand filling, then enough clean film for the final seal.

For a powder, fine particles near the sealing area can make closing less reliable. For small pieces, the opening must be wide enough to load the product without slowing packing or pushing contents into the seal zone. The correct orientation should therefore follow the product and filling method, not simply whichever side looks best in the artwork.

No Gusset Changes the Fit

A three-side-seal pouch stays flat because it does not rely on a bottom gusset for depth. That helps with stacking, kitting and secondary packing, but it also gives the contents less room to settle away from the sealed edges.

Bulky or irregular products can push outward and make a flat pouch look strained even when the nominal fill weight seems acceptable. The safer method is to test the real filled shape before approving the finished dimensions.
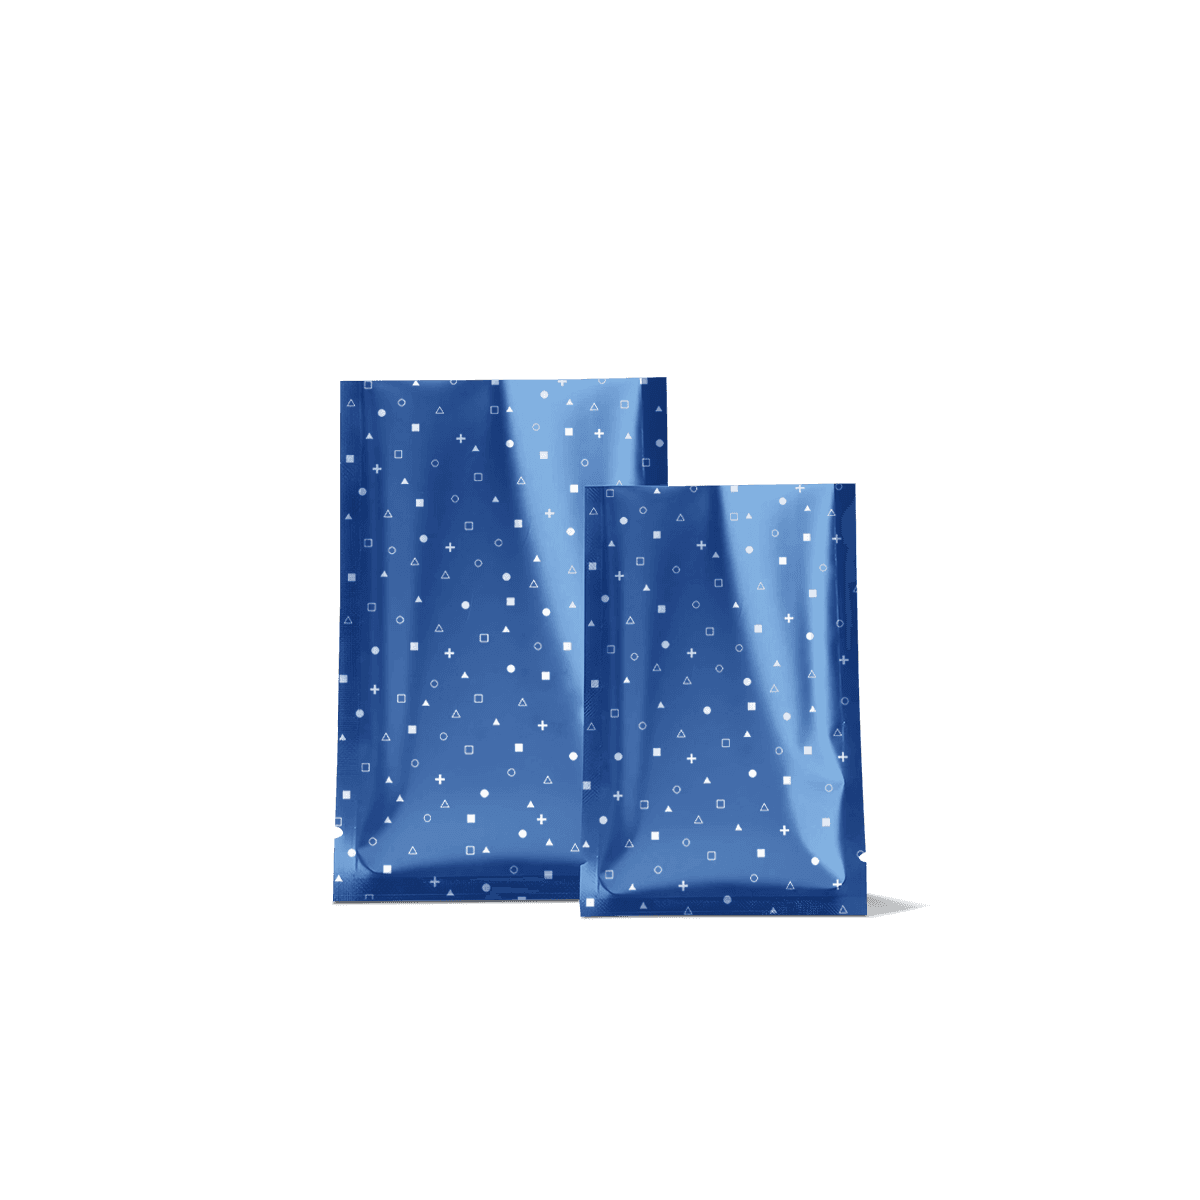
Size From the Filling Edge

The right size starts with the product volume and the way it enters the pouch. Width and height need to cover the contents, seal margins, opening feature and final closing area without leaving so much empty film that the sachet feels oversized.

Weight alone is not enough. Two powders at the same net weight can occupy very different volumes. Loose pieces can trap more air than a fine blend. Flat wipes or samples may need almost no depth but still need extra face area for instructions or required product copy.

Protect the Final Seal

The final sealing edge needs a clear working zone. Do not place product too close to it and do not let the intended fill level crowd a zipper, notch or heat-seal area.

If your main requirement is simply a secure first opening rather than the three-edge pouch geometry, Heat Seal Mylar Bags address that decision more directly. A three-side-seal pouch can also be heat closed after filling, but its defining feature is the pre-made flat shape with three sealed sides.

Powders Need Clean Headspace

Powders deserve more headspace than artwork mockups often suggest. Product dust can migrate upwards during filling, especially when bags are handled quickly or filled from a narrow chute.

Leave enough room to fill, settle and seal without brushing product across the closing area. This is particularly relevant to Supplement Mylar Bags, where the pouch may carry measured powder, drink mix or refill quantities and still needs readable dosage or product information.

Small Sachets Lose Space Fast

As the pouch gets smaller, seals and opening features consume a larger proportion of the face. A logo that looks comfortably placed on a large mockup can sit too close to an edge once the same visual system is reduced for a trial size.

Treat every size as its own layout check. Do not assume a large artwork file can simply be scaled down across sample, standard and promotional quantities.

Artwork Must Clear the Seals

The front and back may look like simple rectangles, but the printable visual area should be planned around the real pouch edges, final seal and opening feature.

Keep product names, weights, barcodes, instructions and small text away from the sealed perimeter. Artwork that runs close to the edge may still be visually attractive, but critical information needs enough breathing room to remain clear after sealing and trimming.

Keep Key Copy Inboard

Use edge-to-edge colour or background graphics where the print specification allows, but keep essential copy inside a safer central area. This matters even more on narrow sachets where side seals sit close to the main message.

Tear notches also need attention. They should support a clean first opening without cutting through important text or forcing the customer to tear across a logo, usage direction or dosage line.

Plan Front and Back Together

Small pouches often carry more information than their size suggests. The front has to identify the product quickly, while the reverse may need ingredients, instructions, barcode space, storage wording and other product-specific information.

Plan both faces before the visual hierarchy is final. If the reverse becomes overcrowded, the answer is usually to reconsider information order or pouch dimensions rather than shrink everything until it is difficult to read.

For visual direction, colour hierarchy and disciplined use of finishes, packaging design ideas covers why a stronger design often comes from clearer priorities rather than adding more decoration.

Leave Room for Coding

If the finished product needs batch, lot or date coding, reserve a practical area before artwork approval. Adding that space after print files are complete can force important information into corners or too close to a seal.

Multi-SKU launches should use the same logic. Keep the fixed brand system consistent, then make the variable product information easy to update without shifting every element around the pouch.

Use It for Controlled Portions

Three-side-seal pouches are strongest when the product is small enough to benefit from a flat footprint and the filling process benefits from one clearly defined open edge.

They can work well for trial sachets, measured powders, small confectionery portions, compact dry ingredients, wipes and other lightweight products. Their value is less about standing prominently on a shelf and more about controlled filling, neat stacking and efficient secondary packing.

Samples and Single Serves

Sample programmes often need many small units to sit neatly inside an outer mailer, carton or presentation set. A flat sealed sachet can keep each unit separate without adding the depth of a stand-up base.

For campaigns where several sachets travel together, the outer delivery structure still needs to match the finished pouch stack. E-commerce and Subscription covers the outer-packing decisions that become important once samples move through fulfilment and delivery.

Small Dry Pieces

Treats, confectionery and other dry pieces can suit this pouch when their shape does not create excessive pressure against the side seals. Sharp corners, hard fragments or awkward profiles deserve a physical fill check before the film and dimensions are approved.

For pet-related products, Pet Products helps separate pouch-led needs from cartons, mailers and other structures used around treats, supplements and mixed sets.

Know When Another Pouch Wins

Do not choose a three-side-seal pouch simply because the product is small. The better question is whether the three sealed edges and single filling edge make the production and packing process easier.

Flat Is the Broader Choice

Flat Mylar Bags are the better starting point when you know the product should stay low-profile but the exact seal arrangement is not yet the main decision.

Three-side-seal should be chosen more deliberately. It suits projects where the pre-made sealed perimeter, filling edge and final closure need to be specified as part of the production brief.

Stand-Up Needs a Base

Choose Stand Up Mylar Bags when upright shelf presentation, greater filled depth or a gusseted base matters more than flat packing density.

Trying to make a three-side-seal sachet behave like a stand-up pouch usually creates the wrong compromise. If the product needs depth, give it a structure made to create depth.

Repeat Access Changes the Brief

A resealable feature can be engineered into some flat pouch specifications, but regular opening changes the priorities around headspace, closure position and usable volume.

If repeated access is central to the product experience, the pouch should be specified around that behaviour from the start rather than treating a zip as a late add-on.

Control the Repeat Run

The strongest repeat orders start with a recorded physical specification, not only an artwork PDF. Keep the approved finished size, seal layout, filling edge, film specification, opening feature and print file tied together.

This matters when one product develops into several flavours, formulas or portion sizes. A shared pouch size can simplify stock and production, but only when every SKU still fills and seals properly.

Lock One Approved Specification

Once the filled pouch works, record the details that affect performance. A later artwork refresh should not quietly change the usable fill area, move a notch into a poor position or introduce important text into a seal zone.

A 3D mockup is useful for checking visual placement, but the filled product remains the better test for seal clearance and proportion.

Treat SKU Count as Production Input

Five artwork versions are not the same production job as one version at five times the quantity. SKU count affects file handling, approvals, stock planning and how safely one pouch size can be shared.

If unit cost is part of the decision, how much custom Mylar bags cost breaks down the main pricing variables across pouch size, materials, print method, features and quantity.

Quote the Filled Pouch

A useful three-side-seal quote should describe how the pouch will actually be filled and closed, not only its flat dimensions.

Send the product form, target fill weight and approximate filled volume. State whether the contents are powder, granules, wipes, small pieces or another form that affects loading. Include the preferred open edge, how the final seal will be made, any tear notch or hanging requirement and the number of artwork versions.

If you already have a pouch that works, share its finished measurements or a sample specification. If you are starting from the product, share the product dimensions or filled test volume instead.

For an initial specification, request a custom packaging quote with the details you know. Custom Packly can then narrow the pouch around the filling edge, seal clearance, artwork area and intended use rather than pricing a generic flat bag.

FAQs

A standard flat pouch can describe the overall shape, but a three side seal pouch defines the construction more precisely. Three edges are sealed and one side is left open for filling before final sealing. That detail matters because it affects fill method, headspace, pack appearance and how consistently the pouch performs across short runs or repeated production.

They are the better choice when compact storage, controlled portions and efficient outer packing matter more than upright shelf display. Stand Up Mylar Bags suit products that need stronger front-facing presence in retail fixtures. Three side seal pouches suit samples, sachets and slim retail packs that will sit in trays, cartons or mail-ready assemblies.

Confirm the product weight, product density and the finished filled dimensions first. Then check seal width, top headspace, tear-notch placement and the required barrier level. It also helps to confirm whether the pouch will be heat sealed only or whether extra opening features are needed, because those details change the final usable fill area.

Yes, they are often one of the strongest options for powders and measured portions because the slim format stays orderly and easy to pack. They suit supplements, drink mixes, sample goods and other dry contents especially well. The smarter route is to size the pouch around flow behaviour and target fill rather than choosing by artwork alone.

Yes, a smaller pouch can still feel considered and high quality when the print, finish and specification are handled well. Matte surfaces, metallic details and disciplined panel layout often work better here than overcrowded graphics. The strongest result usually comes from keeping the pouch clean, legible and proportioned around the product rather than forcing too much onto a small face.

Process

How it works

Your Packaging Journey, From Idea to Production and Delivery

01

Tell Us Your Specs

Custom packaging boxes

Tell Us Your Specs

Provide size, quantity, printing, and finishes.

02

Get a Fast Quote

Custom packaging boxes

Get a Fast Quote

Instant transparent pricing, no hidden fees.

03

Design and Approval

Custom packaging boxes

Design and Approval

Artwork checks, revisions, and final sign-off.

04

Produce

Custom packaging boxes

Produce

Expert manufacturing to meet deadlines.

05

Ship to Your Door

Custom packaging boxes

Ship to Your Door

Hassle-free, flexible delivery options.

Get Your Quote for Custom Three Side Seal Mylar Bags

Share your product details, dimensions, quantity and artwork needs. We’ll help choose the right packaging style and send a clear quote.