Skip to content
Details

Custom Heat Seal Mylar Bags

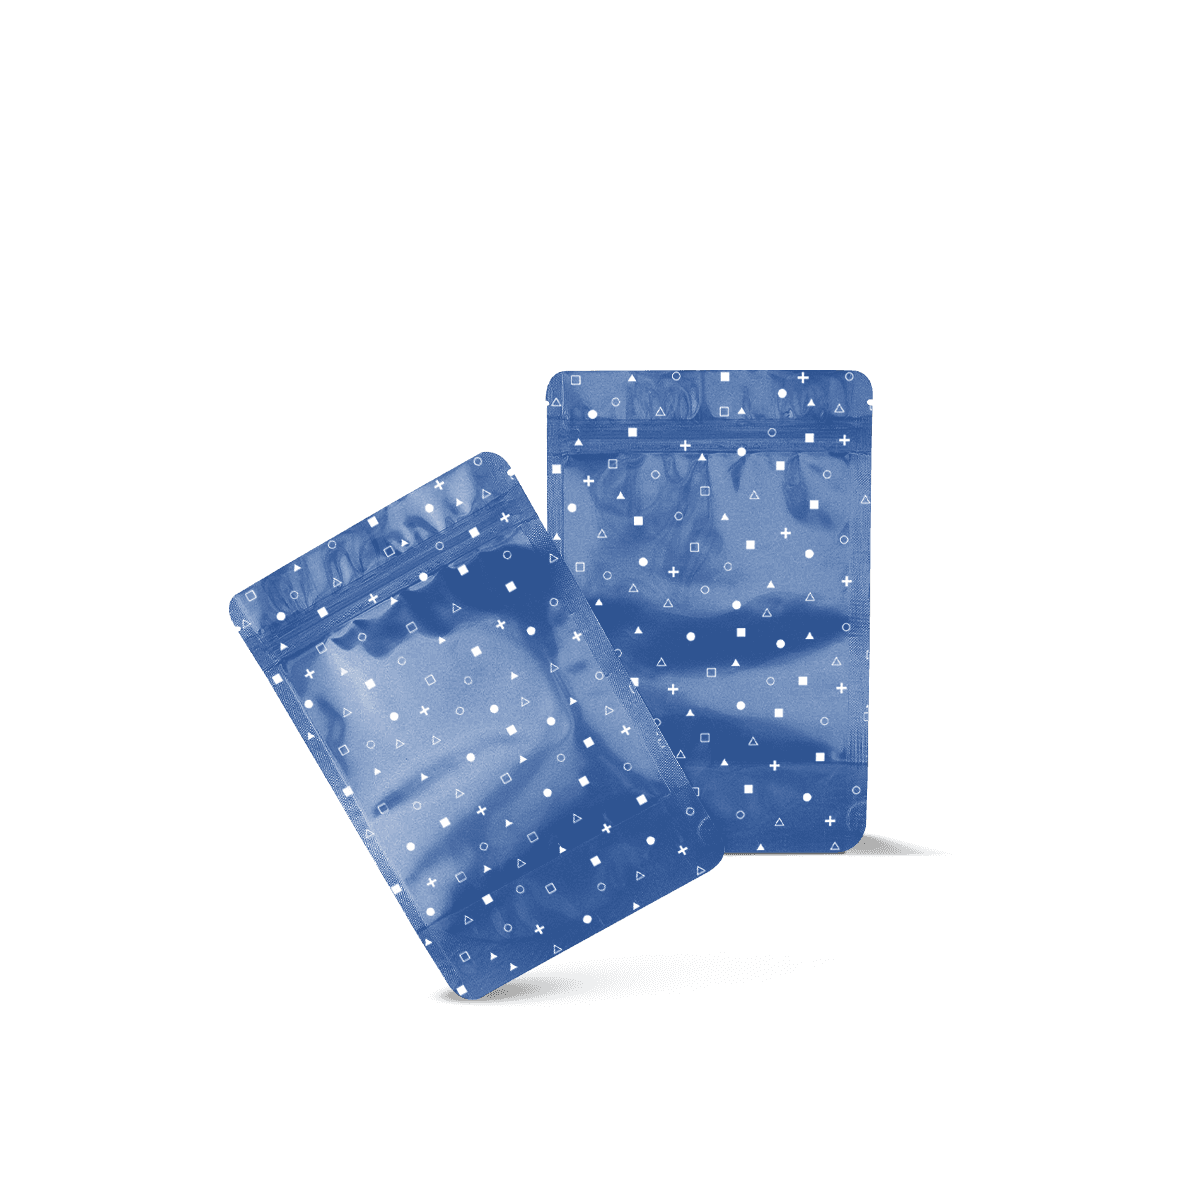
Heat-sealable pouches planned around a clean closing zone, the real filling process and a reliable seam before the product reaches the customer.

Seal Quality Starts Before Heat

A reliable heat seal is created before the sealing jaws close. Custom Heat Seal Mylar Bags need a clean, flat closing zone and enough headspace to keep the product away from that area during filling.

The film still needs to suit the contents, but barrier performance and seal performance are separate decisions. A strong laminate can still close badly if powder, crumbs or folds interrupt the seam.

Specify the pouch around the actual filling and sealing process, not around a generic “heat-sealable” label.

Keep Product Out of the Seam

Product contamination is one of the easiest ways to compromise a seal.

Fine powders can coat the inner surface. Small crumbs can become trapped between the film layers. Oily or dusty products may leave residue exactly where the two surfaces need to bond.

The filling method should keep the upper pouch area as clean as practical. For products such as powdered supplements, the specification should account for how the powder enters the pouch rather than assuming the top will remain clean automatically.

That is especially relevant to Supplement Mylar Bags, where scoops, loose powder and repeated variants can all affect the space needed above the fill.

Give the Sealer Flat Access

A sealing jaw needs a reasonably flat path across the pouch.

Overfilling can push product towards the top and make the film difficult to position evenly. Wrinkles near the closing area can also interrupt an otherwise straight seam.

Leave enough usable headspace to fill the pouch, settle the contents and present the top edge cleanly to the sealing equipment. The correct allowance depends on the product, pouch and process, so one universal measurement should not be copied across every job.

Match the Sealing Process

A pouch intended for occasional manual sealing is not necessarily specified the same way as one moving through repetitive production.

The laminate has to respond properly to the equipment being used and the operator needs enough clear film to make the closing process repeatable. Machine settings should then be established from trials with the actual pouch rather than copied from another film.

Impulse Sealing Suits Controlled Runs

An impulse sealer applies heat during the sealing cycle rather than remaining continuously hot. It can be practical for controlled manual production where each pouch is positioned individually.

The important buying question is not simply whether a pouch is described as “heat sealable”. Confirm that the intended laminate works with the equipment available and test a finished seam before committing the full run.

Avoid treating one temperature or dwell setting found online as a production rule. Film thickness, sealant layer, equipment and operating conditions can change the result.

Higher Throughput Changes Priorities

As production becomes more repetitive, operator consistency and pouch handling matter more.

The top edge needs to enter the process predictably. Variable fill height, creased film or product residue can slow sealing even when the printed pouch itself is correct.

Brands using co-packers should therefore confirm how the co-packer intends to seal the finished pouch before dimensions and top clearance are locked. The closing process should fit the production line rather than forcing the line to compensate for an awkward pouch.

Use Headspace for Closing

Headspace is working space. On a heat-sealed pouch, it gives the filling team room to position the product below the seam and gives the sealing equipment a cleaner area to close.

Too much empty film can make the finished pouch look oversized. Too little can push contents towards the seam or leave insufficient room for a tear feature, zipper or opening cut.

The correct balance depends on what happens both before and after sealing.

Keep the Cut Below the Seal

If the customer needs to tear or cut the pouch open, the opening path should make sense after the top has been sealed.

Leave enough separation between the finished seam and any reusable closure underneath it. If the customer cuts directly through the zipper, the resealable feature has lost its purpose.

This distinction is why Zip Lock Mylar Bags own repeat access. A pouch may combine a heat seal above a zip, but heat sealing controls the unopened state while the zip controls what happens afterwards.

Tear Notches Need a Route

A tear notch should help the customer open the pouch without directing the tear through important artwork or leaving an awkward strip of film above the closure.

Its position should be reviewed together with the seal line, zipper and top margin. Moving any one of those elements can change how the customer reaches the contents.

Do not add a tear notch simply because similar pouches have one. It needs to support the intended opening sequence.

Barrier and Seal Are Different

A strong-looking heat seam does not automatically make the entire pouch suitable for every protection requirement.

The film structure controls how the pouch responds to factors such as light, moisture and aroma transfer. The heat seal closes the open edge. Both need to perform, but one cannot compensate completely for a poor choice in the other.

This distinction is particularly important because “heat seal” is a closure description, not a complete material specification.

Choose Film Before Settings

The laminate should be chosen around the actual product and required protection first. The sealing process can then be validated for that film.

Do not select a film because it accepts an existing machine setting particularly well if it does not otherwise suit the contents. Equally, do not specify an elaborate barrier laminate and assume any heat source will close it correctly.

If light protection and an opaque metallic barrier are the central requirements, Foil Mylar Pouches deserve separate consideration.

Aroma Needs the Whole System

Products with strong aromas need more than an attractive seam. Film structure, edge seals, final closure and any zipper all contribute to how the finished pouch behaves.

Where aroma containment is a primary buying requirement, Smell Proof Mylar Bags should lead that specification rather than expecting heat sealing alone to solve it.

The same principle applies to access control. A conventional heat seal is not a substitute for a closure specifically chosen around child resistance. Child Resistant Mylar Bags address that requirement separately.

Inspect the Seam After Cooling

A newly heated seam should not be judged while the film is still hot.

Allow it to cool according to the production process, then inspect the full width. The target is a continuous, consistent closure without obvious gaps, severe distortion or areas that separate unexpectedly under normal handling.

The exact validation method should match the product and production requirements. The important rule is simpler: do not assume that visible heat marks prove the pouch is correctly sealed.

Check More Than One Bag

One successful sample does not prove that an entire filling run will behave the same way.

Test pouches at realistic fill levels and repeat the process enough times to expose variation. Pay attention to corners, wrinkled sections and areas where operators naturally reposition the bag.

A recurring defect can point to the pouch specification, the filling method or the sealing process. Finding that before thousands of filled units are closed is substantially easier than diagnosing it afterwards.

Record the Approved Setup

Once a repeatable result has been established, keep the approved pouch specification tied to the production process.

Record the film or laminate reference, finished size, closure layout and whatever validated machine settings or operating criteria the production team needs for that exact job.

Do not assume a future batch should use the same settings merely because the artwork file has not changed. Material or equipment changes need to be checked rather than hidden behind the same printed design.

Keep Artwork Away From Heat

The top of the pouch is functional working space. Artwork should acknowledge that rather than treating every millimetre as an uninterrupted branding panel.

Critical text, fine details and important visual marks should sit clear of the final seam, opening path and any zipper.

Protect Important Information

A product name or logo can tolerate more visual movement than a barcode, dosage instruction, batch field or small legal copy.

Keep essential information in areas that remain readable after filling, sealing and opening. The principles in packaging design ideas apply particularly well here: the physical behaviour of the package should shape the graphics, not be treated as a problem after the artwork is complete.

A free 3D mockup can help assess visual placement. It cannot prove seal strength or determine the right machine setting, so use it for artwork approval rather than mechanical validation.

Reserve Coding Space Early

If batch, date or lot information is added after pouch production, identify that area in advance.

A coding field added too late can end up close to the sealing band, zipper or tear path. Reserving a practical area from the beginning keeps variable information readable and reduces last-minute artwork compromises.

Choose Heat Seal for a Reason

Heat sealing makes the most sense when the unopened state matters enough to justify a separate closing step.

That may be a single-use sachet, a pouch that needs a closed top before retail or a resealable bag that should remain fully closed until the customer deliberately opens it.

Three Side Seal Is Structural

Three Side Seal Mylar Bags describe the pouch geometry: three edges are already closed and one is left available for filling.

The final open edge may then be heat sealed, but that does not make the two terms interchangeable. Choose Three Side Seal when the pre-made edge arrangement matters. Choose Heat Seal when the closing method is the question you need to solve.

Flat and Stand Up Can Both Seal

Heat sealing is not limited to one pouch silhouette.

A Flat Mylar Bag can use it when low packed depth matters. A Stand Up Mylar Bag can use it while the bottom gusset handles shelf stability.

That is another reason this page should stay focused on closing performance rather than trying to own the pouch shape itself.

Bring the Sealer Into the Brief

A useful Heat Seal Mylar Bag quotation should include the production process, not just pouch dimensions and artwork.

Tell Custom Packly what the product is, how it behaves during filling and whether powder, crumbs, oils or irregular pieces could reach the top of the pouch. State whether sealing will be manual, handled by an impulse sealer or completed through a higher-throughput packing process. If a co-packer is involved, include their known pouch requirements before the specification is final.

Also explain what the customer should find after opening. A single-use pouch, a heat seal above a reusable zip and a specialist access-controlled closure are three different jobs.

The Mylar bag cost breakdown is useful when deciding how closure features, film and quantities affect the quotation. If the project details are still being assembled, the instant packaging quote advice shows which information reduces unnecessary back-and-forth.

Once the product, sealing process and opening behaviour are clear, request a custom packaging quote around the real closing method. Custom Packly can review the pouch specification and artwork around that process before the job moves into production.

FAQs

Choose Heat Seal Mylar Bags when the product is meant to stay closed until first opening and does not need repeated access afterwards. They suit samples, refills and single-use portions especially well. Zip Lock Mylar Bags are the better option for products used over several occasions, such as snacks, powders or pet treats kept between uses.

This pouch works best for dry or semi-dry products packed in measured volumes, including supplements, confectionery, powders, sample goods and refill lines. It is also useful where the pouch sits inside another pack rather than standing alone on shelf. Heavier, bulky or repeatedly used products may need a different closure or pouch build.

Confirm the fill weight, product dimensions, required barrier level and how much clear space is needed above the contents for sealing. It also helps to check whether the pouch needs a tear notch, hang hole, easy-open feature or specific finish. If the bag must fit into an outer pack, share those dimensions from the start.

They can if the artwork and material layout are not planned properly. The sealed zone needs to stay technically suitable for bonding, so decorative finishes should not interfere with that area. Matte, gloss and metallic effects are all possible, but the print plan should protect seal performance rather than compromise it.

It can, but only if the pouch construction is designed for that purpose. A simple heat-sealed pouch is often chosen for flat storage, slim display or secondary packing rather than upright shelf presentation. If the product needs to stand on shelf by itself, Stand Up Mylar Bags may be the better route.

Process

How it works

Your Packaging Journey, From Idea to Production and Delivery

01

Tell Us Your Specs

Custom packaging boxes

Tell Us Your Specs

Provide size, quantity, printing, and finishes.

02

Get a Fast Quote

Custom packaging boxes

Get a Fast Quote

Instant transparent pricing, no hidden fees.

03

Design and Approval

Custom packaging boxes

Design and Approval

Artwork checks, revisions, and final sign-off.

04

Produce

Custom packaging boxes

Produce

Expert manufacturing to meet deadlines.

05

Ship to Your Door

Custom packaging boxes

Ship to Your Door

Hassle-free, flexible delivery options.

Get Your Quote for Custom Heat Seal Mylar Bags

Share your product details, dimensions, quantity and artwork needs. We’ll help choose the right packaging style and send a clear quote.