Skip to content
Details

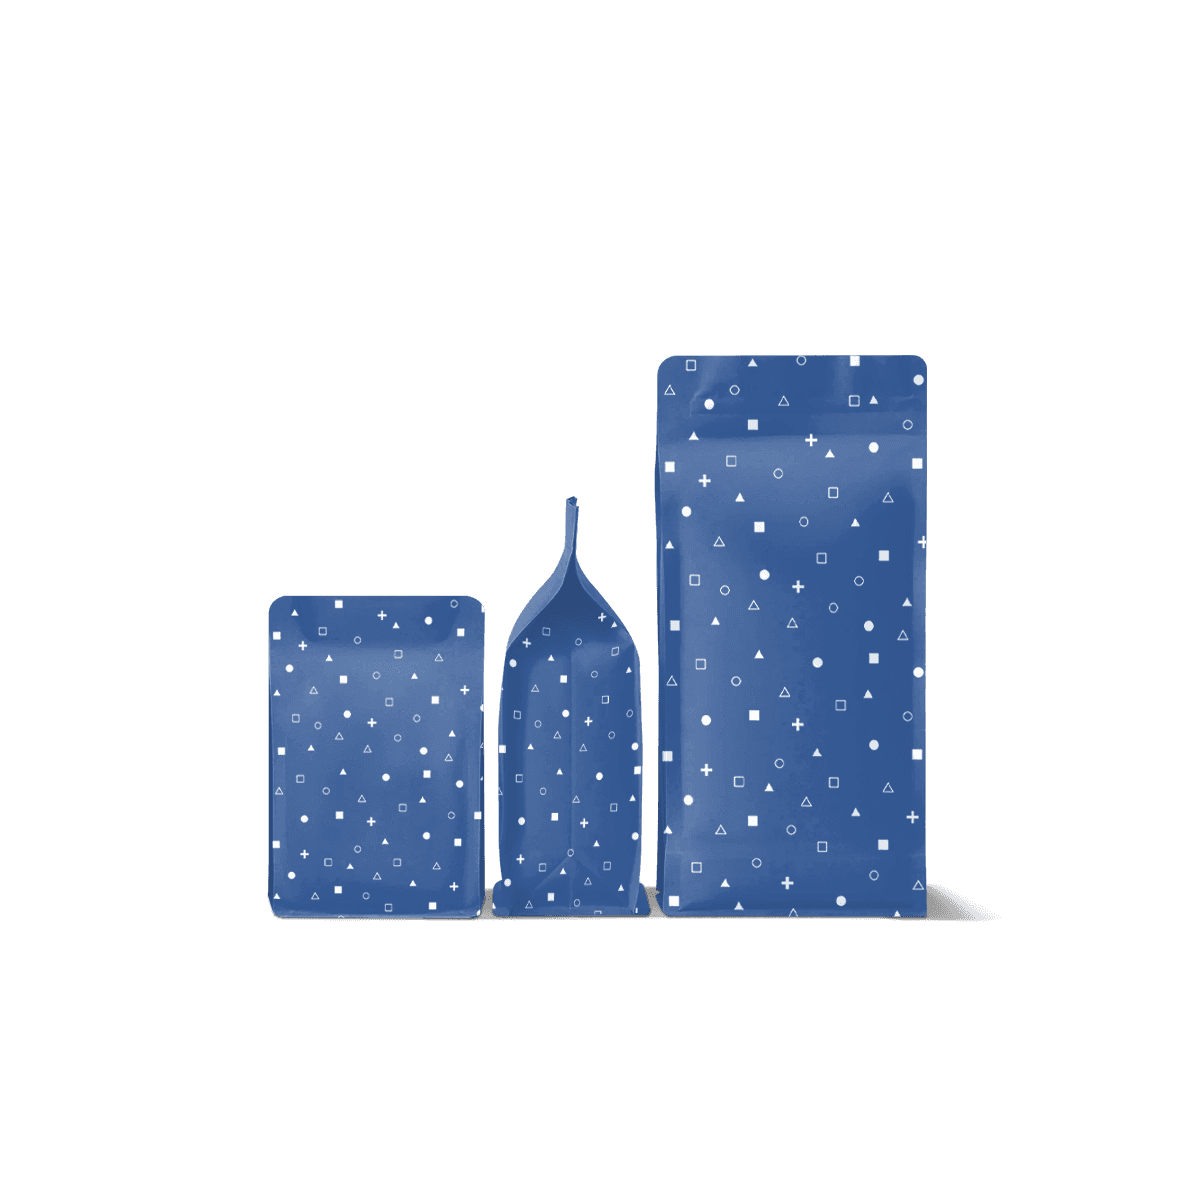
Custom Flat Bottom Paper Bags

Give boxed food, gifts and retail goods a deliberate standing footprint instead of letting the bag collapse around the contents.

Start With the Footprint

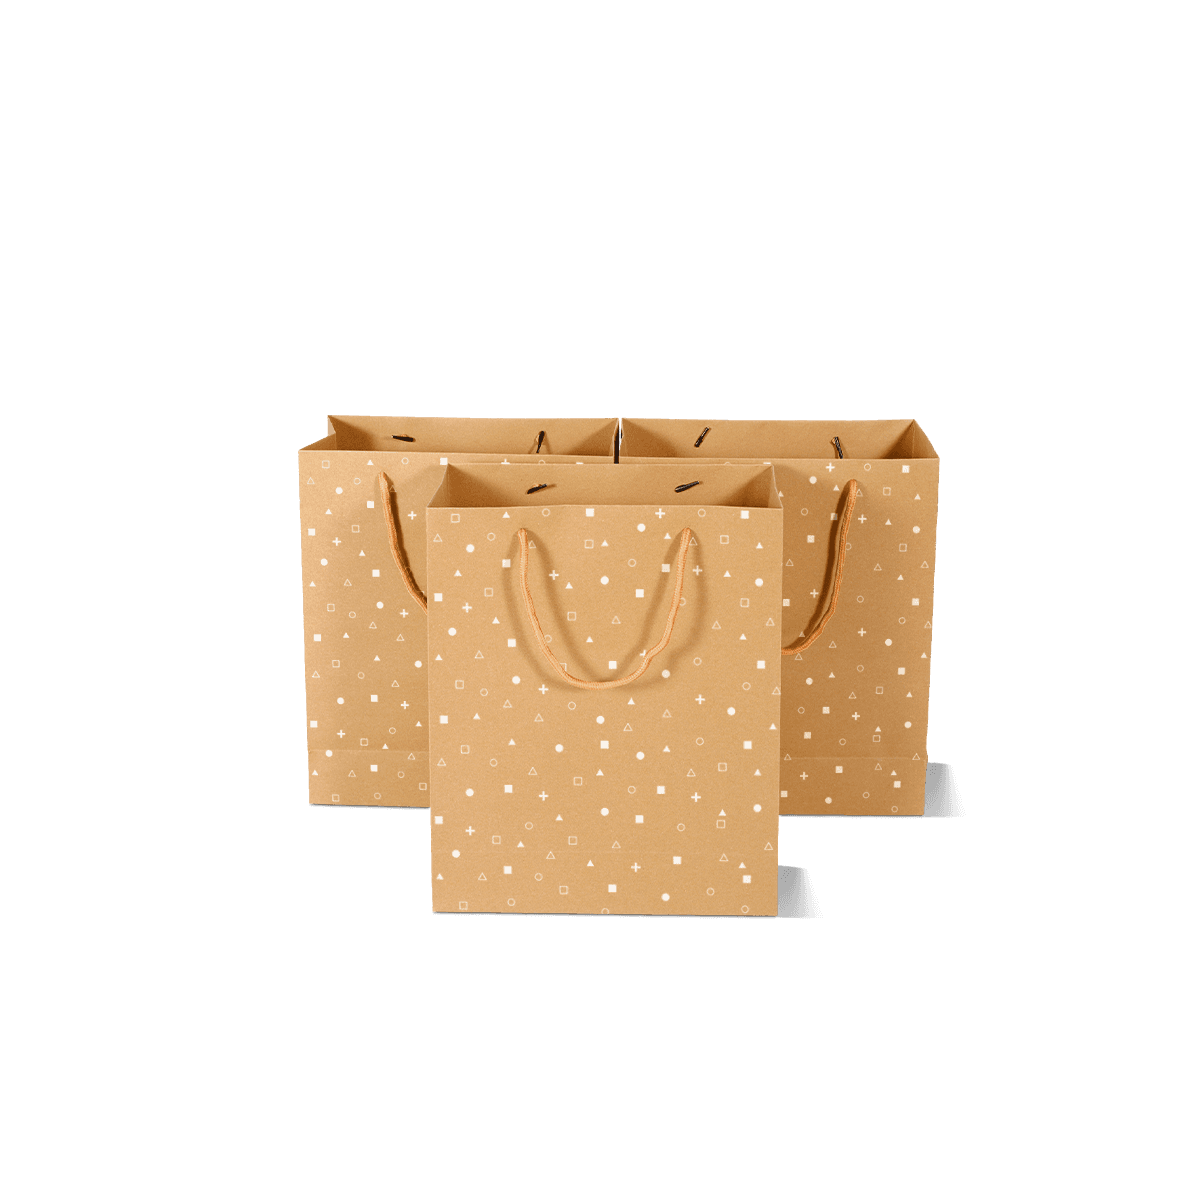
A standing bag only works well when its base actually suits what rests on it. Custom Flat Bottom Paper Bags use a defined footprint to support boxes, dry goods, gifts and compact retail products without letting the paper simply collapse around the contents.

That makes the base the first specification decision, not an incidental fold at the bottom of the bag.

A good flat-bottom bag should stand naturally once filled, keep the product reasonably centred and present a clean front panel from the counter or shelf. If upright appearance does not matter and the main priority is simply opening a bag quickly during busy service, another structure may solve the job with less emphasis on presentation.
Fit the Base to Product

Base depth controls much of how this bag behaves. Too little depth forces the contents against the side folds. Too much gives smaller items room to slide and can make the bag look oversized even when its width and height seem sensible.

Measure the Contact Area

Start with the part of the product that actually rests on the bottom. A candle carton, confectionery box and pouch of coffee may have similar overall volumes but very different base footprints.

Place the product in its normal selling condition on a flat surface and measure that contact area. If several products will sit together, arrange them as they will realistically be packed before setting the bag width and base depth.

The same product-first principle applies when choosing packaging for the actual product: usable fit matters more than nominal capacity.

Allow Practical Clearance

The product should lower into the bag without scraping the side folds, but excessive clearance can make the load wander across the base.

Allow enough room for easy loading, wrapping or tissue where genuinely required. Do not add depth simply because a larger base appears stronger. A larger footprint can actually make a compact product look less controlled.

For multiple SKU sizes, two purposeful bag footprints can produce a better result than making every purchase use the deepest bag.

Keep Weight Over the Base

A bag can have a perfectly flat bottom and still lean if the product sits badly inside it. Stability comes from the relationship between the base, the load and the centre of weight.

Dense Products Need Balance

Bottles, jars, candles, boxed confectionery and other dense products should sit with their weight reasonably centred over the base. A heavy item pushed against one side can pull a gusset outward and make the entire bag lean.

This is more noticeable in a display-led bag because the customer expects it to stand neatly.

For products such as candles and boxed home fragrance, candles and home fragrance packaging should be considered alongside the outer bag so the inner carton and carrier footprint work together.

Tall Products Can Topple

Height also matters. A narrow base beneath a tall rigid product produces a higher centre of gravity and can make a technically upright bag easier to tip.

Increasing bag height does not solve that problem. The useful correction may be a deeper base, different product orientation or another packaging structure entirely.

Test the filled bag on the type of surface where it will actually stand, not only while someone is holding it.

Test It Standing Full

The most useful physical check is the filled bag left standing on its own.

Load the intended product or product combination and set the bag down. Check whether the base opens evenly, whether the weight remains centred and whether the side panels distort once the contents settle.

Then view it from customer height. The front artwork should remain readable and the overall proportions should still make sense with the product inside.

For food products, repeat the check after a realistic holding period. Heat, grease or moisture may affect paper behaviour after several minutes even when the bag looks fine immediately after packing.

Where a new footprint or demanding product needs exact physical approval, a paid custom sample can test the finished size and standing behaviour before the main run.

Control the Standing Shape

The value of this style appears after filling. The side folds should open cleanly, the base should settle into shape and the panels should remain controlled enough to present the product well.

Do Not Overfill the Gussets

When the contents are wider than the intended cavity, the side gussets pull outward and the front panel becomes distorted. The bag may still contain the product, but its main presentation advantage is lost.

That matters for custom retail packaging, where the carrier may sit beside boxed goods, tissue and branded store materials. The standing silhouette should look intentional rather than strained.

Avoid Empty Height

An unnecessarily tall bag can create the opposite problem. A compact product sits at the bottom while the upper half collapses, folds or hides the proportion of the purchase.

Allow enough height for loading and any planned top fold, but keep the finished bag visually related to the product inside it.

Standing neatly is about proportion, not simply having a rectangular base.

Presentation Is the Main Difference

Flat Bottom and SOS bags can be structurally close, which is why the pages must solve different buyer problems.

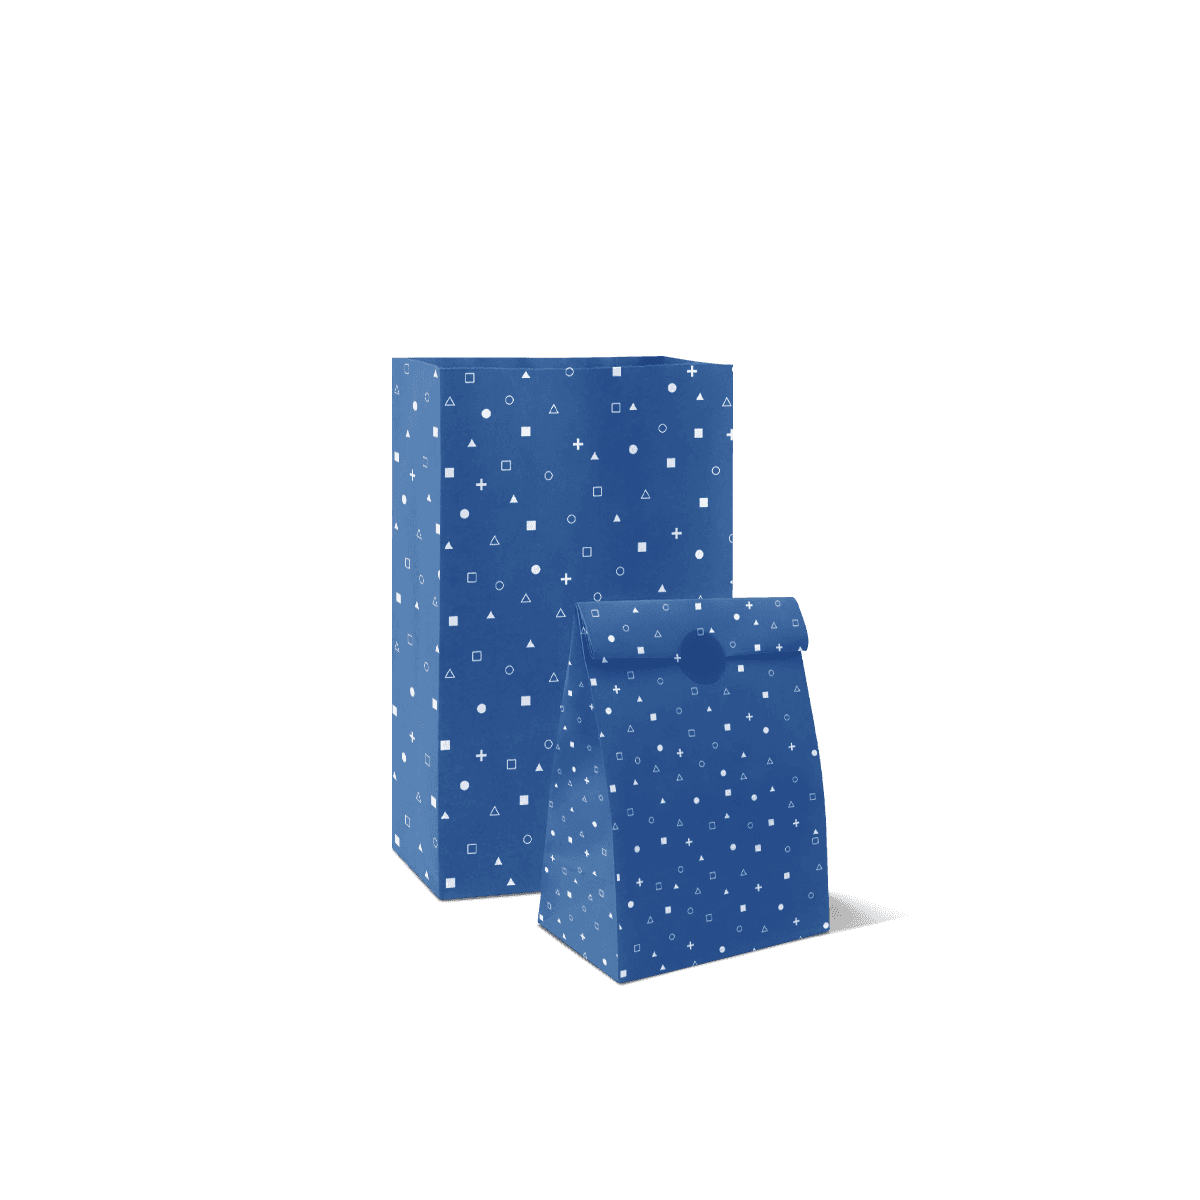
SOS paper bags should be chosen when quick self-opening behaviour and repetitive counter packing are the dominant priorities.

Choose Flat Bottom Paper Bags when the filled result matters more: a cleaner footprint, controlled upright shape and better presentation once the product has been placed inside.

That difference becomes relevant in speciality food, gifting, coffee, confectionery and boutique retail where the bag may remain visible on a counter, shelf, market stall or product photograph instead of disappearing immediately into a larger takeaway order.

Across custom paper bags, similar structures should therefore be judged by what they need to do during and after packing rather than by naming alone.

Use the Base for Display

A standing bag can become part of the product presentation rather than simply an outer carrier. That makes front-panel visibility, base proportions and the condition of the top edge more important.

Face the Brand Forward

When the bag stands naturally, the front panel becomes a predictable branding surface. Position the main logo or product message where it remains visible once the base and side gussets have expanded.

Avoid placing critical information too close to lower folds because the artwork may move visually when the bottom opens into shape.

A free 3D mockup can help check general artwork placement, but the final judgement should consider the bag standing with the actual product inside it.

Use Windows Carefully

A window can be useful where seeing the product materially helps the sale, but it changes both the visual hierarchy and the paper structure.

The window should reveal something worth seeing rather than simply removing printable area. It must also be specified with the product position in mind so the contents actually sit behind it when the bag is standing.

If product visibility is not important, a clear printed face is often the simpler answer.

Display Does Not Set Food Safety

A bag can stand beautifully and still need a completely different paper specification depending on what touches it.

If coffee, wrapped confectionery or boxed bakery products are already contained before they enter the bag, the outer paper can be selected mainly around load, print and presentation.

If exposed food touches the paper directly, or grease and moisture can reach it during use, those conditions must be stated separately before the stock or any barrier treatment is selected.

For bakery and confectionery packaging, the outer standing bag should complement the food box, wrap or inner pack rather than duplicate protection already being provided elsewhere.

The stable base solves presentation. It does not establish food-contact suitability.

Keep Artwork Standing Straight

A flat-bottom bag changes shape between storage and use. Artwork must therefore work on the opened, standing bag rather than only on the flat production view.

Respect the Lower Folds

Keep small text, QR codes and important logo details away from the base folds and strongly moving gusset areas.

Large colour fields can cross those areas where the design allows, but precise elements should stay on the flatter sections of the front and back panels.

If the artwork depends on alignment near the bottom, test it against the final dimensions rather than assuming a flat visual proof tells the whole story.

Let Paper Support the Look

Brown kraft can create a more natural presentation while white paper gives brighter artwork a cleaner starting point. If brown-versus-white stock is the real buying question, kraft paper bags cover that material decision in depth.

Here, paper should support the standing presentation and load rather than become the reason the URL exists.

Know When the Base Is Wrong

A stable bottom is useful only when the product benefits from standing. Some purchases need less structure and some need more carrying support.

Change Structure When Standing Is Not the Job

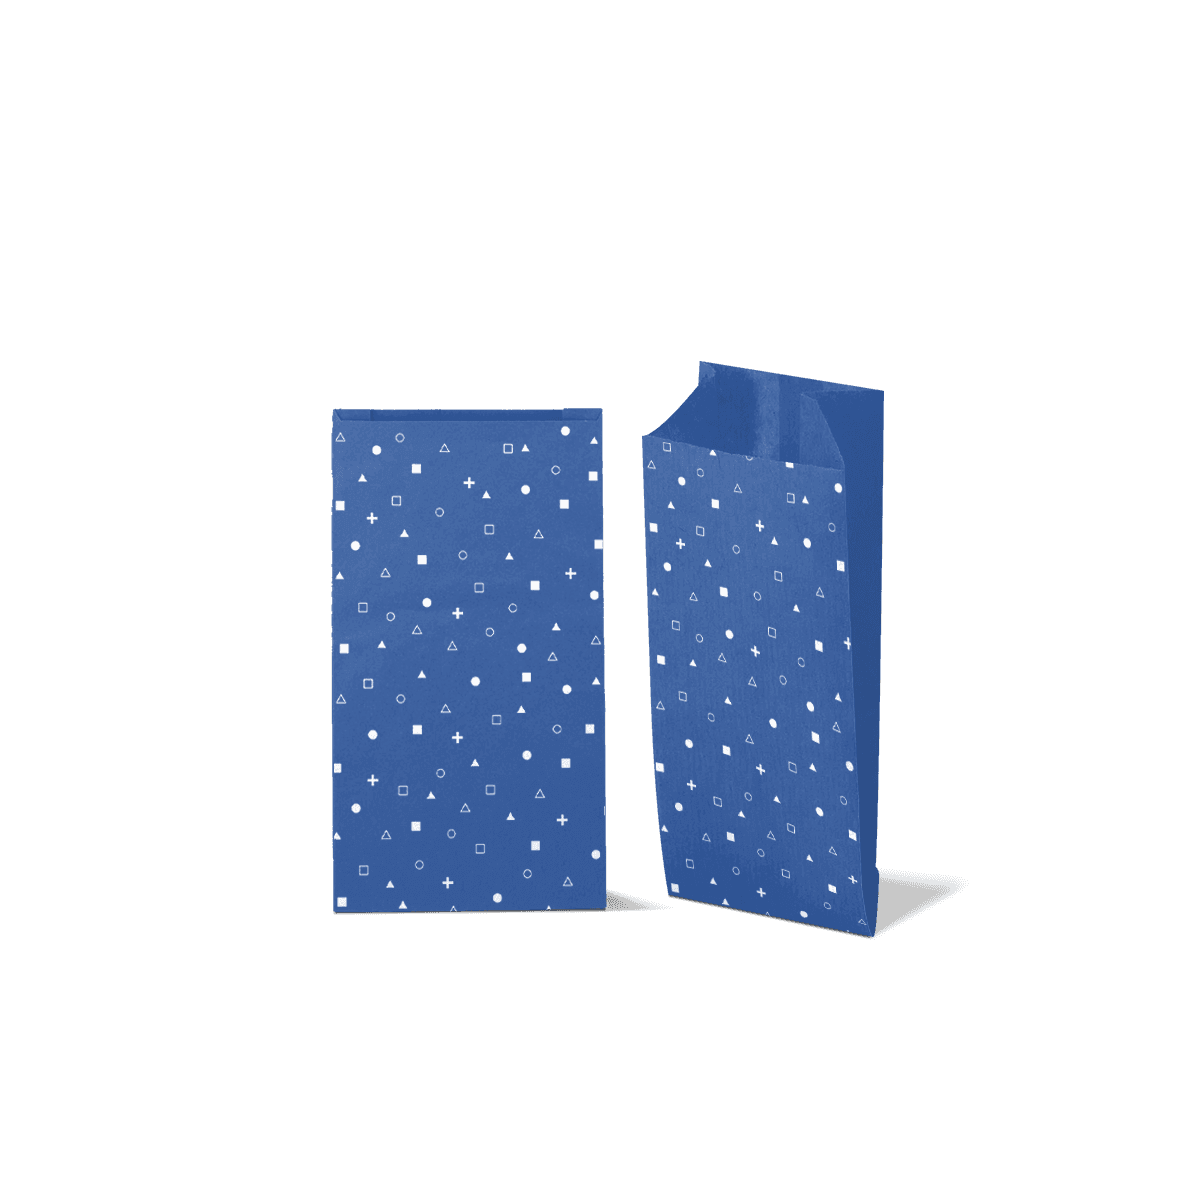
Flat paper bags suit slim, lightweight goods that gain little from a broad standing base.

For long or narrow food products where the open end needs to fold or seal around the contents, pinch bottom paper bags solve a more relevant closure problem.

If the product becomes heavier or the customer needs to carry it for longer, a standing handle-free silhouette may matter less than comfortable carrying. In that case, twisted handle paper bags can be the more useful direction.

The flat-bottom structure should remain where upright product presentation is the reason for choosing it.

Specify the Base First

For this bag style, a useful enquiry can begin with something very simple: show the footprint of the product that needs to stand inside it.

Send the product or inner-box width and depth, the filled weight and a photograph or description of how the completed bag should sit on the counter or shelf. If several items normally share the bag, show their normal arrangement rather than listing them separately.

Use the custom packaging quote to send that footprint and presentation requirement.

The rest of the specification can then be worked outward from the base, giving the product enough room to load while preserving the controlled upright shape that makes a flat-bottom bag worth choosing.

FAQs

They are the right choice when the contents need the bag to stand more neatly and hold shape better during filling or display. This style works especially well for food items, boxed treats, dry goods, candles and small retail products with a compact footprint. If the main priority is very fast service or long-distance carry comfort, another bag style may be more practical.

Flat bottom paper bags usually give a more deliberate retail shape and often look tidier when the product needs to stand upright. SOS paper bags are often chosen for faster service and simpler everyday handover. If your priority is presentation, shelf appearance and product balance, flat bottom bags are often the better fit. If queue speed matters most, SOS may suit better.

Start with the actual product dimensions and how the bag will be filled. Confirm the base footprint, bag height, opening width, filled weight, required paper strength and whether the bag needs grease resistance or food-suitable stock. It also helps to know whether the bag will be used for display, takeaway, gifting or short counter handover because that affects the build.

Yes, this style works well for branding because the structure presents a clearer face when the bag is standing properly. A simple logo can look clean and premium, while fuller printed artwork can support launches or seasonal ranges. The right print approach depends on stock colour, paper finish, order volume and how much graphic coverage the bag really needs.

They can handle many light to medium products very well, but they are not the answer for every heavy-duty carrying job. Match the paper weight and base size to the real load instead of assuming the flat base alone adds strength. If the order is heavier or the customer needs easier carry comfort, a stronger handled paper bag may be the safer choice.

Related Industry Packaging

Process

How it works

Your Packaging Journey, From Idea to Production and Delivery

01

Tell Us Your Specs

Custom packaging boxes

Tell Us Your Specs

Provide size, quantity, printing, and finishes.

02

Get a Fast Quote

Custom packaging boxes

Get a Fast Quote

Instant transparent pricing, no hidden fees.

03

Design and Approval

Custom packaging boxes

Design and Approval

Artwork checks, revisions, and final sign-off.

04

Produce

Custom packaging boxes

Produce

Expert manufacturing to meet deadlines.

05

Ship to Your Door

Custom packaging boxes

Ship to Your Door

Hassle-free, flexible delivery options.

Get Your Quote for Custom Flat Bottom Paper Bags

Share your product details, dimensions, quantity and artwork needs. We’ll help choose the right packaging style and send a clear quote.