Skip to content
Details

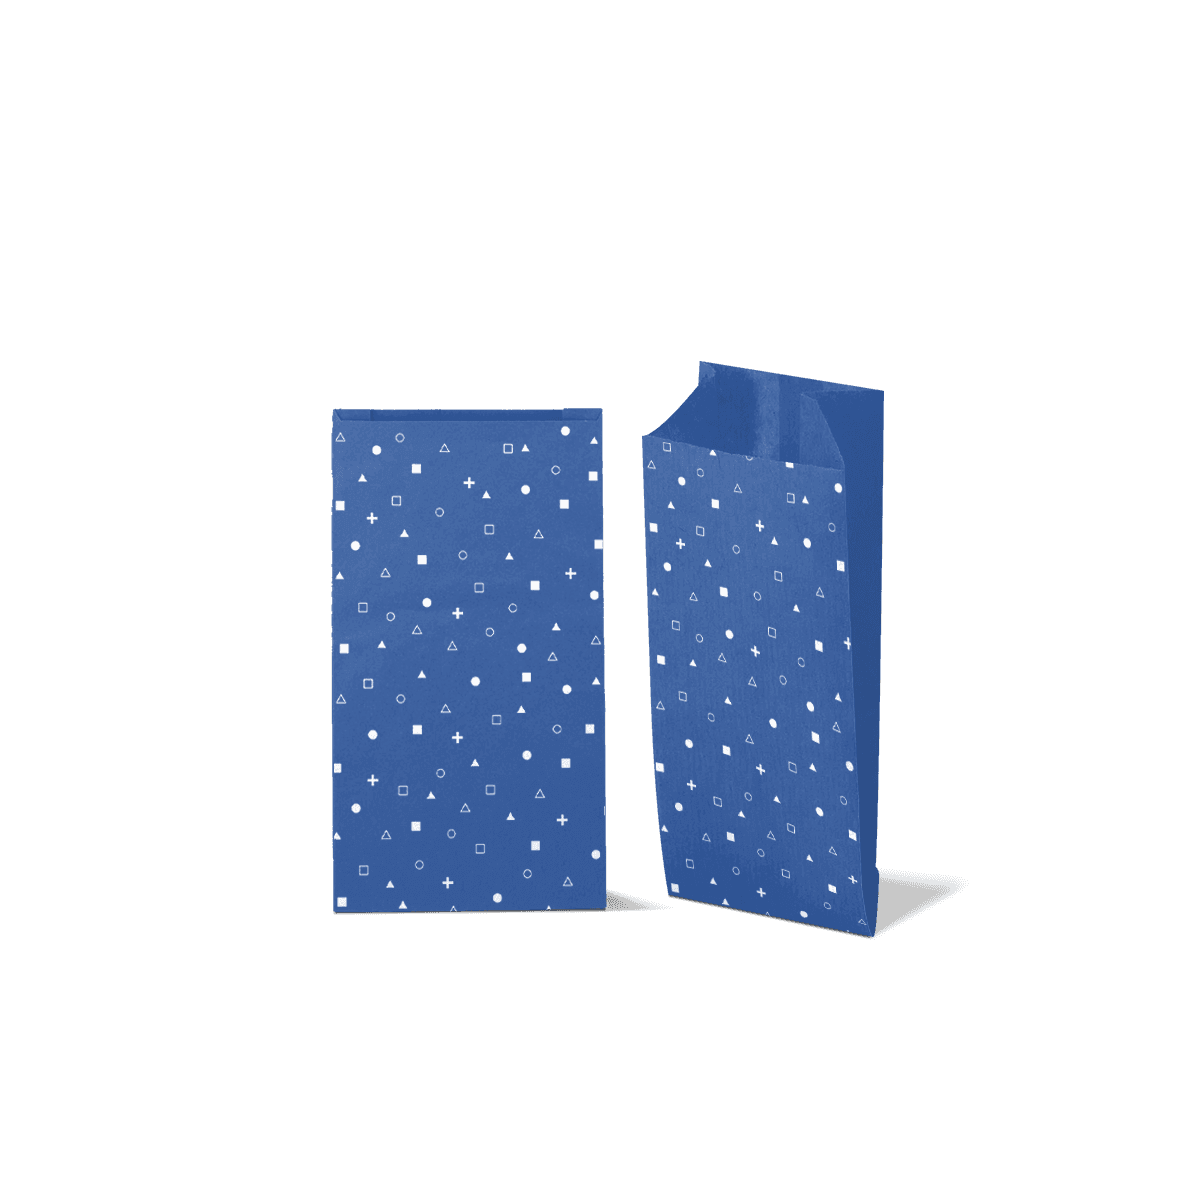
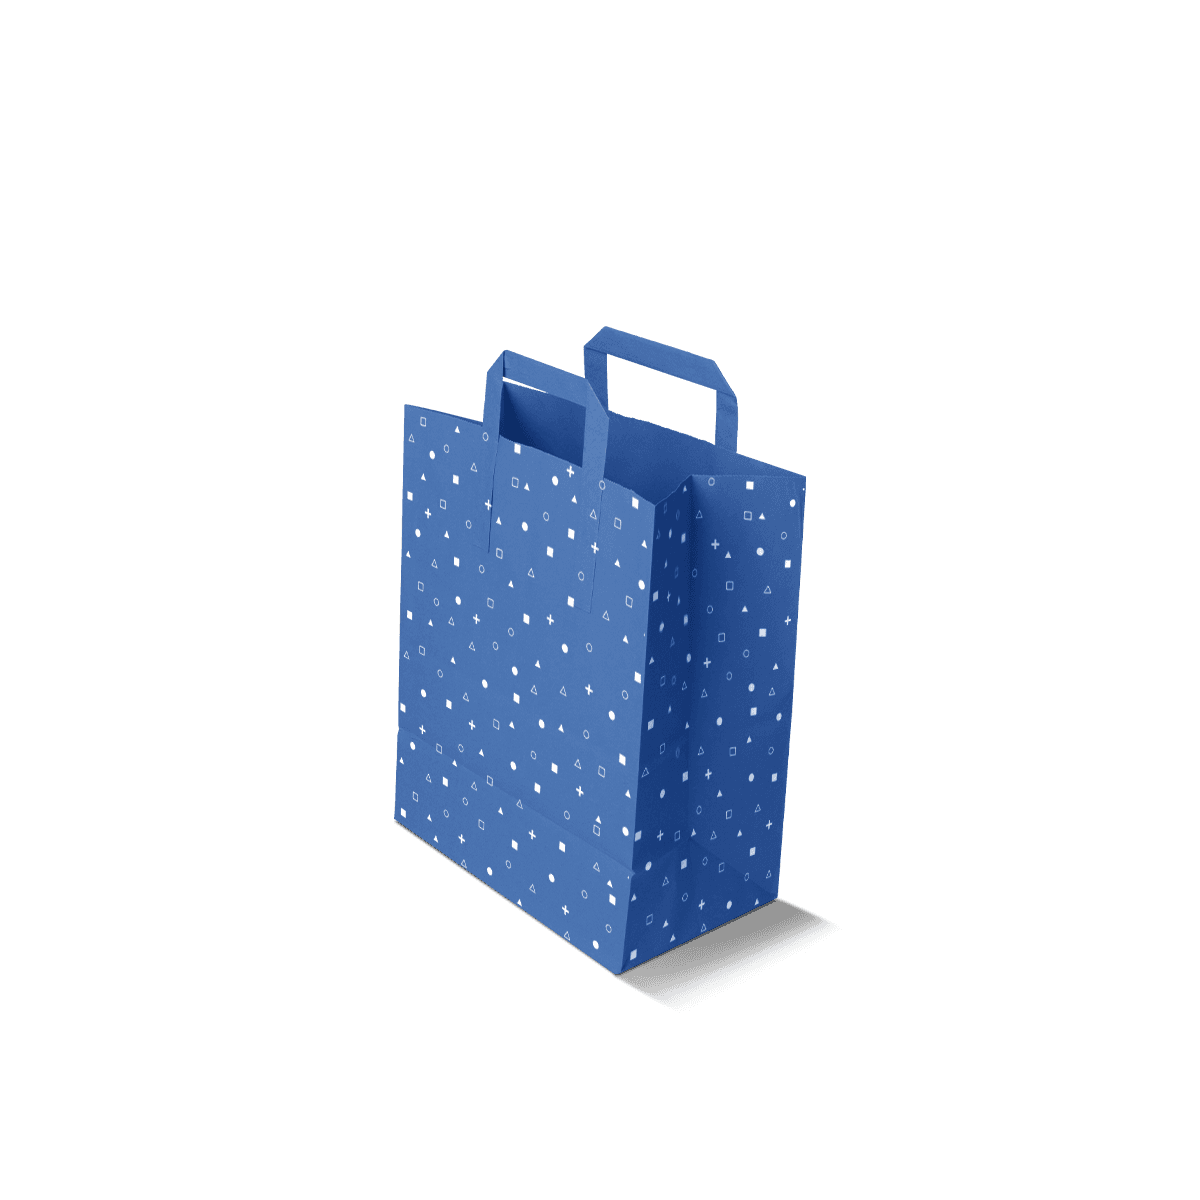
Custom Pinch Bottom Paper Bags

A slim paper bag for bread, pastries, snacks and dry goods where portion fit and the closing area matter more than a standing base.

Close the Product, Not the Bag Type

A slim food pack needs enough shape to contain the product without turning into a standing shopping bag. Custom Pinch Bottom Paper Bags solve that job with a closed lower end and an open filling mouth for bread, pastries, sweets, dry snacks, confectionery and other lighter products packed one portion at a time.

The structure is useful because it stays compact before use, wraps more closely around the product than a standing sack and gives the open end enough flexibility to remain open, fold over or use an appropriate sealing method where the final specification supports it.

That makes the closure decision more important than it looks. The product needs enough room to slide inside without damage, while the upper part of the bag needs enough unused height to fold or close cleanly. A bag that fits the product exactly from end to end may leave no usable closure area at all.

For bakeries and confectionery businesses, bakery and confectionery packaging can coordinate the bag with boxes used for cakes, chocolates, cookies and other products that need more structure.
Plan the Open End

The opening is the working end of a pinch bottom bag. Its dimensions affect filling speed, product damage and the quality of the final fold or seal, so it should be planned around the actual item rather than a nominal portion size.

Leave Closure Headroom

Allow clear space above the product if the mouth will be folded. The fold should sit above the contents rather than press directly onto bread, pastries or fragile toppings.

The amount of headroom depends on the product and closure method. A dry snack portion may need only a neat fold. A longer bread product may need more room so the top can close without compressing the loaf.

If an adhesive, label or heat-sealed closure is required, state that before the paper is chosen. Not every paper specification is suitable for every sealing process, and the closure area needs to remain clean and accessible during packing.

Fill Without Forcing

The product should enter the bag without staff having to stretch the opening or push food against the side seams. That matters for croissants, iced pastries, rolls and other products that can be marked or damaged during insertion.

A little clearance is useful. Too much creates a loose pack that folds poorly and makes a small portion look undersized.

The same product-first logic used when choosing packaging for the actual product applies here: size the bag from the served item, not from a generic bakery-bag dimension.

Match the Bag to Shape

Pinch bottom bags work best when the product can sit naturally inside a relatively slim body. Width, side gusset and finished height should follow the product shape instead of being increased simply to create more capacity.

Long Products Need Control

Bread loaves, baguette-style products and elongated snacks need enough width to enter cleanly without so much side movement that the contents twist inside the bag.

Measure the product at its widest point, including toppings, wrapping or irregular edges. Then add practical loading clearance rather than choosing a significantly wider bag as insurance.

For several bread sizes, two purposeful bag sizes can work better than one oversized format. The print can remain consistent while the proportions follow the actual product.

Use Gussets Only When Helpful

A side gusset adds depth, but depth is not automatically an improvement. Slim biscuits, flat pastries and lightweight confectionery may need very little expansion. Rolls, thicker baked products or several small items may benefit from more.

Too much gusset can make a single portion move around and can create an untidy top fold. Too little can force the product against the seams and make filling slower.

The goal is a close-fitting paper pack, not a miniature shopping carrier.

Choose Paper by the Contents

The correct paper depends on what the product does to the bag during filling, holding and short-distance carrying. Dry bread and wrapped confectionery create a different requirement from buttery pastries or oily food.

Grease Changes the Surface

Fat and oil can migrate into untreated paper and create visible dark marks. If the product is likely to release grease, state that clearly so a suitable paper or barrier approach can be assessed.

Do not add a barrier automatically. A dry bread product may not need the same treatment as a warm pastry or fried snack, and unnecessary coatings can add cost and change the finished material specification.

The wider food packaging for restaurants and takeaways should follow the same rule: heat, grease, moisture and contact conditions are functional requirements, not styling choices.

Direct Contact Needs Confirmation

A paper bag being used around food does not automatically mean every available paper is appropriate for direct food contact. Share whether the food touches the paper directly, whether it is wrapped first and whether it is hot, cold, greasy or dry.

Those details should be resolved before production so the material and any required treatment can be selected for the actual use. Packaging customisation can then be used to narrow the paper, print and surface choices around the confirmed requirement.

Close for the Journey

The open end should match what happens after packing. A pastry handed straight across a counter has a different closure need from a dry snack bag placed on a shelf or a bread product carried several streets away.

Fold for Short Handover

A simple fold-over top can keep a lightweight product tidier during short takeaway use without turning the bag into a more complex sealed pouch.

The fold should be easy for staff to make consistently. If several folds are needed just to make the pack feel secure, the bag may be too tall or the product may need another format.

The best takeaway packaging choices depend on the real journey of the food. Pinch bottom bags belong where a slim paper pack is enough, not where a mixed meal needs a standing carrier.

Specify Sealing Early

If the bag needs adhesive, a label, tamper evidence or another defined seal, include that requirement before artwork and material selection.

A closure can affect the usable top area, paper treatment and packing process. It may also change whether staff can close each bag quickly enough during busy service.

Do not use a more elaborate seal simply because it looks more finished. It should solve a genuine freshness, containment, identification or handling need.

Keep Print Below the Fold

The most useful print area is the part of the bag that remains visible after filling and closing. Artwork placed too high can disappear into the fold or become distorted when the top is pinched and turned.

Protect the Closure Zone

Keep logos, small type, QR codes and mandatory product information clear of the expected fold or seal area. If the closure depth may change between products, build enough safe space into the artwork rather than letting staff fold through printed details.

A free 3D mockup can help check logo scale and the likely relationship between the artwork and the closing area before production.

For artwork that crosses gussets or needs precise safe zones, the workflow for designing packaging around the final dieline is more useful than designing a flat rectangle and adapting it later.

Let the Stock Support the Design

Brown kraft can suit restrained logos and darker print, while white paper gives brighter colours a cleaner base. If paper tone and print response are the main buying decision, kraft paper bags cover that material choice in more depth.

On a pinch bottom bag, the priority is simpler: the paper and artwork should survive filling, folding and handling without making the pack harder to use.

Know the Structural Limit

Pinch bottom bags should remain slim and closure-led. Once the product needs the bag to stand open, carry several boxy items or support a broad base, another paper bag structure will usually do the job better.

Move to a Standing Base

SOS paper bags are stronger when staff need the bag to open into shape quickly and stand during filling. Flat bottom paper bags make more sense when stable upright presentation and a broader base matter after packing.

Pinch bottom bags should not try to imitate either. Their advantage is the compact body and controllable open end.

Across custom paper bags, structure should follow how the product is filled, closed, carried and displayed rather than which style uses the least paper.

Move Simpler When Possible

For very flat, light products that do not need a defined pinch-bottom profile or meaningful top closure, flat paper bags can be the simpler choice.

That distinction is important for cards, small pharmacy items and some bakery products. Pinch bottom earns its place when the extra shape and controllable open end solve a real packing need.

Keep Portion Sizes Predictable

A bakery or snack business often gains more from consistent portion fit than from using one large bag for everything. Standard sizes should be based on the products that move most often, then adjusted only where another item genuinely needs different proportions.

A croissant, cookie portion and bread roll may all be light, but they do not necessarily need the same width or gusset. Using one oversized bag can make folding inconsistent and use more paper than necessary.

MOQ starts from 100 bags, which can make it practical to test a new branded size for a seasonal product or smaller line before standardising it across a larger programme.

For repeat products, record the approved width, gusset, height, paper and closure position. That makes subsequent runs easier to reproduce and reduces the temptation to resize the bag around minor artwork changes.

Test the Folded Pack

The useful test is the finished portion inside the closed bag. An empty pinch bottom bag tells you very little about whether the mouth is wide enough, the fold clears the food or the paper behaves correctly around grease and moisture.

Pack the real product at normal serving temperature. Close it in the way staff will use every day. Then check whether the bag creases cleanly, whether the product is compressed and whether oil or moisture appears where it should not.

Also check the customer side of the pack. The folded bag should be easy to hold and open without tearing through the product area or forcing the customer to damage the food to reach it.

When exact fold behaviour, paper treatment or product clearance needs physical approval, a paid custom sample can test the proposed specification before the full run.

Start With One Packed Product

The fastest way to set a pinch-bottom bag is to start with one real portion in its finished selling condition. Send its width, height and depth, or show it clearly beside a size reference.

Then state what should happen at the open end: leave it open, fold it, close it with a label or use another defined sealing method.

That is enough to begin. Send the packed product, expected quantity and closure requirement through the custom packaging quote, then the required headroom, paper and bag proportions can be worked from the real product rather than a generic bag size.

FAQs

They are the right choice when the product is light, usually food-led and packed one portion at a time. This style works especially well for bakery items, sandwiches, snacks and confectionery where the bag needs a little shape but not a broad standing base. If the contents are boxy, mixed or heavier, a different paper bag style is usually a better fit.

Pinch bottom paper bags usually suit slimmer food items and quicker handover, while flat bottom paper bags are better when the contents need a more stable base and stronger upright presentation. If your product is a pastry, sandwich or simple snack portion, pinch bottom often makes more sense. If the product needs to stand neatly on shelf or counter, flat bottom bags are often the stronger option.

Start with the actual product shape, not just the approximate weight. Confirm bag width, finished height, any side gusset needed, paper grade, grease-resistance requirement and whether the bag will stay open or be folded at the top. It also helps to know whether staff will fill the bags quickly behind the counter or whether customers will pick them up from display.

Yes, and simple branding usually works very well on this style. A clean logo, pattern or short promotional message can make an everyday food bag feel much more considered without affecting service speed. The best result comes from keeping the artwork aligned with the bag’s practical role rather than trying to force a luxury look onto a fast-use paper format.

Usually only for lighter items and short carry distances. They perform well for pastries, sweets, sandwiches and similar products, but they are not designed to replace a stronger retail carrier or a wider structured food bag. If the order includes several items, heavier contents or anything that needs a firmer base, it usually makes more sense to move to SOS paper bags or flat bottom paper bags instead.

Process

How it works

Your Packaging Journey, From Idea to Production and Delivery

01

Tell Us Your Specs

Custom packaging boxes

Tell Us Your Specs

Provide size, quantity, printing, and finishes.

02

Get a Fast Quote

Custom packaging boxes

Get a Fast Quote

Instant transparent pricing, no hidden fees.

03

Design and Approval

Custom packaging boxes

Design and Approval

Artwork checks, revisions, and final sign-off.

04

Produce

Custom packaging boxes

Produce

Expert manufacturing to meet deadlines.

05

Ship to Your Door

Custom packaging boxes

Ship to Your Door

Hassle-free, flexible delivery options.

Get Your Quote for Custom Pinch Bottom Paper Bags

Share your product details, dimensions, quantity and artwork needs. We’ll help choose the right packaging style and send a clear quote.