Skip to content
Details

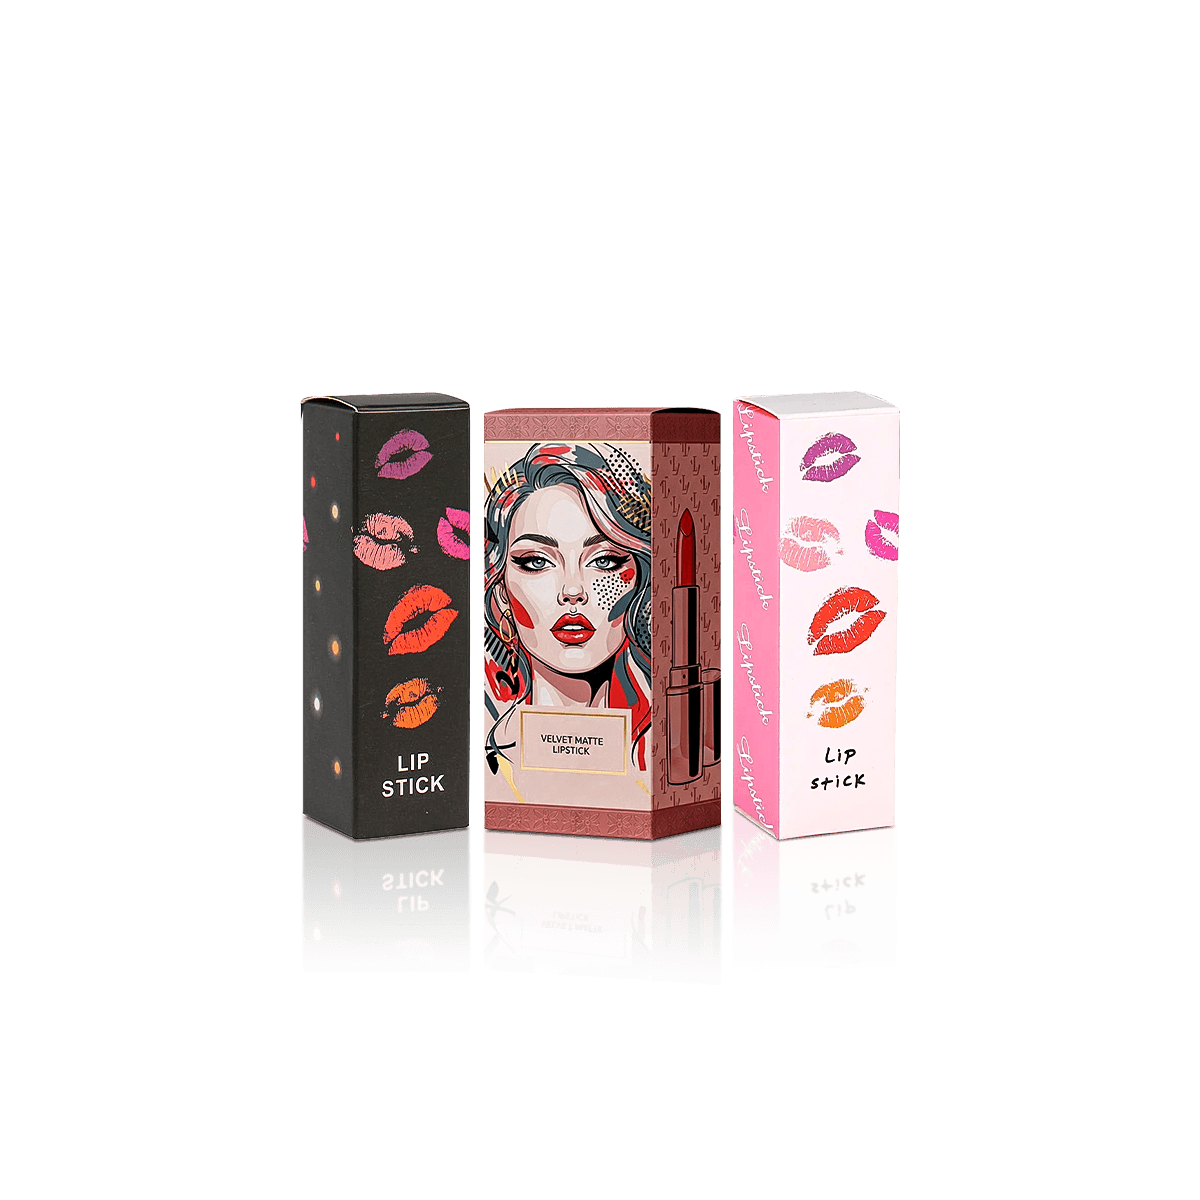
Custom Lipstick Boxes

Shade-led lipstick cartons that stay compact, load cleanly and make each SKU easy to identify in trays, drawers and retail displays.

Put the Shade Where It Is Seen

Lipstick packaging works better when shade identification is planned before decorative artwork. Custom Lipstick Boxes often share almost identical dimensions across many colours, so the carton needs to help staff and customers find the correct shade without turning every pack in their hands.

That is a narrower job than custom cosmetic packaging as a whole. A lipstick carton usually has very little panel space, yet it may need to carry the product name, shade name, barcode and other required information while still looking like part of one coherent brand system.

Counter Trays Need Top Cues

When lipstick cartons stand upright inside a counter tray, the front face may be partly hidden and the top flap becomes valuable working space. Put the shade name, number or a controlled colour cue where it remains visible above the tray wall.

Check this with the actual display height. A useful shade marker can disappear completely if the tray covers the part of the carton where it was placed.

Drawers Need End-Panel Cues

Stock drawers create the opposite problem. Cartons may be stored horizontally or end-on, so the side or base panel becomes the quickest place to identify the shade.

Keep the brand system stable across the line, but design the variable shade field for the direction in which staff actually see the cartons during picking.

Fit the Actual Case

The finished lipstick case controls the carton size, not the lipstick bullet inside it. Measure the product closed, including the cap, base and widest decorative point.

Lipstick components are not always simple cylinders. Square cases, oval sections, faceted caps and projecting bases can create a wider point than the main barrel. Using only the nominal product size can leave the carton too tight at exactly the place where the case needs clearance.

Protect the Case Finish

A carton should hold the lipstick closely without scraping the case as it is loaded. This matters with metallic, high-gloss, coated or dark components because repeated rubbing can make surface marks more obvious.

Too much clearance creates the opposite problem. The lipstick can knock from side to side and the carton starts to feel oversized for such a small product. The tuck-box sizing process gives a useful starting point for working clearance, but the final fit should still be checked against the real component.

Separate Gloss From Lipstick

Do not stretch one lipstick dieline to cover a taller wand product simply because both products belong to the same lip line. Lip Gloss Boxes usually need different height and closure clearance because the applicator cap and tube profile change the geometry.

Sharing artwork language is sensible. Sharing a structural size only works when the physical products genuinely fit it.

Keep the Carton Compact

For a single lipstick tube, a folding paperboard carton is usually the efficient starting point. It stores flat, gives enough printable surface around a small product and can remain close to the case without introducing an unnecessary presentation structure.

The box style should still follow the packing routine and panel orientation rather than being chosen from appearance alone.

Use Tucks for Singles

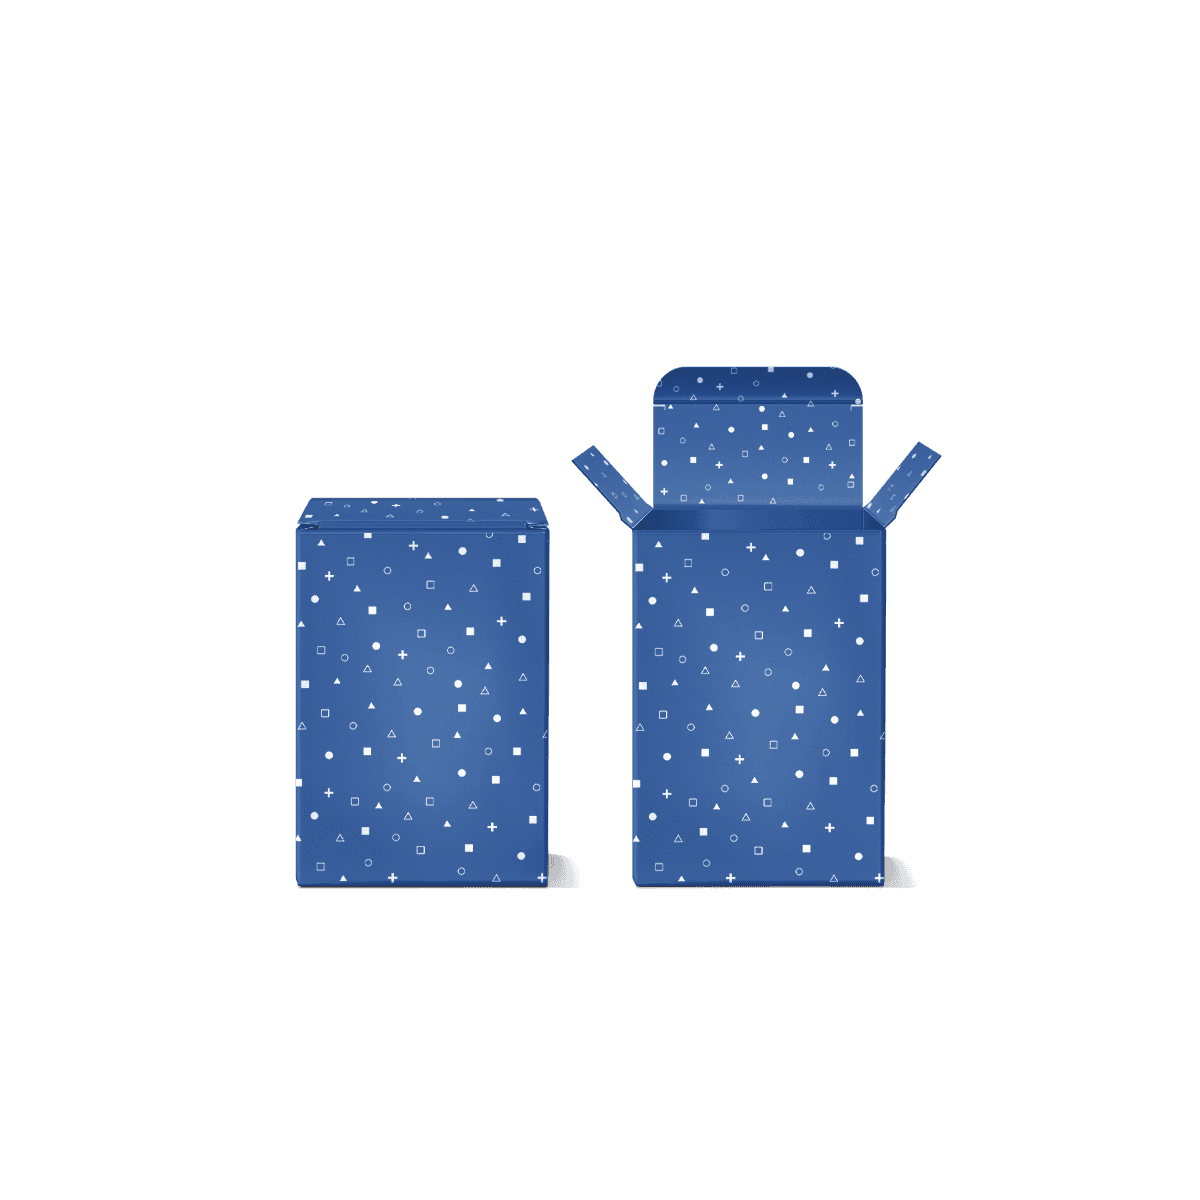
Custom Straight Tuck End Boxes keep the main top and bottom tucks facing the same direction. That can make a repeated manual packing routine easier to standardise when the working end is chosen in advance.

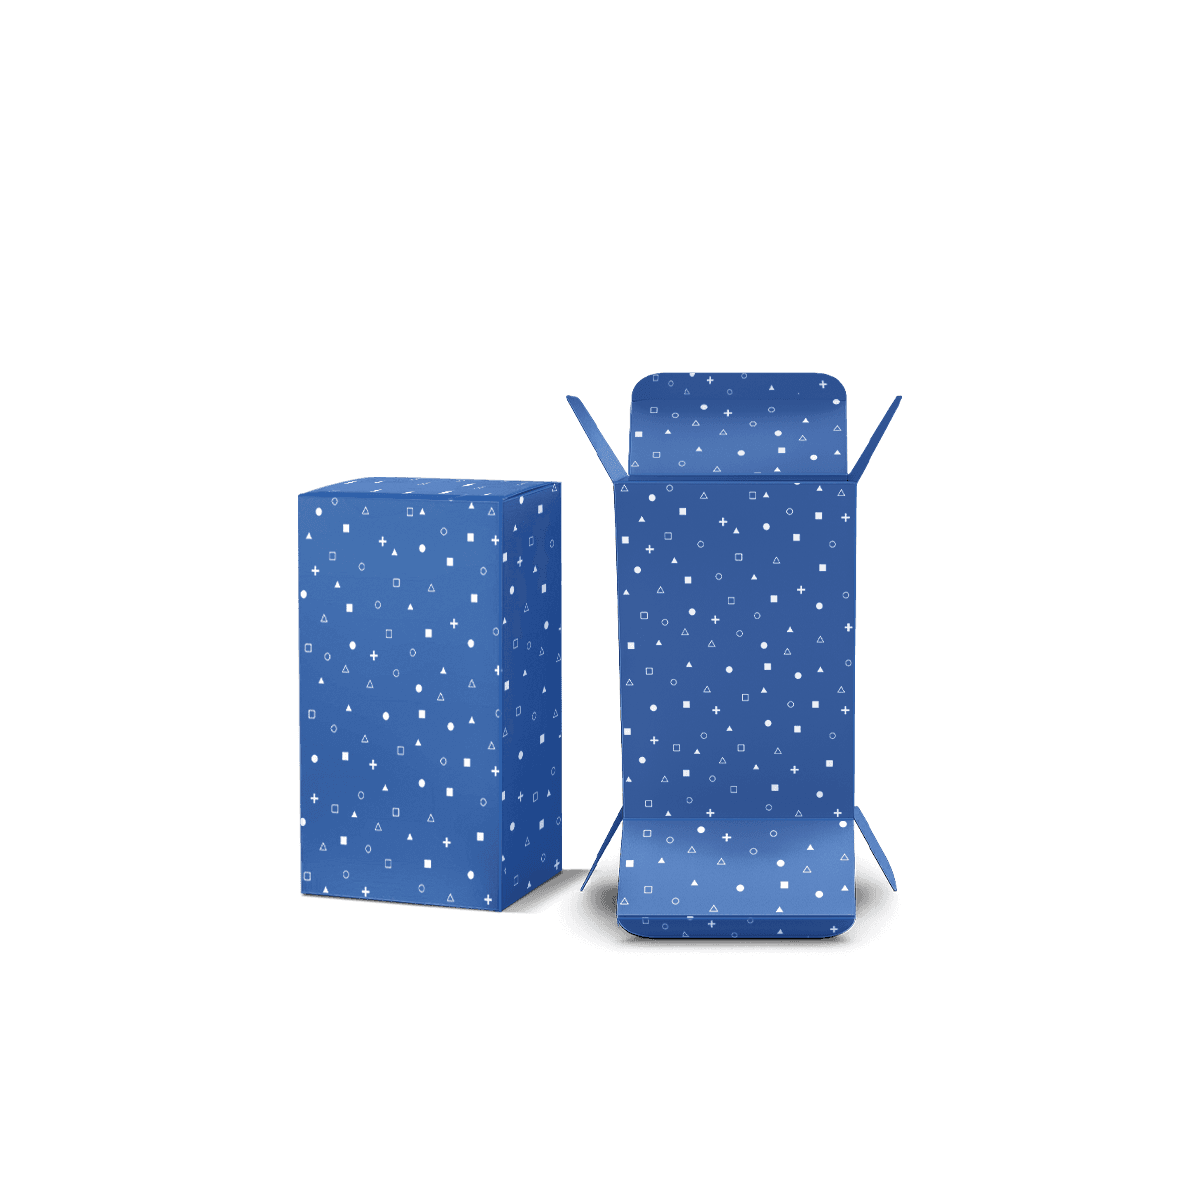
Custom Reverse Tuck End Boxes use opposing main closures and can suit a different dieline or loading arrangement. Neither style is automatically stronger for lipstick. Choose between them from the flap direction, glue seam, front panel and packing process.

Add Windows Deliberately

A die-cut window can make sense when the lipstick case itself is visually distinctive and seeing it helps the sale. It is less useful when the carton already communicates the shade clearly or the window reveals only a generic black tube.

On a small pack, an aperture also takes away printable surface. If product visibility is central to the concept, Custom Window Boxes give that decision proper structural attention instead of treating a window as a last-minute decoration.

Design for Narrow Panels

Small lipstick cartons punish weak artwork hierarchy. A layout that looks spacious on a large screen can become crowded once it is wrapped around four narrow faces, top and bottom flaps and a glue seam.

Start by assigning one purpose to each visible area. The front can carry the main product identity, while secondary faces handle shade information, barcode placement and supporting copy supplied for the product.

Keep Codes Easy to Scan

Do not bury the shade name, SKU or barcode inside decorative graphics simply because the front panel needs visual impact. Operational information should remain easy to find for retail teams, warehouse staff and customers.

The best position depends on how the carton is handled. A beautifully designed base code is useless if the units are always stored base-down in a tray.

Keep Creases Quiet

Small type, barcodes and finish details need breathing room around folds, cuts and the glue seam. The approved dieline should identify those working areas before artwork is finalised.

The packaging customisation choices can include CMYK, Pantone, premium offset printing, matte, gloss, soft-touch, foil, embossing, debossing and spot UV. On a lipstick carton, restraint matters because a few millimetres of misplaced finish can interfere with a crease or make an already narrow panel feel crowded.

Treat Colour as Navigation

Colour can help shoppers and staff navigate a lipstick line, but the printed carton should not be treated as an exact physical copy of the lipstick formula unless the colour system has been specifically controlled and approved.

Board tone, coating and print method all affect how a printed colour appears. A shade block can be a strong identifier without pretending that ink on paper will reproduce the cosmetic product perfectly.

Use a Repeatable Shade Cue

A small colour field, printed swatch area, shade name or numerical code can work better than changing the entire carton design for every lipstick. The goal is fast recognition while preserving the brand system.

For premium products, a restrained foil or spot UV detail can separate a special finish or launch tier without taking over the shade information. The decorative effect should support the hierarchy, not compete with it.

Choose Print by Artwork

Print method should follow the number of artworks, colour requirements, quantity and expected repeat pattern. Digital and offset printing have different economics when one lipstick launch contains many shade artworks.

Digital can be useful when artwork changes frequently or individual designs are produced in shorter quantities. Premium offset printing becomes more attractive where stable volume, fine typography, smooth solid colour or tighter Pantone control matters. Do not decide from total carton count alone.

Test the Packing Routine

A good lipstick carton should be easy to erect, load, close, identify and place into its next handling step. Testing that sequence catches problems a flat artwork approval cannot show.

Pack several real units rather than checking one empty carton. Repetition reveals whether staff keep turning the box to find the opening, whether the cap catches a dust flap or whether a very close fit slows loading.

Check the Working End

Decide which end will normally be opened for filling and keep that orientation consistent with the artwork. The lipstick should slide in without scraping the case, while the closing flaps need enough room to move without pushing against the product.

If the shade code sits on the top flap, make sure the working end and final retail orientation do not accidentally place that code underneath the product.

Repeat the Loading Test

Load several finished lipstick cases in succession rather than testing one carefully handled sample. Watch for rubbing on metallic or gloss surfaces, caps catching dust flaps and cartons that need to be squeezed open before the case will enter.

A fit that works once but slows repeated loading is still too tight for production.

Approve the Erected Carton

Lipstick artwork needs to be checked as a standing box, not only as a flat file. Top-flap direction, shade-code visibility, side-panel reading order and finish placement can all look different once the carton is folded.

A free 3D mockup is useful here because it lets the team review panel relationships before production, especially when several shades reuse the same structural dieline.

Map Top and Base

Identify the front face, top, base, glue seam and working end before the designer starts placing artwork. If the carton uses a supported straight tuck structure, the free box dieline generator can provide a practical starting layout from the required dimensions.

Do not assume every top-panel word is automatically facing the right direction on shelf. Rotate and review the assembled view.

Separate Finish Layers

Foil, embossing, debossing and spot UV should be marked clearly on the final production artwork rather than merged into ordinary print graphics. Keep them away from tight folds unless the final specification has been checked for that placement.

The dieline and artwork setup process is useful before sign-off because cut, crease, bleed and safe areas all matter more when the carton panels are this small.

Prepare the Retail SKU Brief

A useful lipstick brief should show how the product will be handled as well as how it looks. Provide the closed case dimensions, note any square, oval or projecting cap details and identify whether the cartons will normally sit upright in trays, lie in stock drawers or use both arrangements.

Then show the quantity required for each shade artwork and which panel must identify the SKU at a glance. Send those details through the detailed quote form so the carton can be priced around the real lipstick line rather than one generic unit.

FAQs

Slim tuck-end cartons are usually the strongest starting point because they match the narrow product shape and keep storage efficient. Straight tuck and reverse tuck routes both work well depending on loading preference and artwork layout. If the range includes multipacks, premium editions or paired products, a grouped carton or insert-supported structure may perform better than a simple single-unit box.

The clearest route is a repeatable coding system, not random placement from shade to shade. Top flap labels, side-panel colour markers or base identifiers can all work well if they stay consistent across the full range. That consistency matters for shelf display, stock picking and ecommerce order accuracy, especially when the carton size stays almost identical across many variants.

Start with the filled lipstick dimensions, including cap height and widest point, rather than relying on nominal product size. Confirm the total number of shades, the amount of legal copy needed, barcode position and whether cartons will be hand packed or machine packed. It also helps to confirm if the units will be sold singly, in bundles or inside outer mailing packs.

It depends on the range position and the look you want to build. Matte lamination often suits cleaner or more modern lipstick branding, while gloss can help brighter colour stories feel more lively. Foil works well for premium accents on smaller cartons, but it needs restraint. On narrow boxes, too many finish effects can make the layout feel busy rather than elevated.

Lipstick Boxes are usually the better route when the product is shorter, more rigid and sold in a compact bullet or stick format. They benefit from tighter proportions and cleaner stacked merchandising. Lip Gloss Boxes often need more height or different internal clearance because the product shape, wand assembly or tube profile changes the carton fit. The structure should follow the container, not the category name alone.

Process

How it works

Your Packaging Journey, From Idea to Production and Delivery

01

Tell Us Your Specs

Custom packaging boxes

Tell Us Your Specs

Provide size, quantity, printing, and finishes.

02

Get a Fast Quote

Custom packaging boxes

Get a Fast Quote

Instant transparent pricing, no hidden fees.

03

Design and Approval

Custom packaging boxes

Design and Approval

Artwork checks, revisions, and final sign-off.

04

Produce

Custom packaging boxes

Produce

Expert manufacturing to meet deadlines.

05

Ship to Your Door

Custom packaging boxes

Ship to Your Door

Hassle-free, flexible delivery options.

Get Your Quote for Custom Lipstick Boxes

Share your product details, dimensions, quantity and artwork needs. We’ll help choose the right packaging style and send a clear quote.