Skip to content
Details

Custom Nail Polish Boxes

Nail polish boxes need to fit glass bottles, protect caps and brushes and keep shade-led collections easy to sort, merchandise and ship. The right carton supports salon retail, beauty launches and cleaner presentation across single shades, duos and gift sets.

Balance Glass Weight and Cap Height

Custom Nail Polish Boxes have an unusual balance problem for such a small carton: most of the weight sits in the glass base while the brush cap rises above it. A loose cavity can let the bottle knock against the sidewalls, while excessive top clearance makes the pack feel tall and empty.

Plan the carton from the filled bottle's weight distribution as well as its outside dimensions. Square, round and faceted bottles can share similar measurements but behave differently once stood upright. Within custom cosmetic packaging, nail polish therefore needs its own balance between base support, cap clearance and counter footprint.

Protect the Glass, Not the Cap

The cap should close the bottle, not carry the load of the package. Avoid an internal fit that presses a tall brush cap against the top flap or uses a decorative closure as the main locating point. If extra control is needed, support the bottle body or base so the glass stays centred while the cap keeps working clearance.

This matters most with lacquered, metallised or soft-touch caps. A carton that is technically “snug” can still be wrong if repeated loading rubs the finish or catches the bottle shoulder.

Base Shape Changes Movement

Round bottles can rotate inside a loose rectangular carton. Square bottles resist rotation but their corners can scuff if the clearance is too tight. Faceted bottles add another variable because the widest point may sit above the base.

The safest starting point is controlled clearance around the finished bottle, followed by a physical fit check. The tuck box sizing method is useful when working out internal space, flap movement and the effect of inserts before the final dieline is approved.
Choose Structure by Load

A standard single polish bottle often needs less packaging than brands assume. If the glass sits securely and the carton closes without pressure, an efficient folding carton can be enough. Extra trays, foam and reinforced formats should solve a real movement or presentation problem, not appear by default.

Singles Can Stay Simple

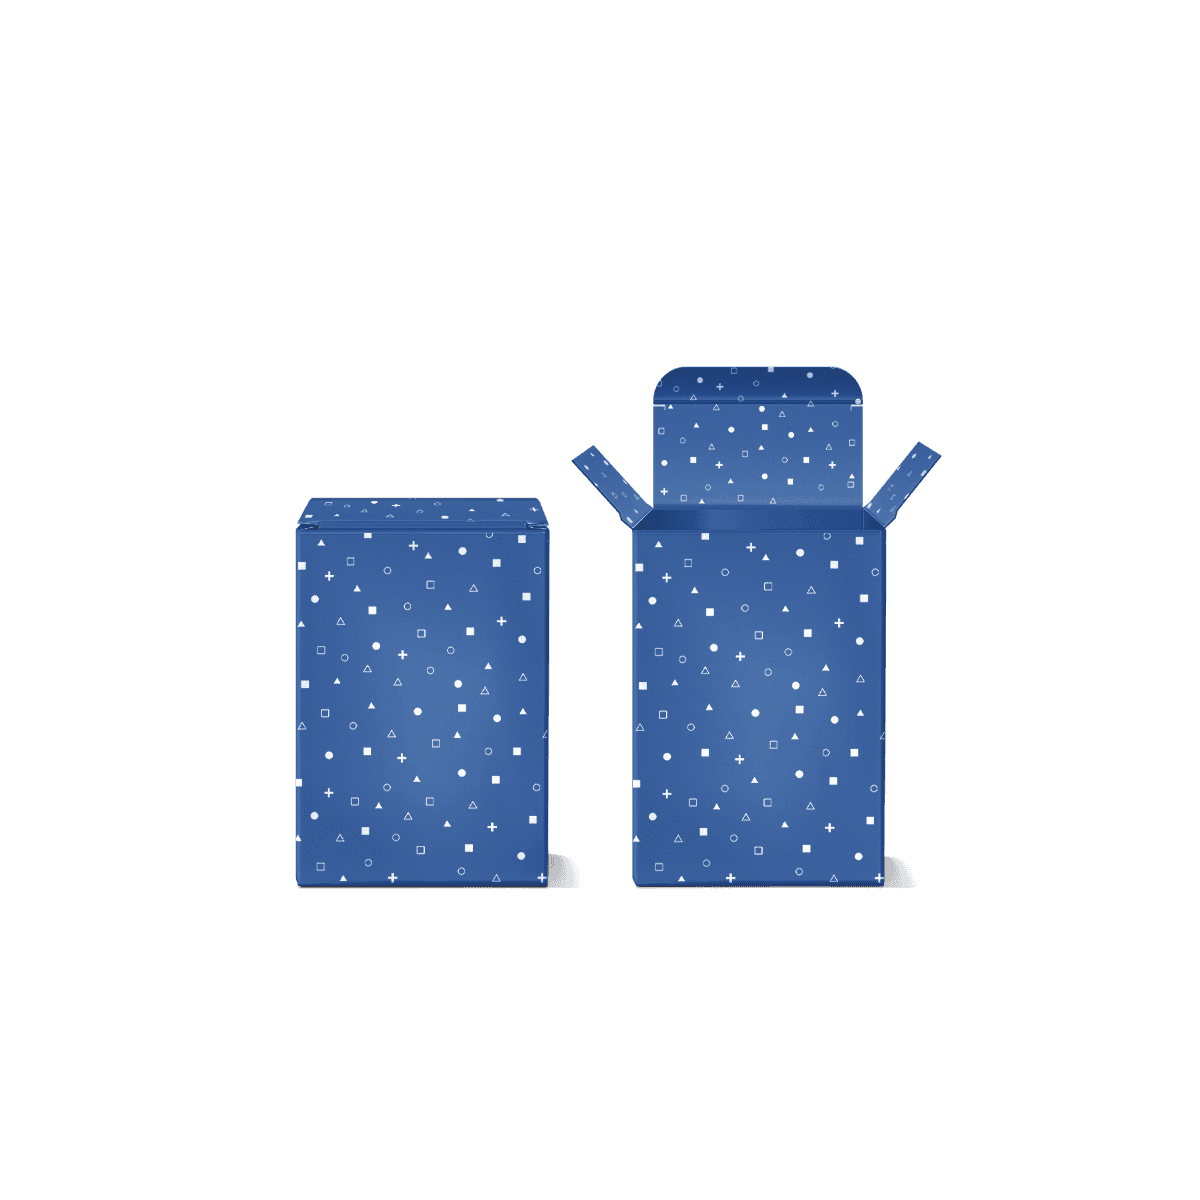
For lightweight single-bottle retail packs, straight tuck end boxes can provide clean front and side panels, flat storage and a predictable packing direction. Reverse tuck can also work when its flap arrangement suits the artwork or loading sequence better.

The decision should not come from appearance alone. Check how the bottle enters the carton, how much pressure reaches the lower closure and whether staff can fill and close repeated units without catching the cap or label.

Sets Need Shared Support

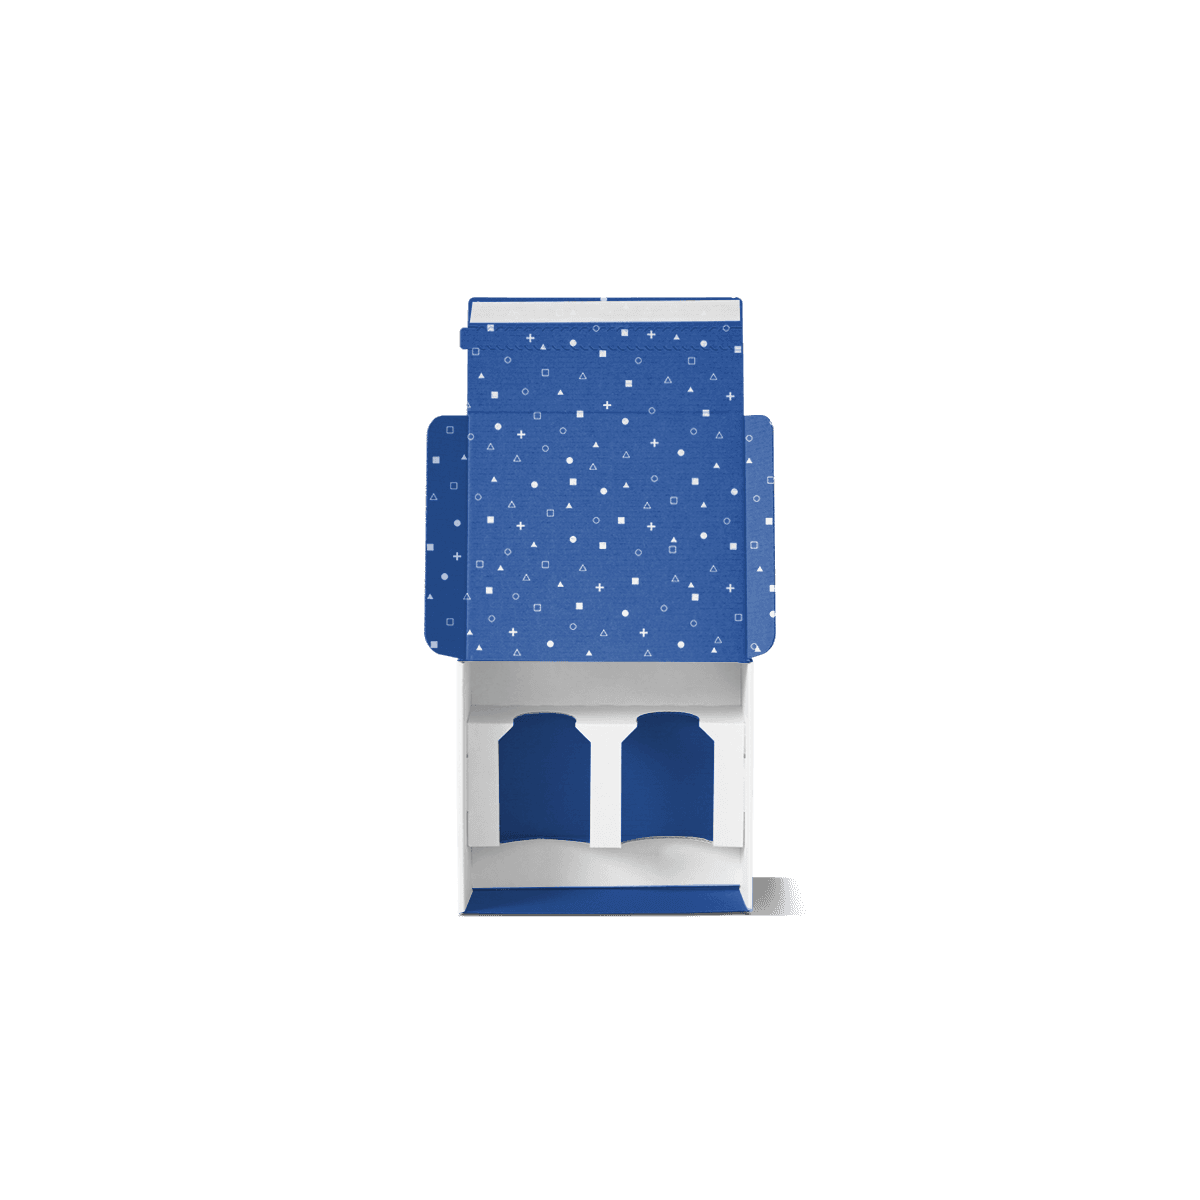
Two or more glass bottles change the problem. The combined weight increases, bottles can knock together and a wide outer carton gives the contents more room to move. A die-cut card tray, divider or cradle can keep each bottle in a defined position.

When using cardboard box inserts, plan the insert and outer carton together. A late insert can steal closure clearance or push the bottles too close to the lid. For premium sets, hold the glass bodies apart and keep decorative caps free from unnecessary pressure.

A stronger base may also make more sense for a dense multi-bottle set than simply increasing the thickness of a basic tuck closure. Board stiffness and base strength are separate decisions.

Show Colour Without Guesswork

Nail polish is bought by colour, but the printed carton can only approximate what lacquer looks like in glass. Ink sits on paperboard, not inside a transparent bottle, and lamination changes surface appearance again. That means a printed shade block should be treated as a recognition cue, not as a promise of an exact visual match to the liquid.

Windows Have a Real Trade-Off

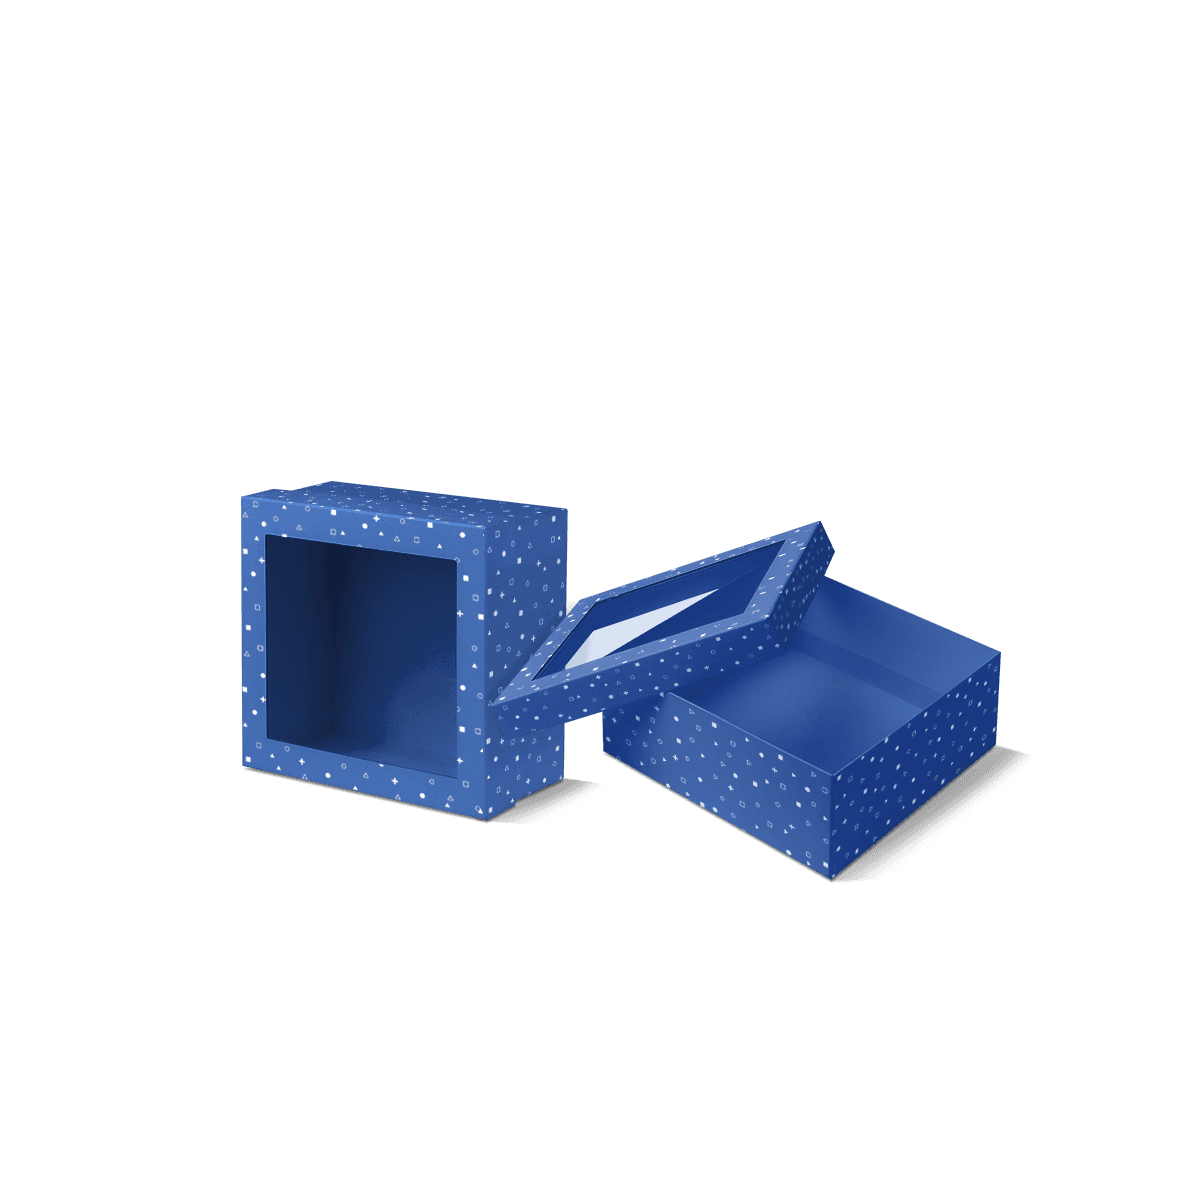
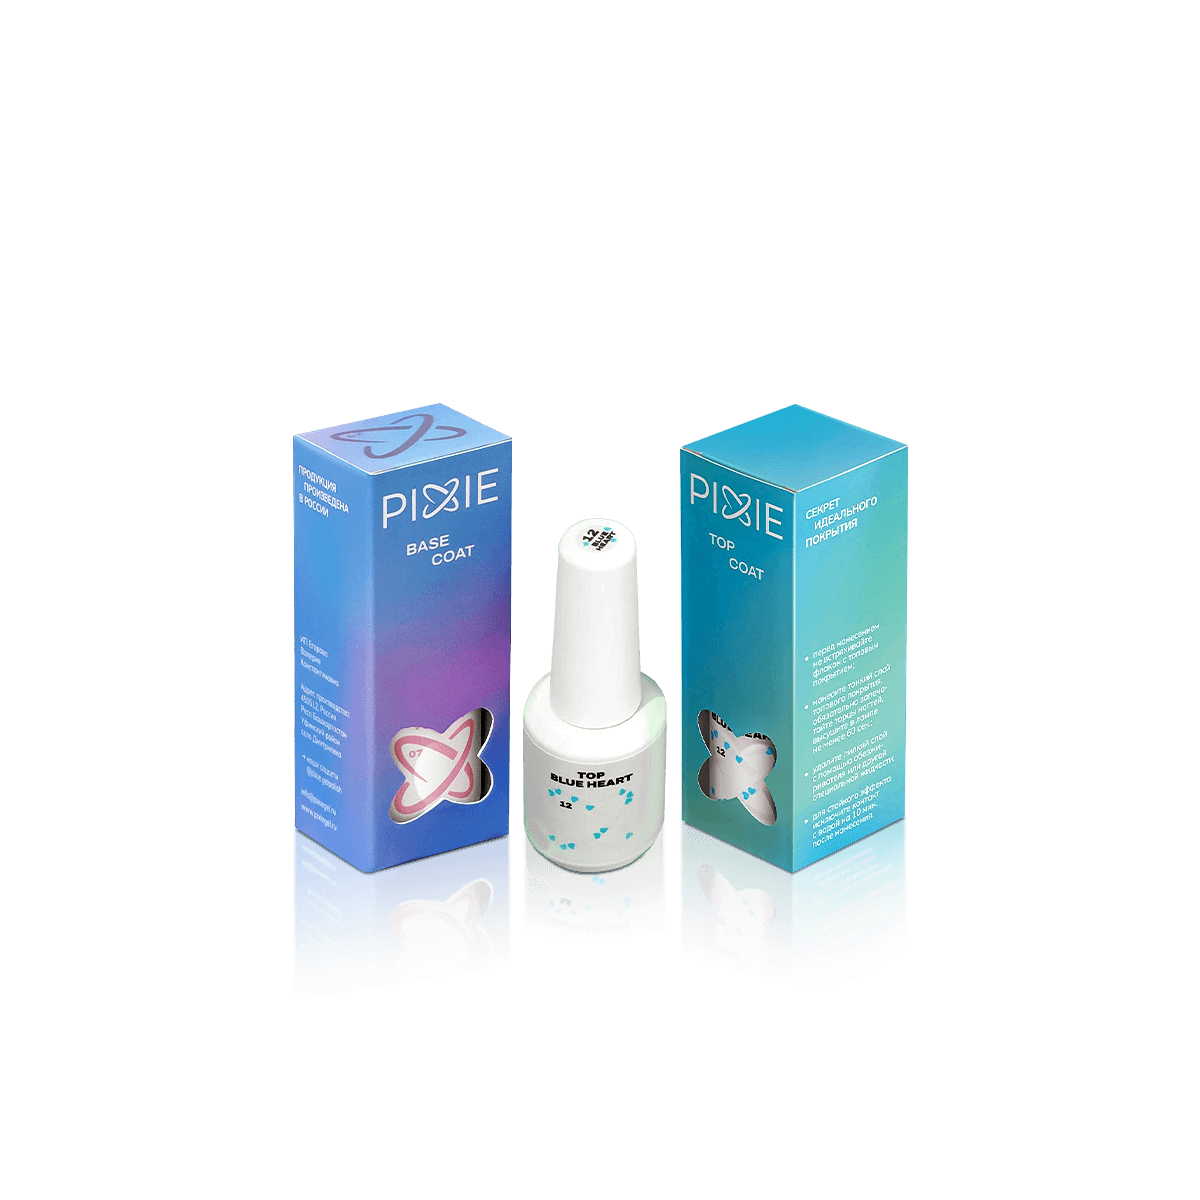
A well-positioned window can show the actual bottle and reduce reliance on a printed swatch. Window boxes make sense when the bottle design or visible lacquer is central to the sale.

The trade-off is structural and graphic. Removing part of a narrow panel leaves less room for product information and can reduce stiffness if the opening is too large. If the bottle must sit precisely behind the cut-out, an insert may be needed to stop it rotating or dropping out of alignment.

A closed carton is usually the cleaner choice when the brand wants uninterrupted artwork, the bottle label carries sensitive information or the glass does not need to be visible before purchase.

Use Coding as a Secondary Cue

Top flaps, side panels and base panels can carry shade names, finish types or small colour identifiers so staff and customers can sort close-looking cartons quickly. Keep the system consistent, but do not let it take over the whole page strategy. The carton still has to solve bottle fit first.

If every shade uses the same bottle, one approved structure can often support several artwork versions. If cap height, bottle width or glass shape changes, confirm the fit again rather than assuming the same cavity will work.

Plan for the Counter

Nail polish often sits in compact retail or salon environments where many bottles compete for limited space. The carton footprint matters because oversized packs reduce the number of units that can face forward and make refilling less efficient.

Keep the Footprint Disciplined

A close-fitting carton gives the front panel enough presence without making a small bottle look lost. For larger launches, countertop display boxes can organise multiple cartons while keeping the products visible and easier to replenish.

Before fixing the display, decide whether customers pick up the boxed unit directly or whether the display mainly stores stock behind testers. That changes the useful depth, row count and amount of header space.

Separate Retail From Courier Wear

A polished retail carton should not be expected to act as its own delivery package. Glass bottles, crisp corners and decorative finishes need a second layer of protection when orders move through parcel networks.

For direct-to-consumer orders, cosmetic mailer boxes can protect the retail carton while letting the smaller polish box remain focused on shelf presentation. Multi-bottle orders also need spacing so glass units do not transfer impact into each other.

Print the Small Panels Well

Nail polish cartons give designers very little space to waste. The front may need the brand, product name and finish cue, while side and rear panels carry the information supplied by the brand. Small type, barcodes and finish marks all have to survive folds, glue seams and trimming.

Choose Print by Artwork

CMYK works well for multicolour artwork, gradients and illustrated collections. Pantone becomes useful when one brand colour needs tighter control. Premium offset printing can give excellent consistency on stable runs, while digital can be commercially useful when quantities are lower or artwork changes frequently.

The practical difference is explained in digital versus offset printing. Choose the method from the quantity per artwork, colour requirements, stock and finish, not from a blanket rule that one process is always better.

For the physical specification, packaging customisation brings board, print, colour and finishing choices together so they can be assessed as one system.

Keep Finishes Off Working Areas

Foil, embossing, debossing and spot UV can give a small carton a strong focal point because the surface area is limited. They also need restraint. A finish that crosses a tight crease or sits too close to a tuck edge can become harder to register cleanly or may crack as the carton folds.

Use the front panel for the detail that deserves attention, then let the paperboard, print quality and fit do the rest. A small carton rarely improves when every available finishing process is applied at once.

Lock Structure Before Artwork

Artwork should follow the approved carton, not rescue an uncertain one. Once the bottle fit, loading direction, window and insert are settled, the dieline can define the real front, side, top, base and glue areas.

Map the Bottle to the Dieline

The packaging dieline setup shows how cut lines, crease lines, bleed and safe areas affect printed packaging. For nail polish cartons, pay particular attention to top-flap identifiers, narrow side copy and any finish mark that sits close to a fold.

If straight tuck is the chosen structure, the free box dieline generator can create a useful starting layout from your dimensions. Final production artwork should still use the approved dieline for the selected board and finished specification.

Proof Fit and Graphics Separately

A 3D mockup is useful for checking panel direction, branding balance and how the finished carton is likely to look. It does not prove physical bottle clearance. When the bottle shape, cap finish or insert is unusual, a physical sample is the better check for loading, movement and closure pressure.

The packaging design workflow is useful when structure and artwork are being developed together. Lock the physical variables first, then refine print and finishing after the carton is behaving properly.

Price the Hardest Bottle First

For a useful nail polish quotation, start with the bottle that creates the biggest packaging constraint. That may be the tallest cap, the widest shoulder, the heaviest glass or the multi-bottle set. If several shades share one identical component, say so. If premium variants use a different bottle or closure, identify them separately rather than hiding the difference inside one average size.

Send the bottle dimensions or a representative sample, filled unit weight, required pack orientation, single-bottle or set configuration and any window or insert requirement through the custom packaging quote. Those details are enough to price the structure around the product instead of guessing from a generic nail polish box size.

FAQs

For most single bottles, straight tuck and reverse tuck cartons are the strongest starting points because they suit narrow formats and store efficiently. The better option depends on loading preference, artwork layout and how the cap affects the overall height. If the product is sold as a duo, manicure kit or heavier premium bottle, a grouped carton or insert-supported structure may be the more stable route.

Start with the real filled bottle dimensions, including the full cap height and the widest point of the glass. Confirm the bottle base shape, total unit weight and the amount of panel space needed for barcode, legal detail and shade naming. It also helps to confirm whether the cartons will be hand packed, machine packed or placed inside delivery packaging after assembly.

A fixed coding system works best. Shade names, finish markers and barcode details should follow the same positions across the full range so stock handling and shelf browsing stay easy. Top flap, side panel or base coding can all work well when applied consistently. That consistency matters even more when dozens of shades use near-identical carton sizes and branding layouts.

No, not every polish carton needs an insert. A standard single bottle can often sit securely in a well-sized folding carton without extra internal support. Inserts become more useful for duos, mixed manicure sets or heavier decorative bottles that need tighter movement control. They also help when the opening sequence needs to feel more premium and more deliberately arranged.

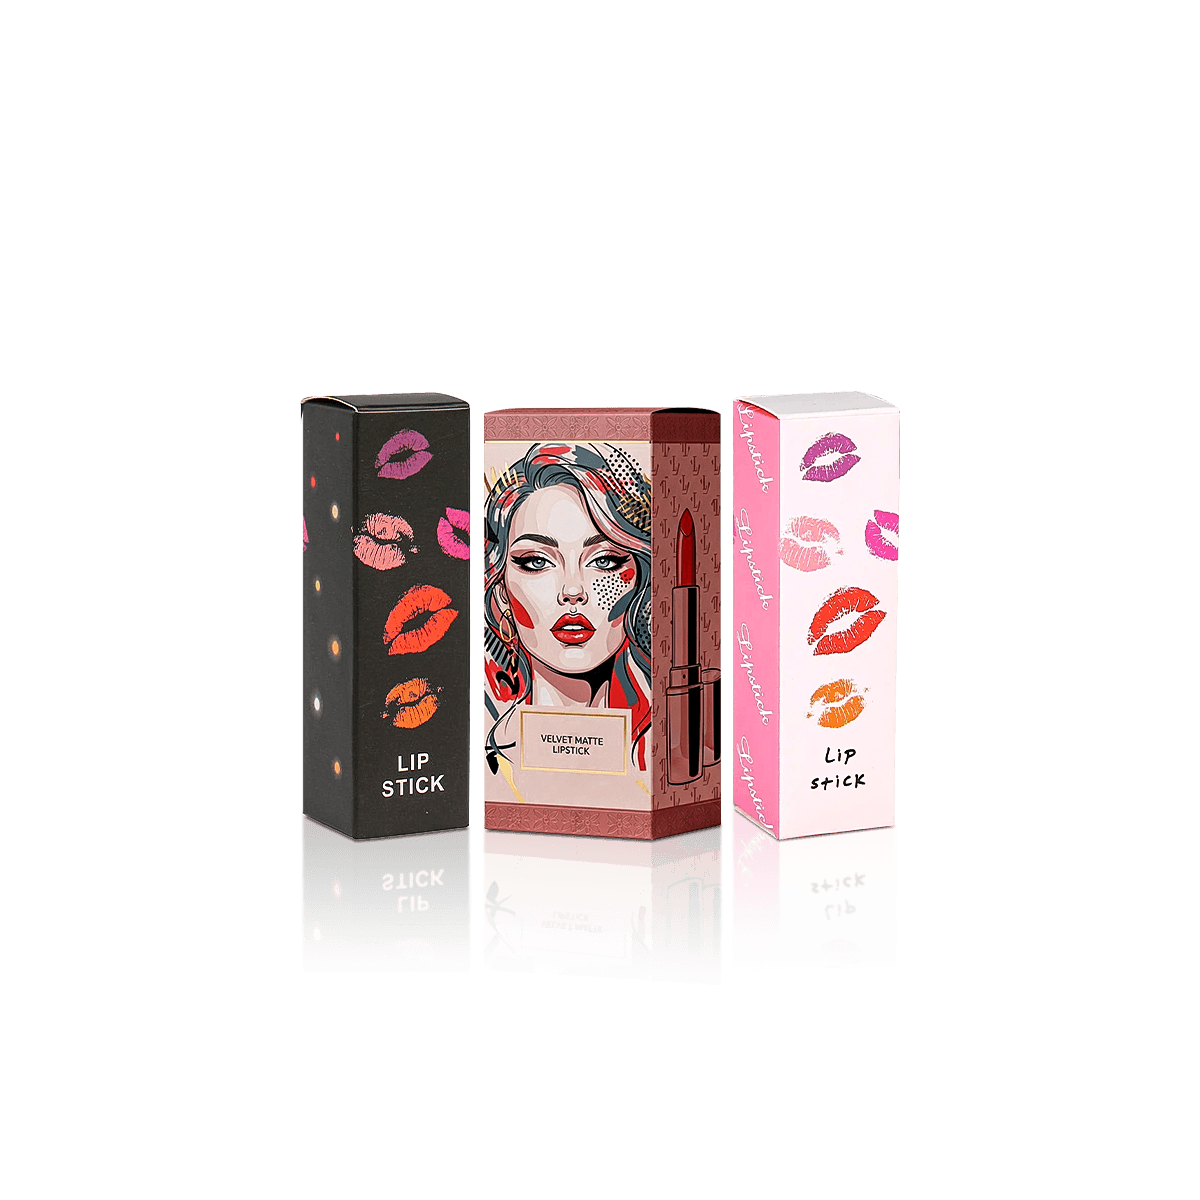
Nail Polish Boxes are better when the pack has to protect a glass bottle, accommodate a taller cap and organise shade-led liquid colour products. Lipstick Boxes usually suit shorter stick-format cosmetics with different fit requirements and different visual hierarchy. The structure should follow the bottle profile and handling risk, not just the fact that both sit in the broader colour cosmetics category.

Process

How it works

Your Packaging Journey, From Idea to Production and Delivery

01

Tell Us Your Specs

Custom packaging boxes

Tell Us Your Specs

Provide size, quantity, printing, and finishes.

02

Get a Fast Quote

Custom packaging boxes

Get a Fast Quote

Instant transparent pricing, no hidden fees.

03

Design and Approval

Custom packaging boxes

Design and Approval

Artwork checks, revisions, and final sign-off.

04

Produce

Custom packaging boxes

Produce

Expert manufacturing to meet deadlines.

05

Ship to Your Door

Custom packaging boxes

Ship to Your Door

Hassle-free, flexible delivery options.

Get Your Quote for Custom Nail Polish Boxes

Share your product details, dimensions, quantity and artwork needs. We’ll help choose the right packaging style and send a clear quote.