Skip to content
Details

Custom Blister Card Packs

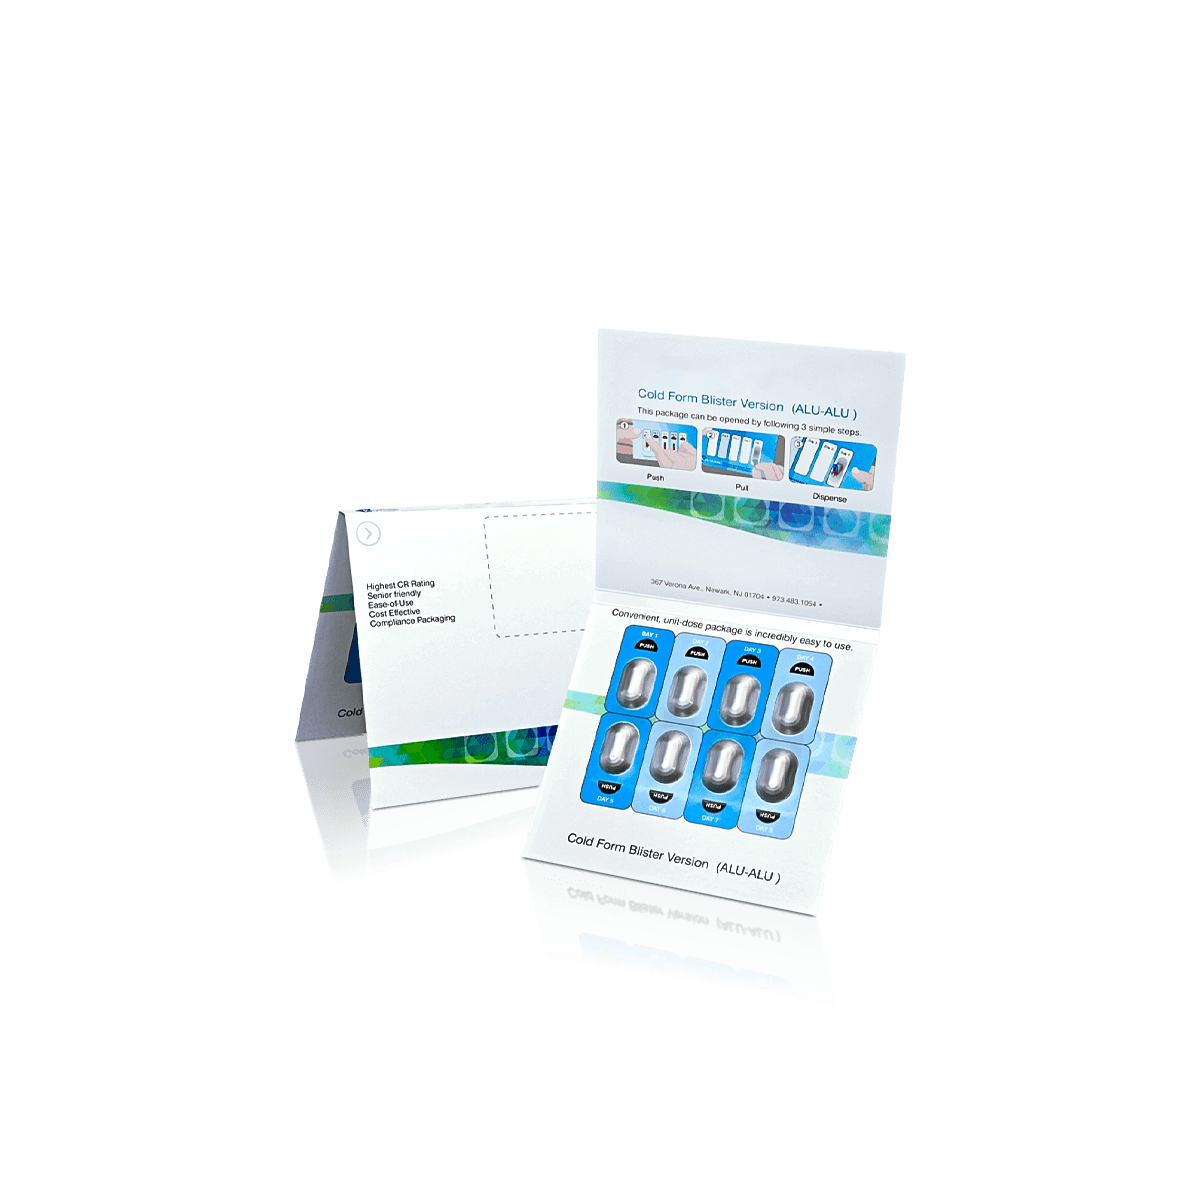
Blister card packs put the product on show while keeping it secured to a printed backing card, making them a strong choice for small healthcare items that need visibility, tamper-aware presentation and simple peg display.

Make the Card Carry Its Share

Custom Blister Card Packs can fail even when the clear cavity fits the product. The backing card may be too narrow for the sealing area, too weak around the hang point or so crowded by the blister that there is nowhere sensible for branding, instructions or a barcode.

Treat the cavity and printed card as one retail unit. This format is strongest when a compact product needs to remain visible while the card carries branding, instructions and the hanging function.

Start With the Highest Point

Measure the complete item, including the highest or widest feature that will sit inside the formed cavity. A cap, dial, raised button, rounded edge or bundled accessory can determine blister depth even when most of the product is much slimmer.

The cavity should control movement without pressing hard on the product. Too much free space lets the item rotate or slump. Too little can create pressure on the blister, card or product itself.

If the product shape is irregular, work from the real sample or an accurate drawing rather than relying on one length, width and depth figure.

Leave a Working Seal Perimeter

The clear blister normally needs a defined flange or sealing area around the cavity. That space should be planned before the backing-card artwork is finalised.

Do not place important text, barcodes or fine graphics where the blister flange or sealing process may interfere with them. The exact seal method and compatible card treatment should be confirmed as part of the production specification.
Balance Product and Card

The backing card has to do more than support the blister. It creates the printed area around a product that is deliberately left visible, so the proportions affect both communication and retail presence.

Do Not Shrink the Card Too Far

A small card can reduce material use, but it still needs enough space around the cavity for the seal, product name, brand, barcode and any buyer-supplied information that must remain readable.

If the blister consumes nearly the whole face, the printed information can become squeezed into narrow strips around the product. Increase the card only as much as the information and hanging method genuinely require.

The principles in planning packaging before artwork are useful here because artwork works better when the physical structure is fixed before the graphic layout.

Avoid Empty Card Area

The opposite problem is an oversized backing card around a very small item. It uses more material, occupies more display space and can make the product feel lost inside the presentation.

The product should remain the visual focus. Card size should support the cavity, print hierarchy and retail fixture rather than create extra area simply for decoration.

Design the Hang Point

A hang hole or euro slot is a structural detail, not a graphic afterthought. Its position affects how the loaded blister card sits on the peg and how much stress reaches the upper card during handling.

Follow the Centre of Gravity

Test the pack with the actual product inside. If most of the weight sits far to one side or too low relative to the hanging point, the card can lean or rotate instead of facing forward.

A centred logo does not automatically mean the hang slot should be centred on the artwork. The loaded product determines the balance.

Where an enclosed paperboard item needs to hang rather than use a clear blister, peg hook display boxes solve a different version of the same merchandising problem.

Protect the Top Margin

Leave enough card around the hang slot to withstand repeated loading, removal and movement on the fixture. A hole positioned too close to the top edge can weaken the area that carries the whole pack.

Product weight matters here. If a compact item is unusually heavy for its card footprint, test whether the card stays flat and whether the hanging area remains stable before committing to the format.

Keep the Product Facing Forward

Visibility only helps when the product remains in the intended position. A loose cavity can allow the item to twist, slide or settle at an angle that hides important features.

Control Movement Without Crushing

Shape the cavity around the points that actually control the product. A close fit does not mean every surface needs to touch.

Allow enough clearance for loading and normal production variation while preventing obvious rotation or movement. For fragile finishes or delicate surfaces, identify where contact is acceptable before the cavity is finalised.

A physical fit check is especially useful for rounded, tapered or asymmetrical items because a simple rectangular measurement does not show how they behave inside a formed blister.

Check More Than One Unit

One blister card may hang perfectly by itself but behave differently when several units sit behind one another on the same peg. Cavity depth determines how much hook space each pack consumes and can affect how neatly the fronts align.

Test a realistic group, not just one finished sample. If the blister is deeper than necessary, the retail fixture may hold fewer units even though the card footprint has not changed.

Display Boxes become more useful when several products need to be grouped on a counter or shelf rather than hung individually.

Give Information a Flat Home

The strongest printed areas are the parts of the card that remain flat, visible and clear of the cavity and seal. Use them deliberately rather than trying to wrap important information around the product.

Reserve the Barcode Area Early

Keep the barcode on a flat, unobstructed part of the backing card. Do not let the blister edge, hang slot, decorative finish or tight trim margin compete with it.

The same discipline applies to variable information supplied for the finished artwork. Decide where it belongs before decorative graphics consume the available space.

For wellness products, the exact text required depends on the product and the seller's obligations. Packaging should provide usable space for approved copy rather than invent or imply medical or compliance claims.

Let the Product Stay Visible

Heavy graphics behind a clear blister can compete with the item the format is meant to show. Use contrast carefully so the product remains easy to recognise while the card still carries a distinct brand identity.

The retail principles in packaging design ideas apply especially well here: shelf packaging needs clear hierarchy before decorative effects.

Know When a Carton Is Better

Blister cards earn their place when visible product display and hanging efficiency matter. They become less convincing when the product is heavy, needs extensive enclosed information space or requires more surrounding support.

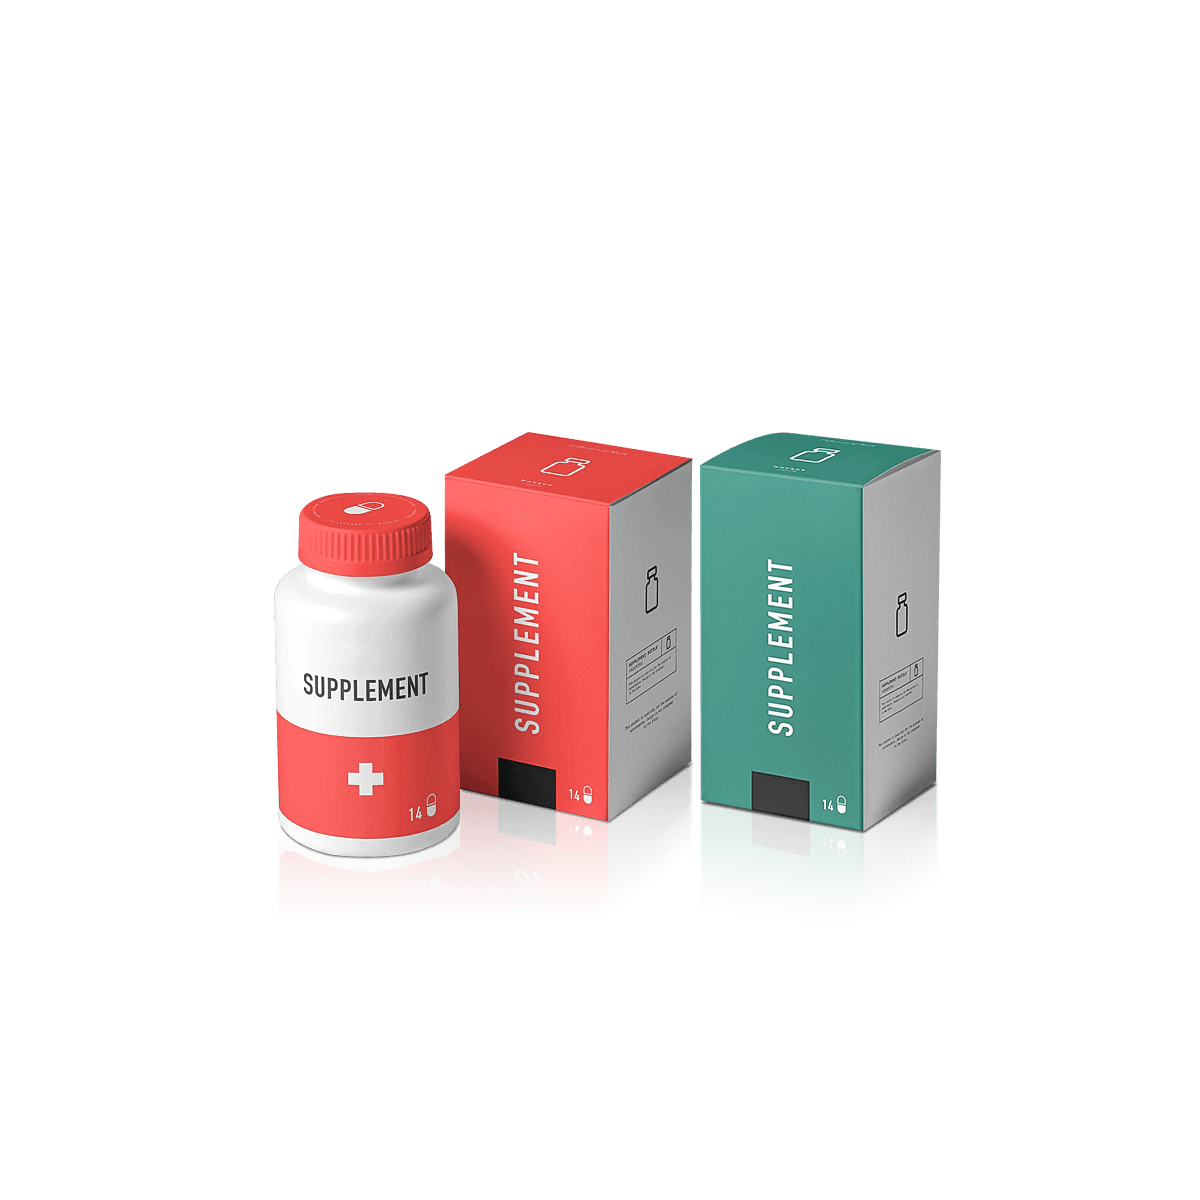
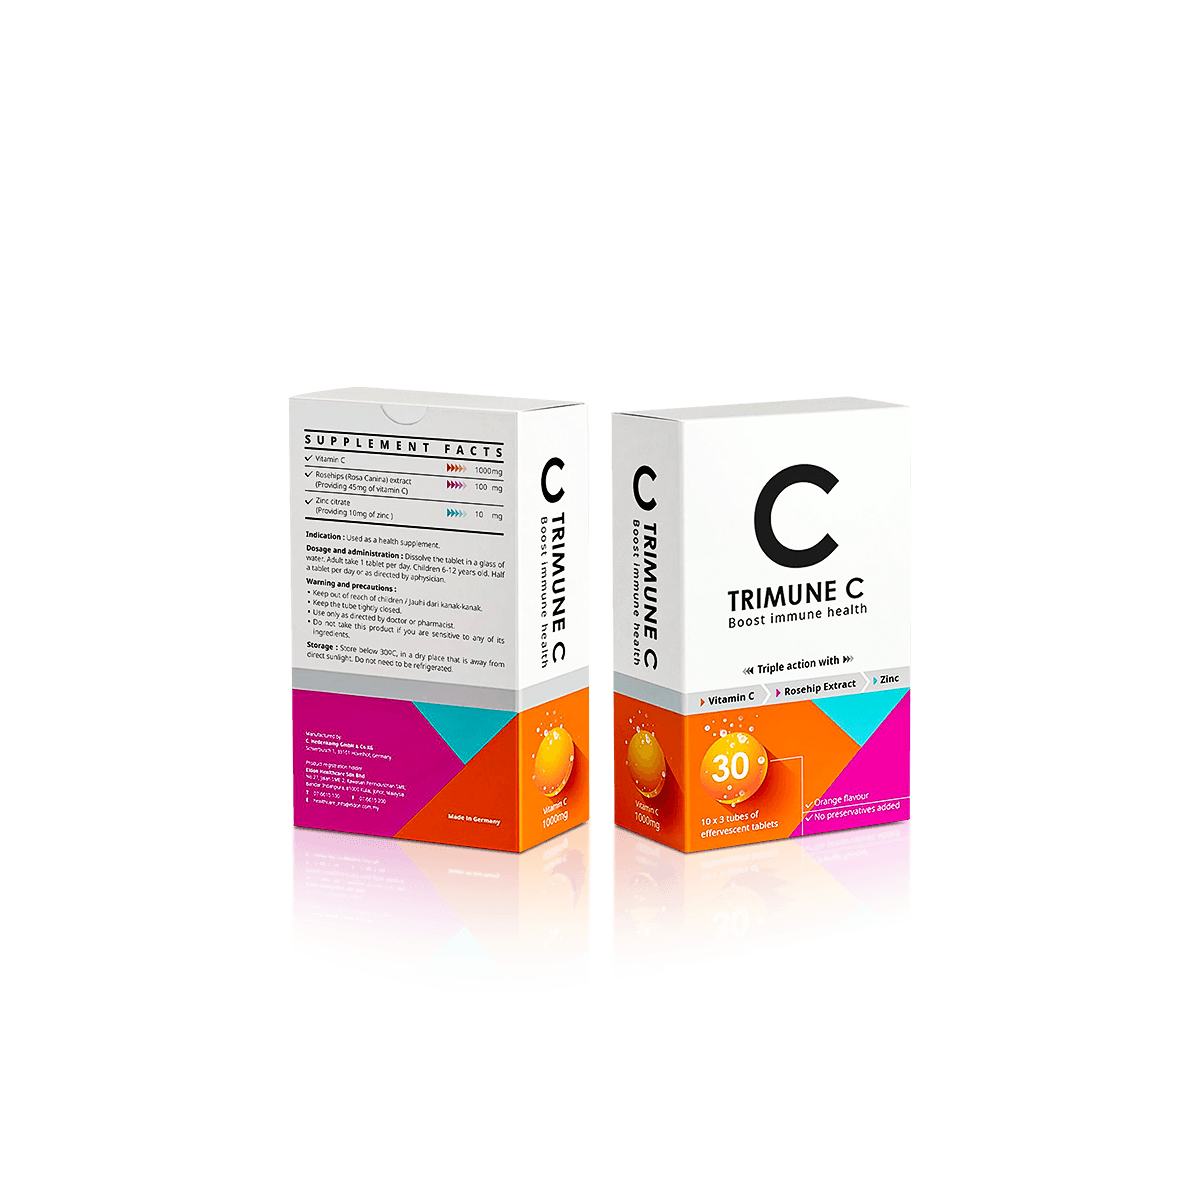
A bottle, jar or multi-part supplement item that needs a structured outer is better handled by Custom Supplement Boxes. If vitamin blister strips need to sit inside an enclosed carton rather than remain visible on a backing card, Custom Vitamin Boxes have the more relevant job.

This distinction prevents the blister card from being stretched beyond what it does well. The product stays visible here. The printed card supports it and communicates around it. The format should not be forced to behave like a full carton.

The broader decision between retail presentation and outer protection is covered in choosing packaging around the sales channel.

Keep Finishes Clear of Sealing

Print and finishes should work around the blister attachment method. A visually strong card is useless if decorative treatments interfere with the area needed to secure the cavity.

Treat the Seal Zone as Functional

Confirm where the blister will attach before applying lamination, foil, spot UV or other treatments across that region. Different blister materials, coatings and sealing methods can require different surface conditions.

Keep the seal footprint visually simple unless the production specification explicitly allows otherwise. Decorative detail is better concentrated in areas the customer can see and touch without affecting attachment.

Use Print for Fast Recognition

CMYK suits full-colour artwork while Pantone matching can help where a specific brand shade needs tighter control. Premium offset printing is useful when crisp repeat colour and detailed card artwork matter across a larger run.

The available print and finish customisation should be applied after the cavity, card dimensions and seal area are resolved. This keeps decoration from dictating the physical packaging.

Test the Hanging Pack Physically

A 3D mockup can show artwork hierarchy and proportions, but it cannot fully prove cavity fit, seal behaviour or how the loaded card hangs on a real peg. Blister packaging deserves a physical check because the clear formed component changes the balance of the finished unit.

Hang It Loaded

Place the actual product inside the sample and test the pack in the intended orientation. Check whether it hangs straight, whether the top card flexes and whether the product remains facing forward after repeated handling.

If several SKUs use the same card dimensions, test the heaviest and deepest variants rather than assuming the smallest one represents the whole line.

Handle the Sealed Edges

Check the perimeter after sealing. The card should remain reasonably flat and the blister should sit consistently without obvious lifting, distortion or interference with printed information.

Free samples can help review the physical direction before full production. For a genuinely new cavity or unusual product shape, confirm what type of sample is appropriate at quote stage rather than relying on a visual proof alone.

Plan the Secondary Display

Individual blister cards often live as part of a larger merchandising system. The size of the card, blister depth and hang-hole position can affect how many units fit into the available retail space.

If the products will sit on a counter instead of a peg, countertop display boxes can group several blistered units while keeping them easy to see and pick up.

For hanging lines, test the full-facing arrangement. Check how many units fit per hook, whether deeper cavities hide the card behind them and whether different SKUs align neatly when displayed together.

That kind of fixture-level planning is often more valuable than adding another finish to the backing card because it affects how the product is actually presented day after day.

Specify the Whole Retail Unit

Before pricing, establish one thing first: does a suitable blister cavity already exist, or will the product need a new formed shape? An existing cavity can change the production route completely; a new cavity makes the physical sample or accurate product drawing central to the specification.

Once that is clear, pair the cavity with the backing-card dimensions, hang position, seal area and quantity. Instant packaging pricing should use the loaded retail unit as the reference rather than the printed card dimensions alone.

Send the product sample or drawing with the intended display method and required quantity. Custom Packly can then review the cavity and backing card as one unit before artwork is locked.

FAQs

Blister card packs usually suit smaller and lighter products that benefit from being seen clearly at the point of sale. They work well when the product shape is simple enough to sit securely in a formed cavity and the backing card can carry the essential information. Compact healthcare accessories, trial items and display-led retail products are often a strong fit.

Quite a lot, provided the card size is planned around the content rather than only the cavity. A well-designed backing card can hold brand details, instructions, count information, barcode placement and key warnings without losing readability. The balance matters. If the product needs long-form text, large dosage guidance or a leaflet, a carton may be the stronger route.

They are better when product visibility and hanging display matter more than enclosed presentation. Medicine Boxes are usually stronger for bottle-based, leaflet-heavy or information-dense products because cartons offer more panel space and more enclosed support. Blister card packs become the better route when the item is small, display-led and easier to sell when the product can be seen immediately.

Usually only up to a point. The format is strongest with lighter products because the cavity and card need to stay stable during display and handling. As product weight rises, the pack can become less practical and less tidy on shelf. Heavier items often need a stronger carton, internal support or a different retail structure altogether. Confirm the product weight early before choosing this route.

Lock the exact product dimensions first, then confirm cavity depth, card size, seal area, hang-hole position and the amount of information the card must carry. It also helps to confirm whether the pack will hang, sit in a counter display or move through ecommerce fulfilment after retail packing. Those points shape the card layout and the overall pack stability.

Process

How it works

Your Packaging Journey, From Idea to Production and Delivery

01

Tell Us Your Specs

Custom packaging boxes

Tell Us Your Specs

Provide size, quantity, printing, and finishes.

02

Get a Fast Quote

Custom packaging boxes

Get a Fast Quote

Instant transparent pricing, no hidden fees.

03

Design and Approval

Custom packaging boxes

Design and Approval

Artwork checks, revisions, and final sign-off.

04

Produce

Custom packaging boxes

Produce

Expert manufacturing to meet deadlines.

05

Ship to Your Door

Custom packaging boxes

Ship to Your Door

Hassle-free, flexible delivery options.

Get Your Quote for Custom Blister Card Packs

Share your product details, dimensions, quantity and artwork needs. We’ll help choose the right packaging style and send a clear quote.