Skip to content
Details

Custom Die Cut Inserts

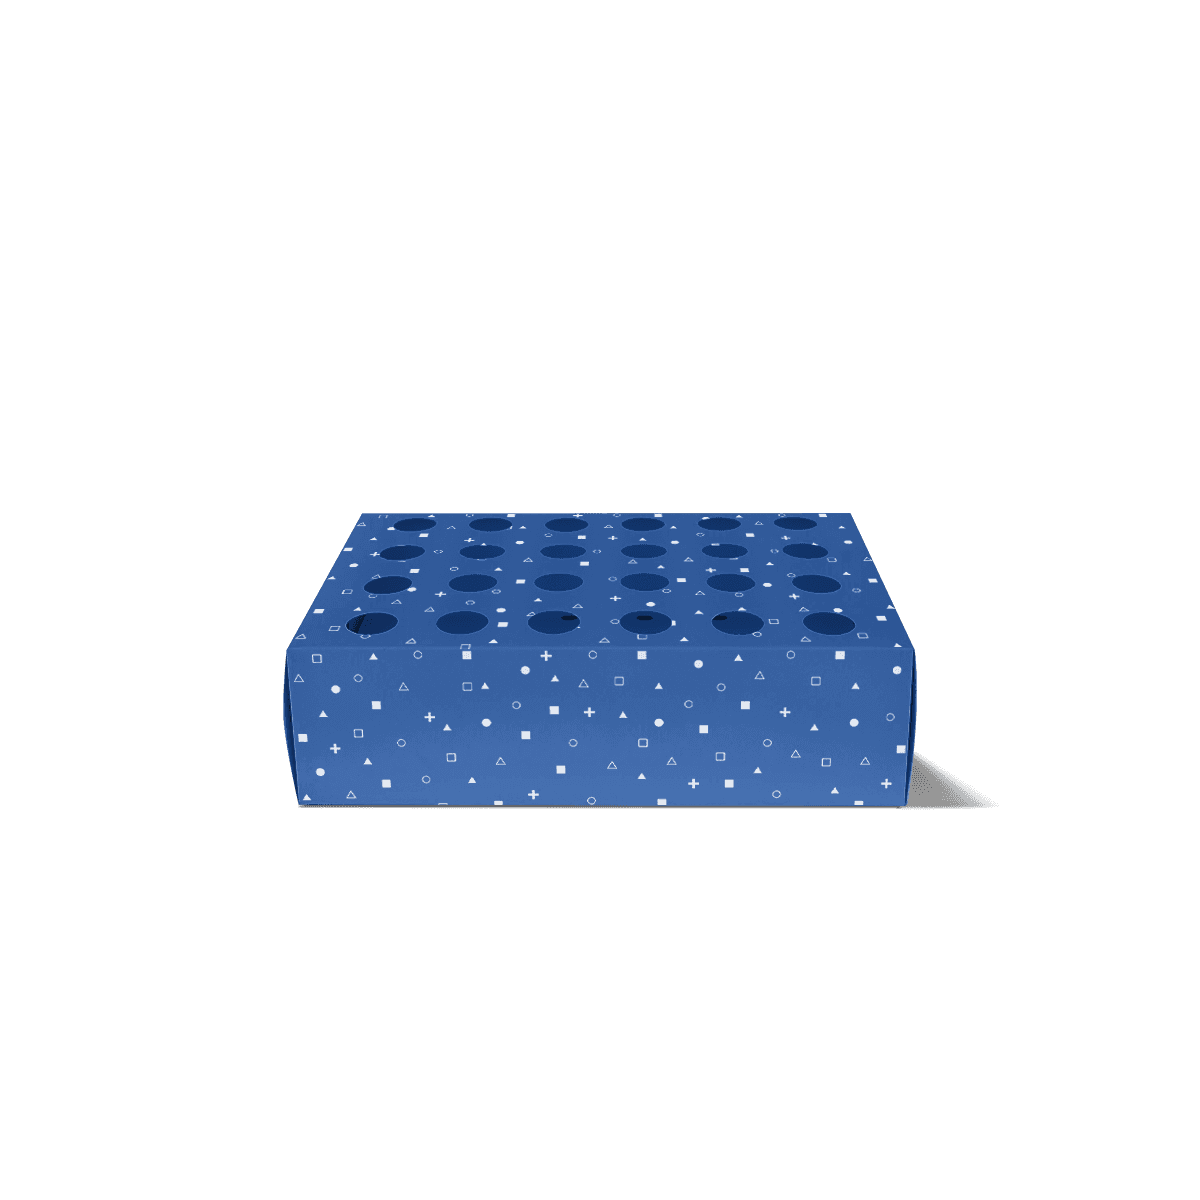
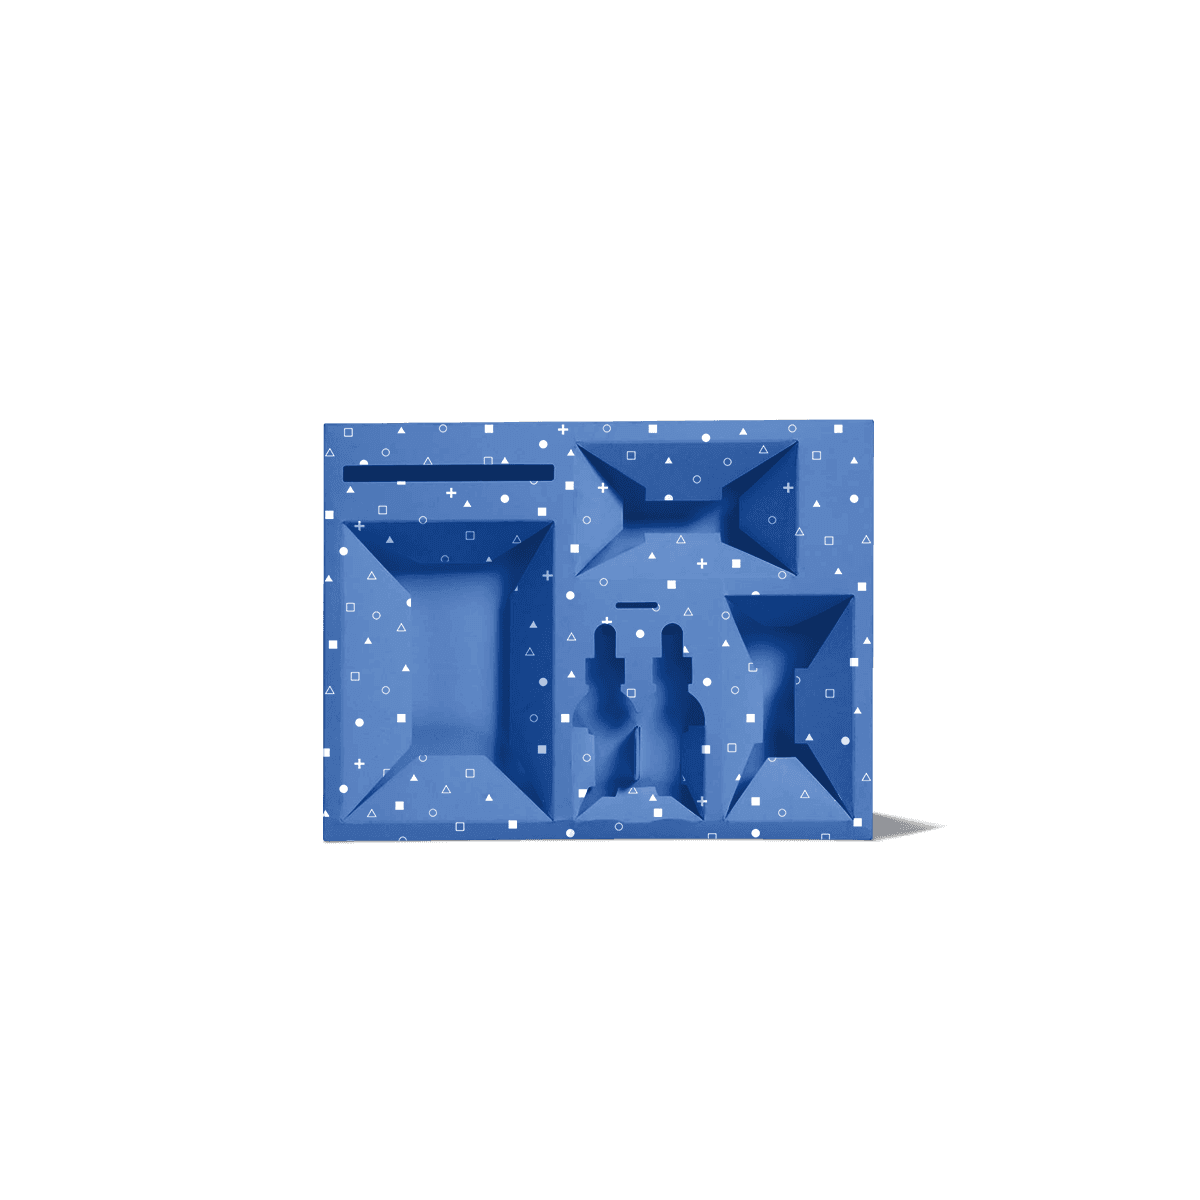
Die cut inserts hold products in a precise made-to-order layout inside cartons, gift packs and mailers. They suit brands that need cleaner product fit, better presentation and more controlled internal placement than loose fill or generic partitions can provide.

A Silhouette Is Not a Fit

Tracing around a product and cutting that outline into card can still produce a poor insert. The cavity may look accurate on screen yet grip the wrong area, let the item rotate, hide too much of the product or make removal awkward.

Custom Die Cut Inserts are most useful when the internal layout depends on precise aperture geometry rather than simple surrounding support. Bottles with shoulders, tapered jars, electronics with projecting controls, mixed cosmetic sets and small accessories often need the cut shape to respond to the product’s stable contact points, not merely its maximum length and width.

That is the distinction this insert owns. The question is not only, “Does the product fit through the opening?” It is, “What part of the product should the insert actually control?”
Cut Around Stable Contact

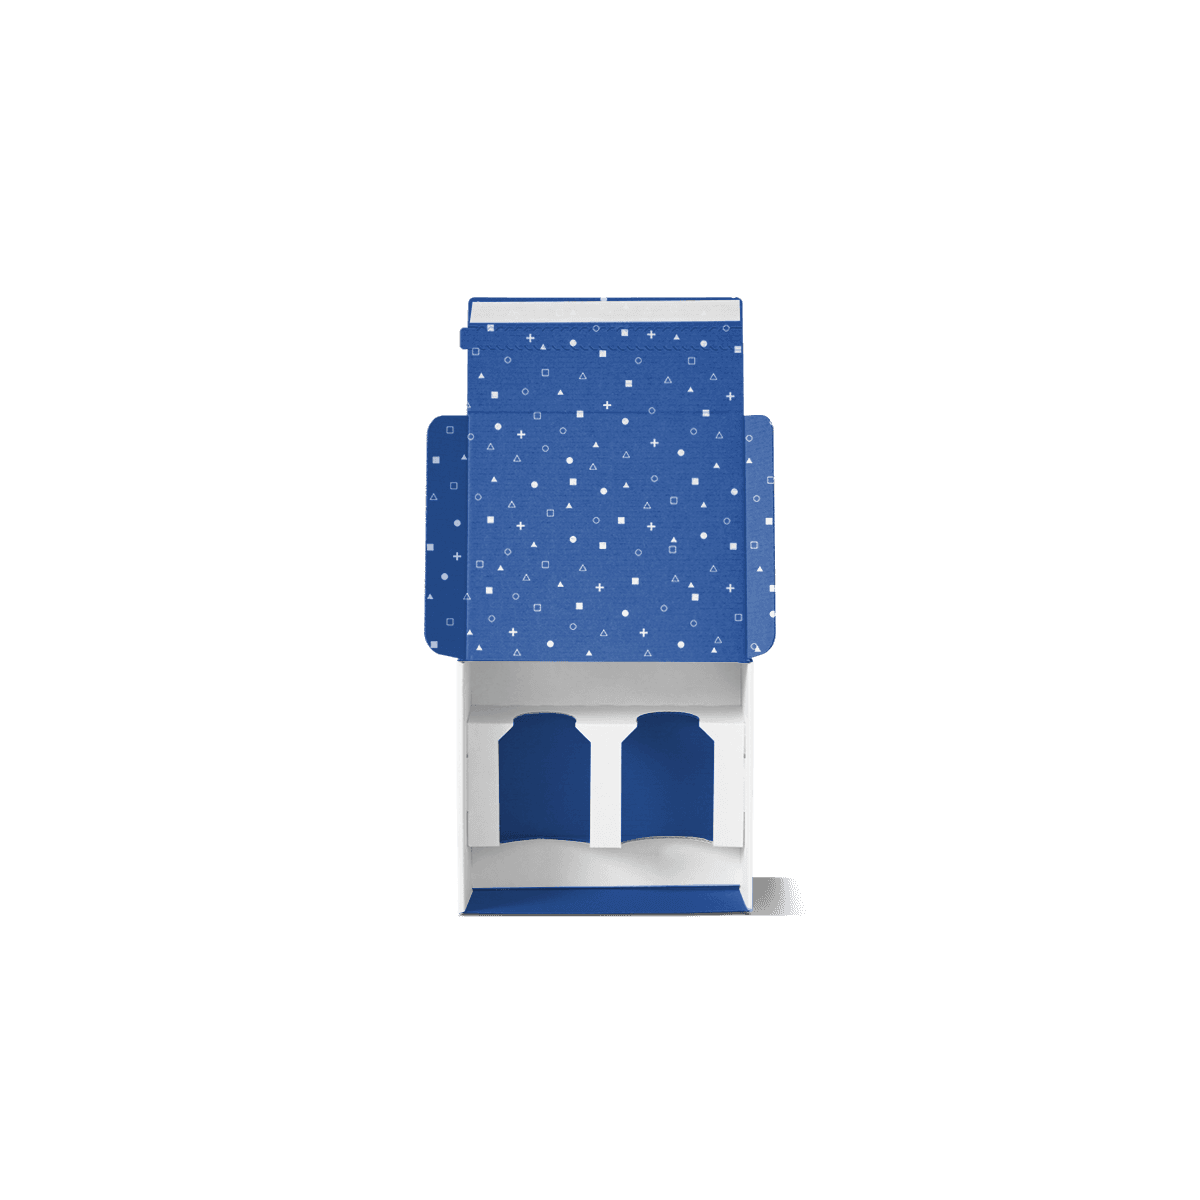
A precise cavity should restrain the product where contact is safe and predictable. Decorative or fragile areas should not become structural holding points simply because they project furthest.

Hold the Body, Not Decoration

A perfume cap, pump head, dropper bulb, embossed label or polished edge may define the external profile but still be the wrong place to apply pressure. The aperture should normally engage a stronger part of the product body while leaving delicate features clear.

This matters especially for made-to-fit product packaging, where the outer box and insert can be planned together instead of forcing the cut pattern around an already fixed carton.

Control Rotation Deliberately

A circular opening can locate a round item without controlling its facing direction. If a front label, connector, applicator or presentation face must stay oriented, the cavity may need a second locating feature, keyed shape or neighbouring support point.

That small decision can matter more than making the opening tighter. Excessive grip increases loading force while a well-placed secondary contact can stop rotation without squeezing the whole product.

Set Depth Before Tightness

Cavity width gets most of the attention, but the vertical position often decides whether a die cut insert feels precise.

Choose the Reveal Height

A shallow seat can leave more of the product visible when the box opens. A deeper recess can create more restraint or keep taller components from dominating the layout. The correct depth depends on product height, centre of gravity, removal method and the space available beneath or around the insert.

The insert should also leave enough clearance above the tallest point for the lid or closing panels. If the item sits proud, the outer packaging must be checked in its closed state, not only as an open presentation.

Protect Tall Components

Pumps, droppers, switches and narrow necks should not become accidental load paths. If the product is top-heavy, supporting the main body lower down is usually safer than tightening the cut around a vulnerable upper feature.

For products where breakage risk comes from movement rather than the outer carton itself, the decision process in stronger box, fitted insert or both helps separate internal restraint from external protection.

Mixed Sets Need Unequal Cavities

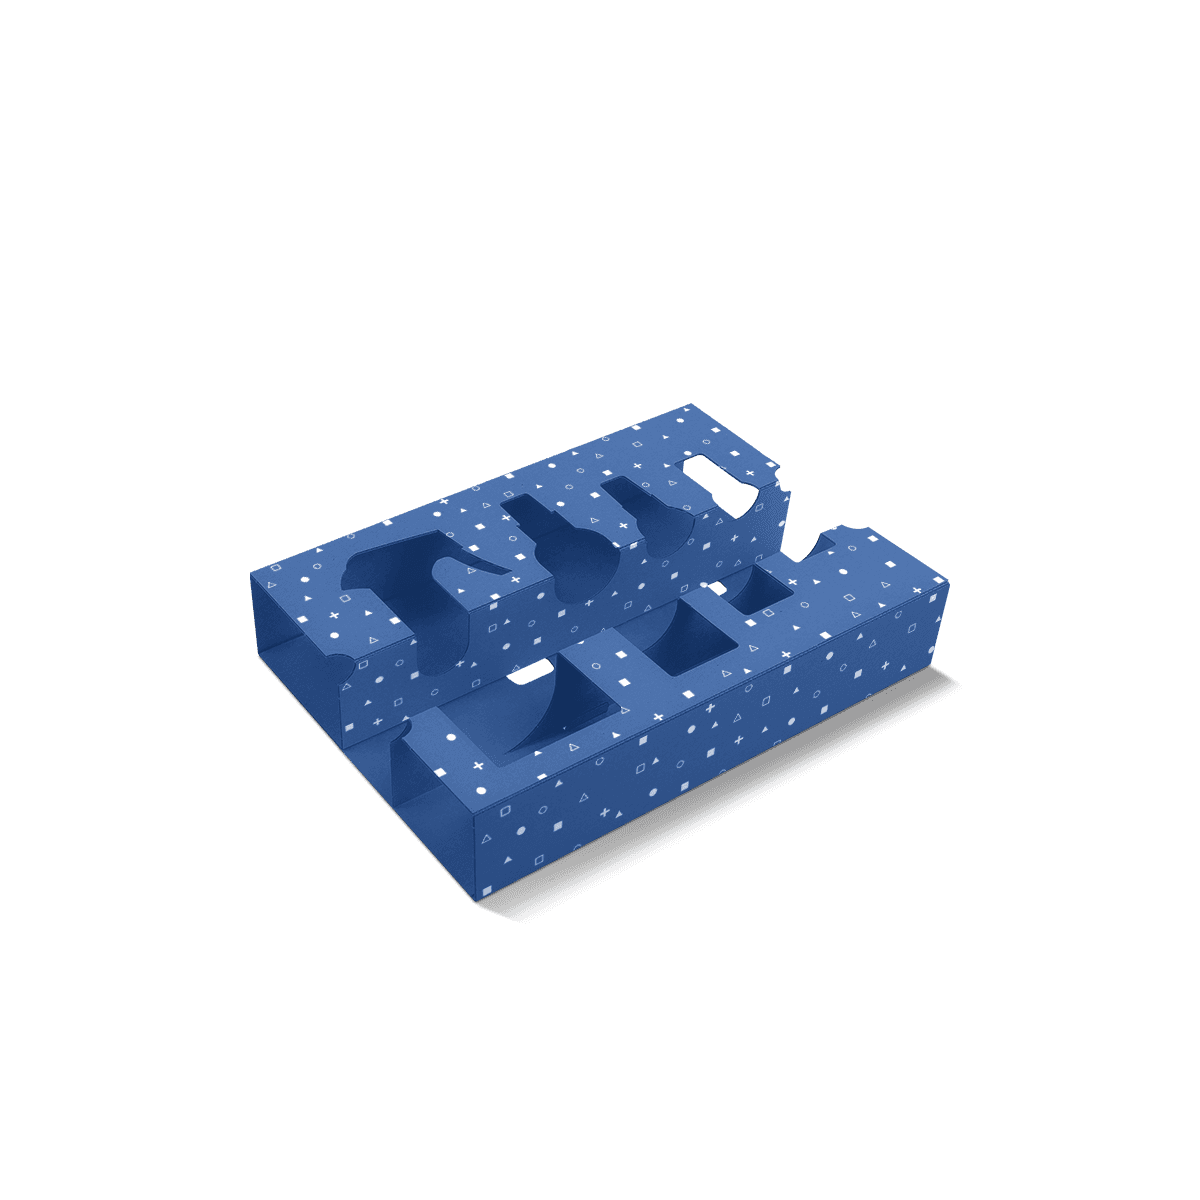
A presentation set containing different products should not be treated as one repeated hole pattern. Each component can need its own clearance, support depth and removal space.

Give Each Item Its Own Tolerance

A glass bottle, flat accessory, tube and small jar may sit beside one another but behave very differently. The heaviest component may need more support beneath it. The most delicate surface may need extra clearance. The smallest item may need a finger notch that would be unnecessary around a taller product.

This is where die cutting becomes more useful than a generic flat support. One sheet can organise mixed geometry while keeping each product in a planned position.

Sequence the Loading

The cut pattern should match the order in which the set is assembled. A tall item should not block access to a small cavity that still needs loading. Narrow finger gaps should not disappear once the neighbouring product is fitted.

For repeat packing, a clear sequence can reduce mistakes because the insert itself indicates where each component belongs. MOQ starts from 100 boxes, which makes a defined multi-product layout practical for launches as well as established repeat sets.

Thin Bridges Need Respect

Precision cutting creates narrow areas between cavities. Those bridges can become weak points if apertures are crowded too closely or sharp internal corners concentrate stress.

Leave Material Between Openings

The space between two cut-outs must do real work. If it becomes too narrow, it can bend during loading or tear when one product is removed. Moving cavities a few millimetres, changing orientation or simplifying a contour can sometimes improve performance more than increasing material thickness everywhere.

The aim is not to trace every curve of the product. A simpler cut shape can be stronger, easier to load and just as effective if it controls the right contact points.

Escalate Strength for Real Loads

If the product is heavy enough to distort a paper-based insert, or the shipment needs meaningful compression and transit support, Corrugated Box Inserts are usually the better direction. Their fluted structure can carry loads that a slim presentation insert should not be asked to manage.

The distinction between paperboard, corrugated and rigid packaging is useful when the same project also needs the outer packaging material resolved.

Choose Precision Only Where Needed

Die cut inserts are not automatically better than simpler internal packaging. Precision is valuable when product shape, orientation, reveal or mixed-component layout genuinely needs it.

Cardboard Box Inserts make more sense when a lighter product mainly needs a folded platform, rail or straightforward retainer rather than a close product-shaped aperture. Cardboard Cradle Inserts are stronger when the product needs more deliberate underside seating or a raised, sculpted presentation.

For repeated jars, bottles or similar units, Box Dividers can separate items more efficiently than cutting a unique cavity around each one.

The Inserts and Dividers choice is therefore about the internal job. Use precision where product geometry earns it rather than making every insert more complex than necessary.

Build the Dieline from Geometry

A die cut insert needs its own production logic. The outer-box dieline cannot simply be shrunk or copied to create the internal fit.

Separate Cuts from Creases

Cut lines define the apertures and outer profile. Creases create folds, platforms, side walls or retaining features. Their relationship changes the assembled dimensions because material has thickness and folds consume space.

The packaging dieline and artwork setup process explains cut lines, crease lines, bleed and safe areas for packaging generally. Insert work adds another requirement: the flat layout must still produce the intended cavity position once every fold is formed.

Custom Packly can coordinate the outer box, insert geometry, dieline, artwork and 3D review as one packaging specification, which reduces the risk of separate components being developed around conflicting dimensions. Packaging experts are available 24/7 when an unusual product shape needs structural input.

Recheck Component Changes

A new cap, bottle supplier, protective sleeve or accessory can invalidate an approved cavity even when the product name stays the same. Treat physical component changes as geometry changes until the fit is checked again.

This is particularly important for ranges that reuse one insert across several SKUs. Shared branding does not prove shared dimensions.

Print Around the Apertures

Visible insert surfaces can become part of the opening experience, but artwork should respect where the material will be cut and folded.

Keep Detail Clear of Cuts

Fine text, thin rules and small logos should not sit tight against an aperture edge. Small cutting variation is more noticeable when artwork relies on perfect alignment around a shaped opening.

Large colour fields, simple identifiers and controlled pattern can be more forgiving. If the product layout itself is visually strong, the insert may need very little decoration.

The wider packaging customisation options cover stock, print, coatings and finishing once the physical cut pattern is settled.

Choose Print by the Artwork

Premium offset printing is useful when visible insert panels need exact colour control, fine detail or stable reproduction across a larger run. Digital production may suit some shorter or multi-SKU jobs better.

The digital versus offset printing decision should follow the quantity, artwork, colour requirement and number of variants rather than the assumption that one process is always more premium.

Validate the Interaction

A rendered layout can prove arrangement. It cannot prove how the real product slides into a cavity, how much pressure the cut edge creates or how easily the item lifts out.

Use 3D for Arrangement

A free 3D mockup helps review product order, visible surface area and the overall reveal before production. It is especially useful for mixed sets where the relative spacing of products needs to look balanced.

The packaging design workflow is useful when the box, dieline, insert and artwork are being developed together rather than in separate stages.

Test Tight Tolerances Physically

When the product is irregular, highly finished or sensitive to edge pressure, physical fit deserves more attention than a screen preview. Check insertion force, rotation, lift-out access, contact marks and lid clearance using the real components.

Free sample examples can help assess general material and print direction. When an exact custom structure needs to be physically validated, a fully custom sample can be arranged separately before the main run.

Freeze the Cavity Specification

Once the insert works, preserve more than the outer dimensions. Record the product orientation, aperture geometry, cavity depth, contact zones, material, fold direction and removal features that produced the approved result.

That specification becomes valuable on repeat orders because the real asset is consistency of internal placement, not simply repeating the same sheet size. If a product supplier changes a component, compare it against the approved geometry before reordering.

Custom Packly supports repeat and bulk production with UK manufacturing, and guaranteed 4–6 working day production and delivery helps keep replenishment predictable once the insert specification is established.

Approve What the Cut Must Control

Before pricing, settle three outcomes: which surfaces the insert may contact, which direction the product must face and how much of the product should remain visible after loading.

Those decisions define the aperture more accurately than tracing the outer silhouette alone. For mixed sets, apply them separately to each component rather than assuming one tolerance works across the whole arrangement.

Add product drawings or clear photographs and the outer box’s internal dimensions to the custom packaging quote. Pricing can then begin from an aperture brief that already defines restraint, reveal and removal.

FAQs

Confirm the exact product dimensions, weight, shape variation and how tightly each item should sit in the cavity. It also helps to check finger access, clearance above the product, whether labels or caps must face a certain direction and if the item is wrapped before loading. Those details affect both fit and removal.

Yes, they can work very well for fragile items when the cut pattern supports the product properly and limits movement. The key is matching the insert design to the item’s weak points rather than assuming one cavity shape suits everything. For heavier breakables or rougher transit routes, a stronger corrugated solution may be the better choice.

Die cut inserts are often better when the priority is precise placement, cleaner presentation and a closer fit around the product. Corrugated box inserts are often the stronger option when the contents are heavier or the shipment needs more structural support. One focuses more on accuracy of fit and the other usually favours load-bearing protection.

Yes, that is one of their strongest uses. A well-planned insert can separate several items, keep them in a set order and leave space for leaflets, accessories or samples. This is especially useful for gift collections, launch kits and promotional packs where the inside layout needs to feel intentional.

They work especially well inside rigid boxes, drawer boxes, mailer boxes and folding cartons where internal presentation matters. They can also sit inside promotional or ecommerce packs when exact product position is important. The best result comes when the insert is designed alongside the outer pack dimensions rather than added later.

Process

How it works

Your Packaging Journey, From Idea to Production and Delivery

01

Tell Us Your Specs

Custom packaging boxes

Tell Us Your Specs

Provide size, quantity, printing, and finishes.

02

Get a Fast Quote

Custom packaging boxes

Get a Fast Quote

Instant transparent pricing, no hidden fees.

03

Design and Approval

Custom packaging boxes

Design and Approval

Artwork checks, revisions, and final sign-off.

04

Produce

Custom packaging boxes

Produce

Expert manufacturing to meet deadlines.

05

Ship to Your Door

Custom packaging boxes

Ship to Your Door

Hassle-free, flexible delivery options.

Get Your Quote for Custom Die Cut Inserts

Share your product details, dimensions, quantity and artwork needs. We’ll help choose the right packaging style and send a clear quote.