Skip to content
Details

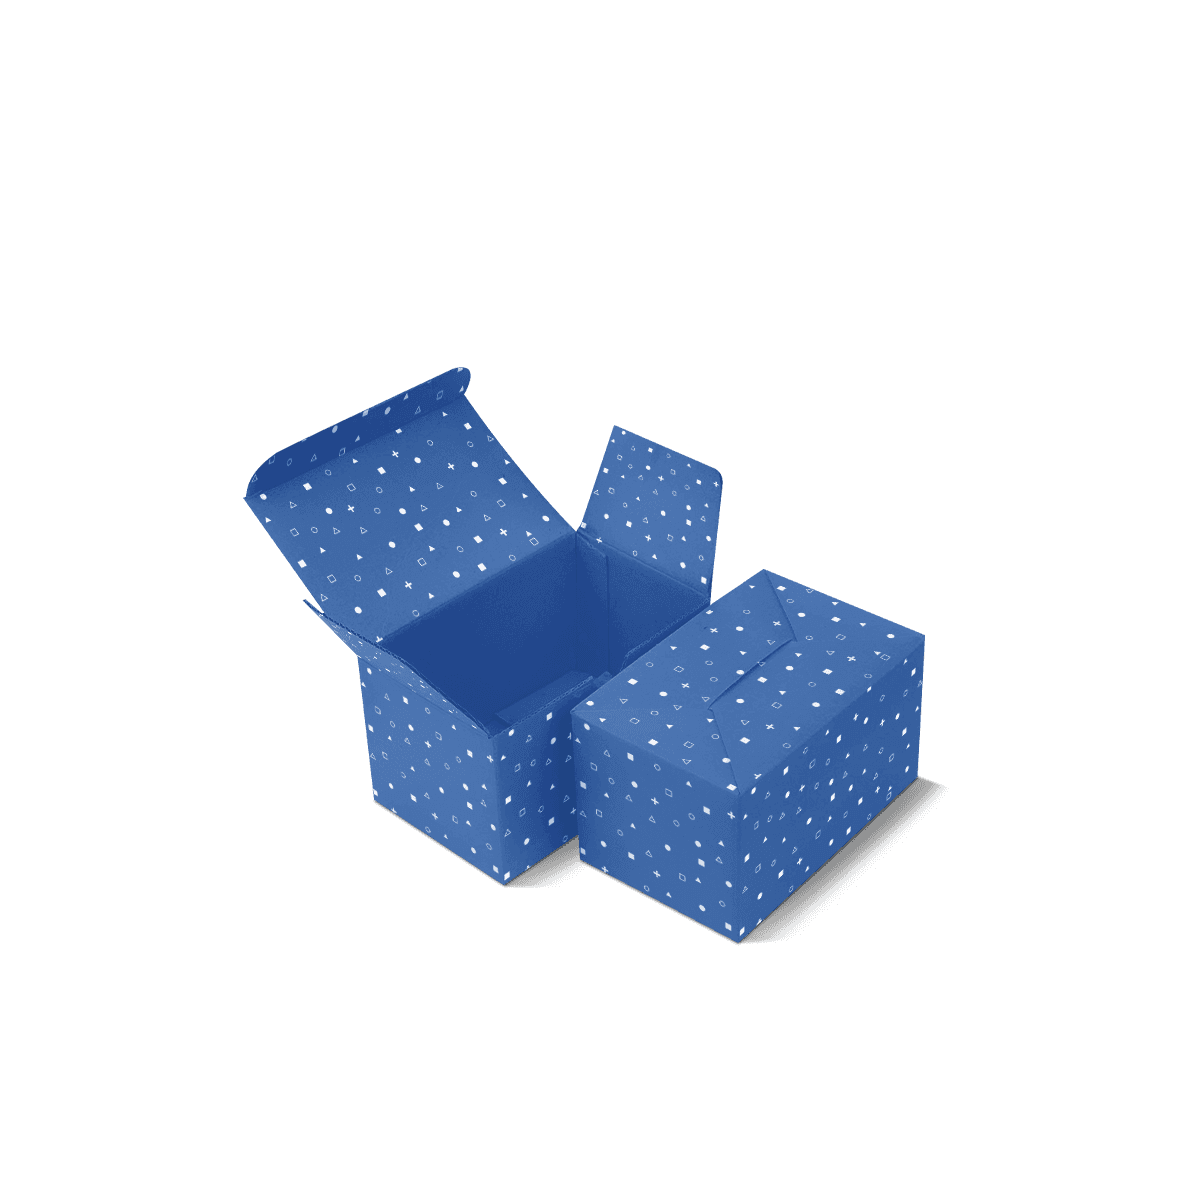
Custom Seal End Boxes

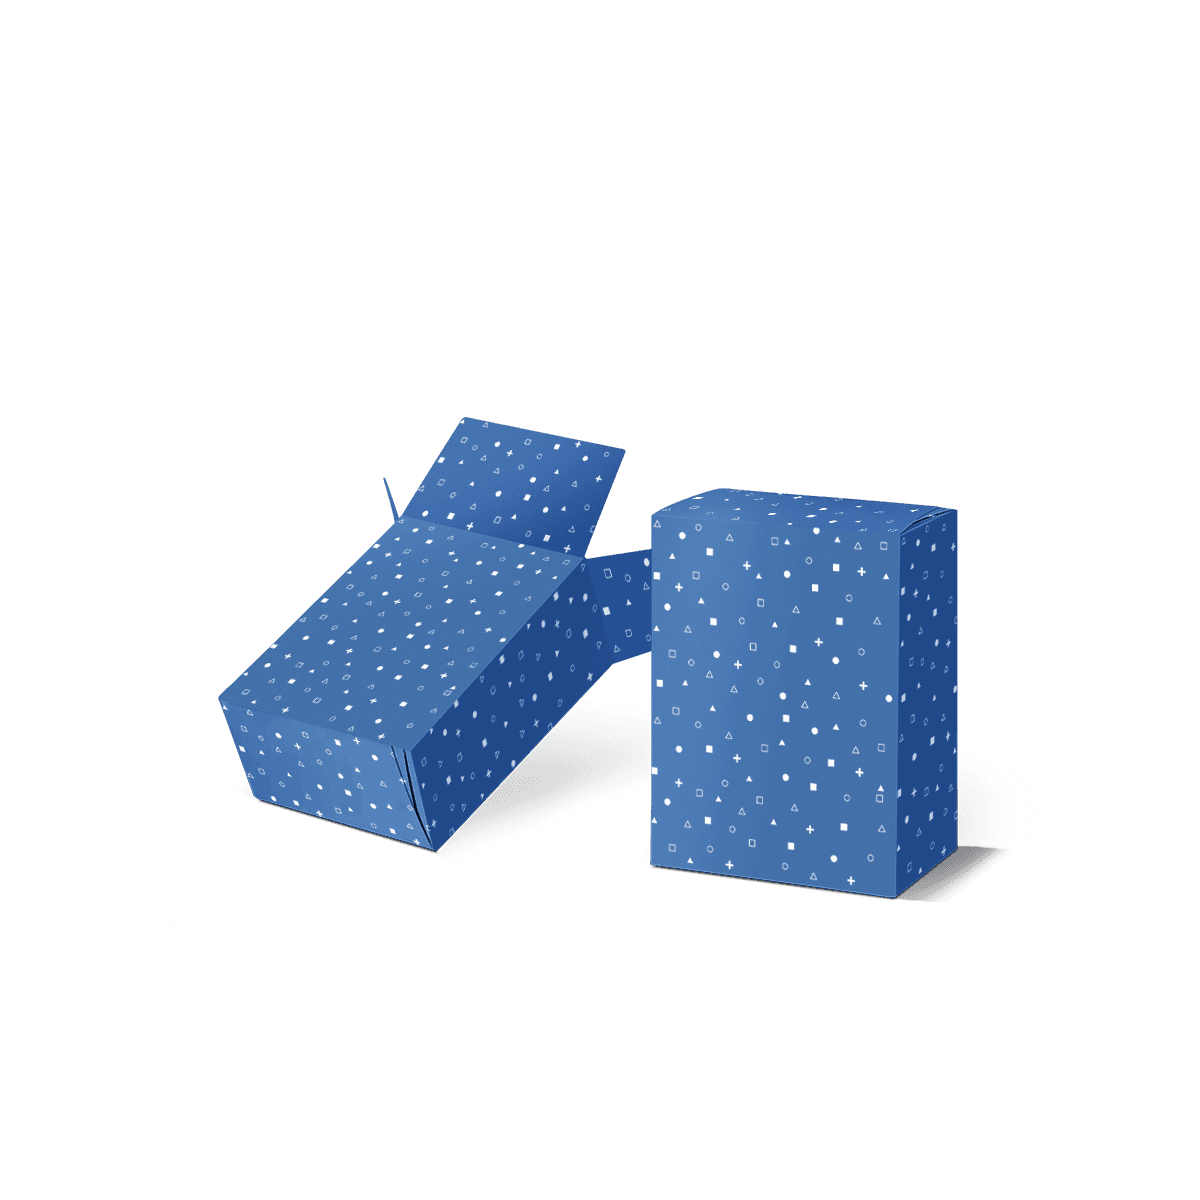
Glued end closures for repeat-packed retail cartons where consistent sealing, clean shelf shape and controlled opening matter more than reclosable tuck flaps.

Seal It After Filling

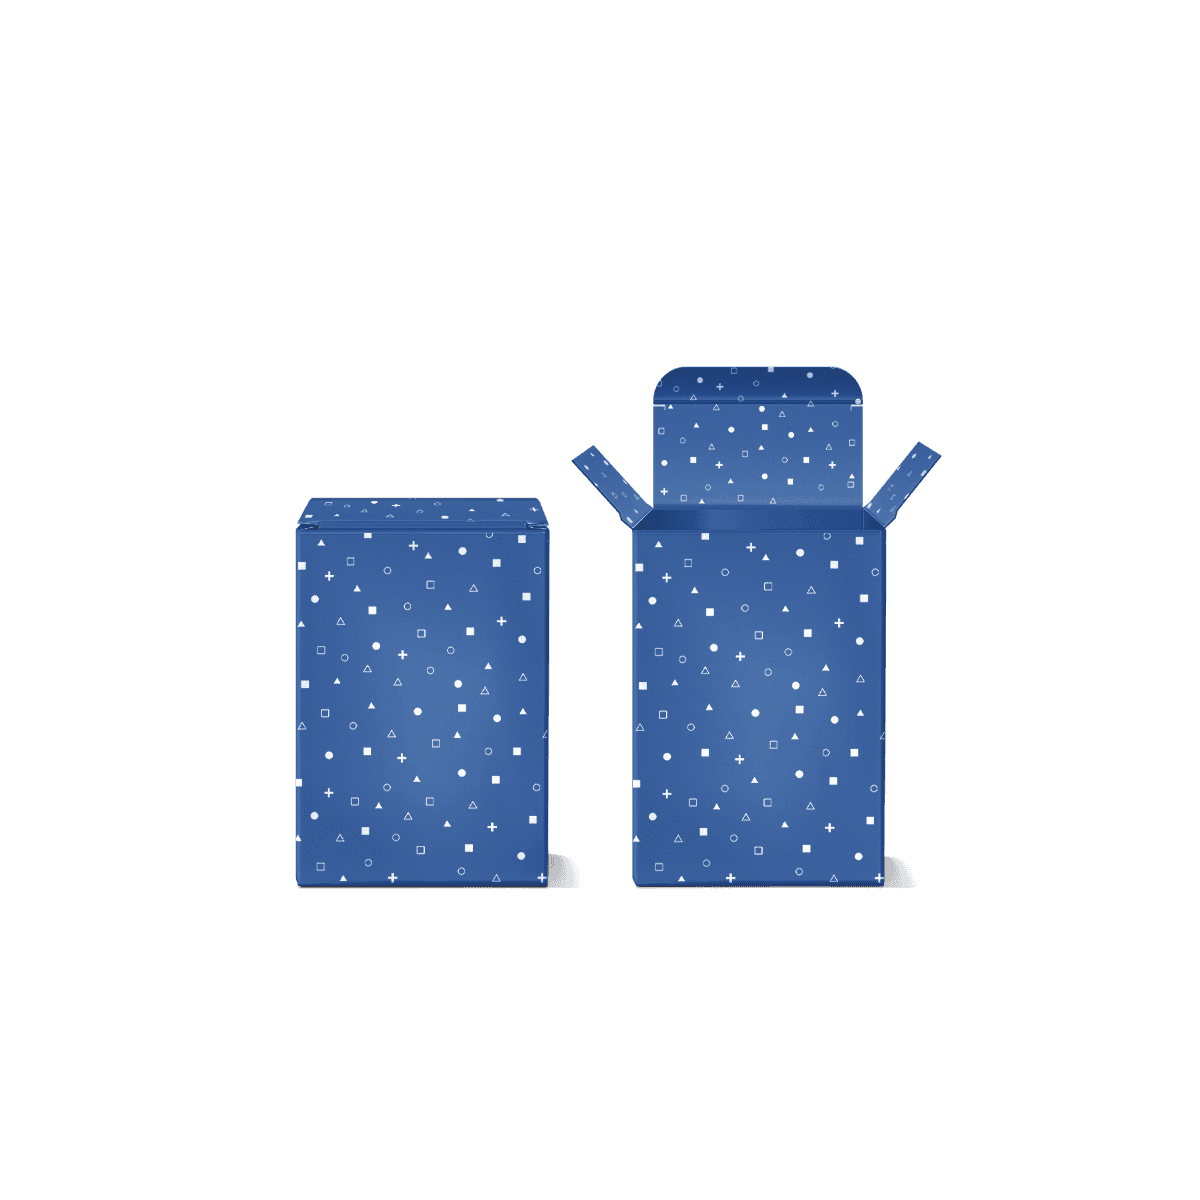
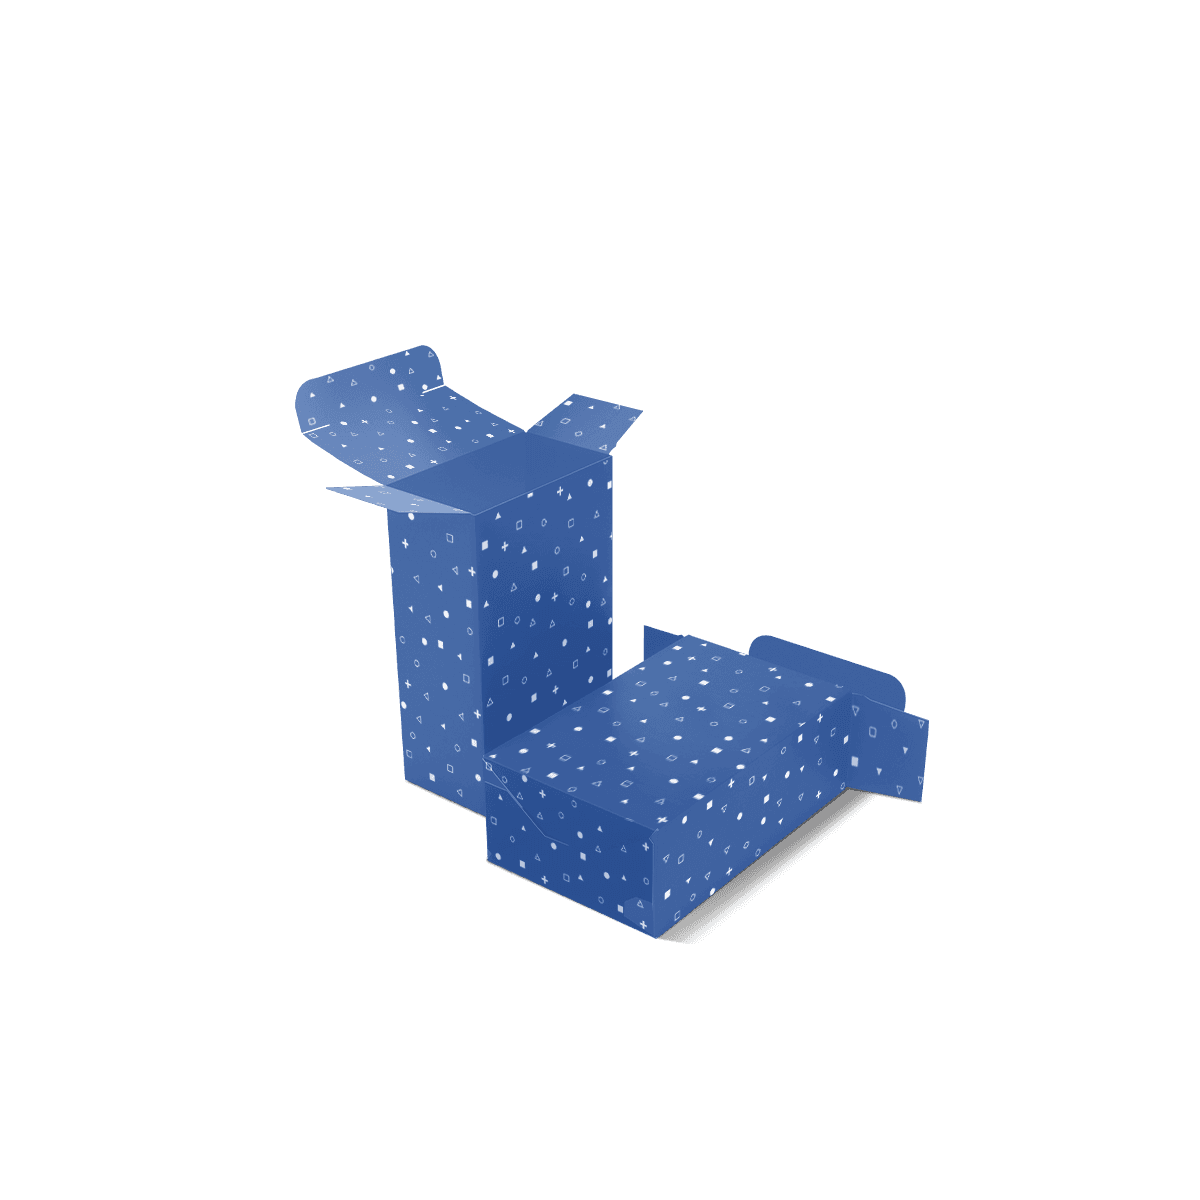
Custom seal end boxes make sense when a carton needs to be filled and then closed more permanently than a standard tuck-end style. Adhesive secures the end panels so the finished carton is not relying on a friction flap to remain shut during subsequent handling.

That changes how the packaging should be planned. The filling direction, sealing method and opening route need to be considered before the artwork is finished because the closure is part of the production process rather than something the customer simply tucks into place.

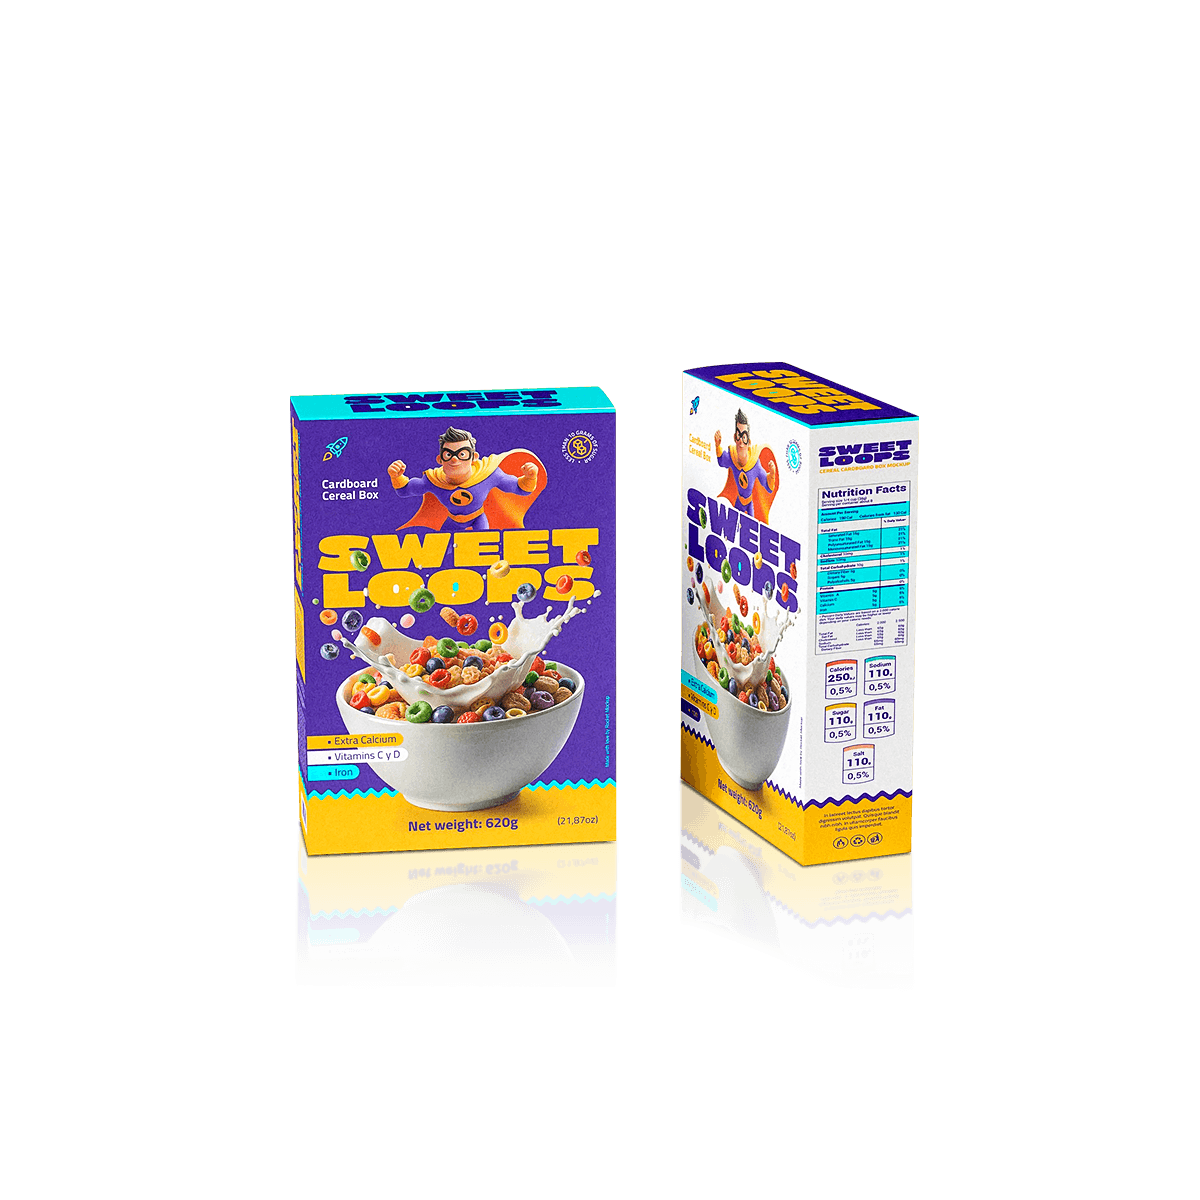
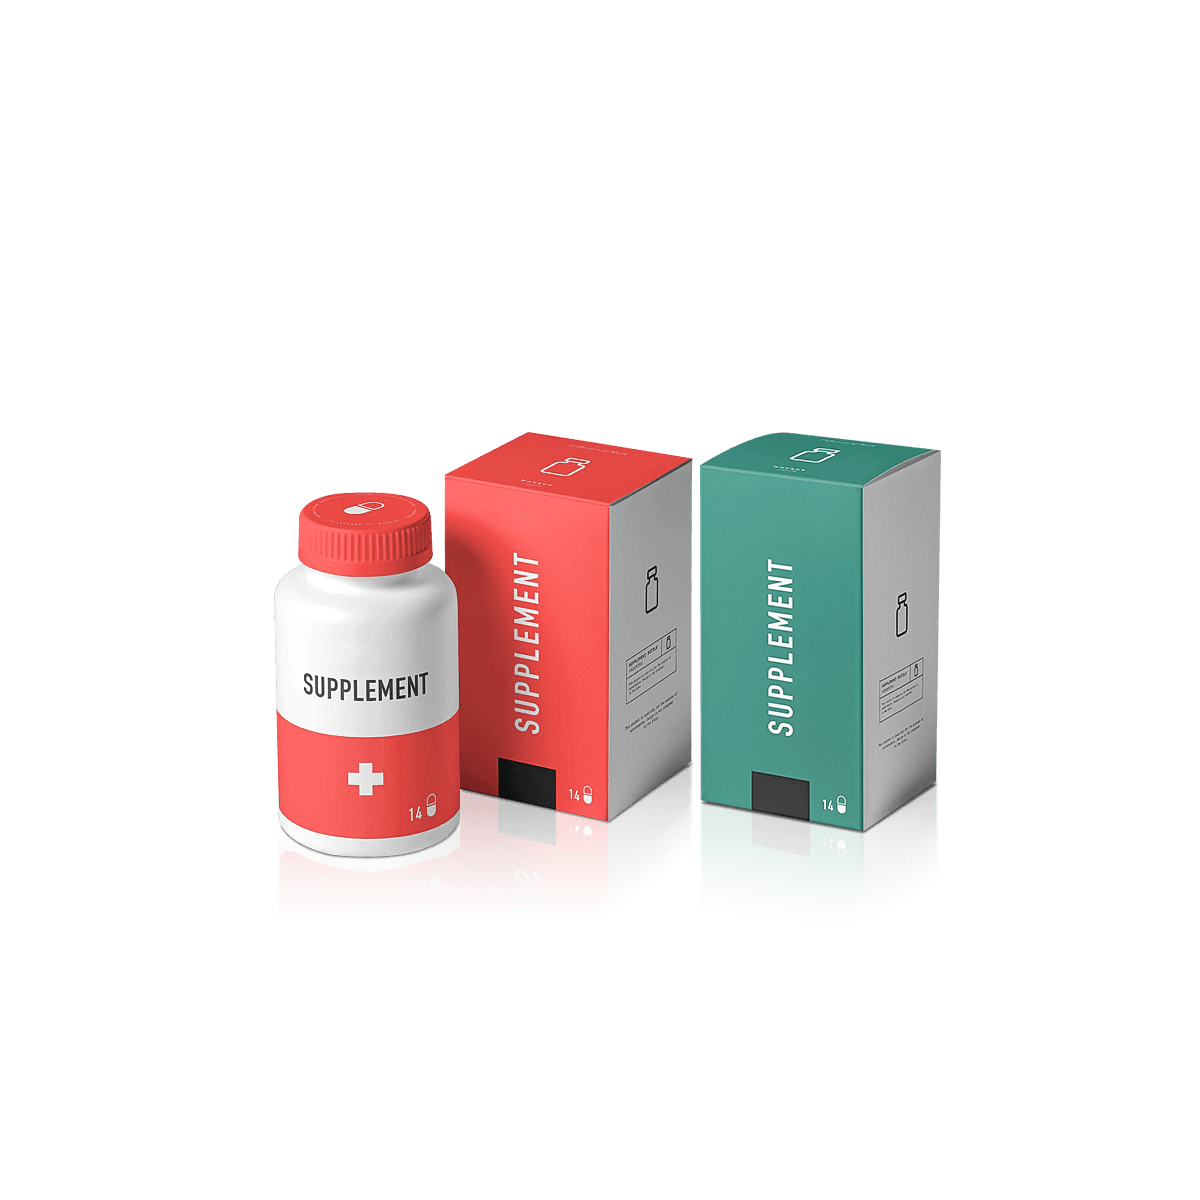
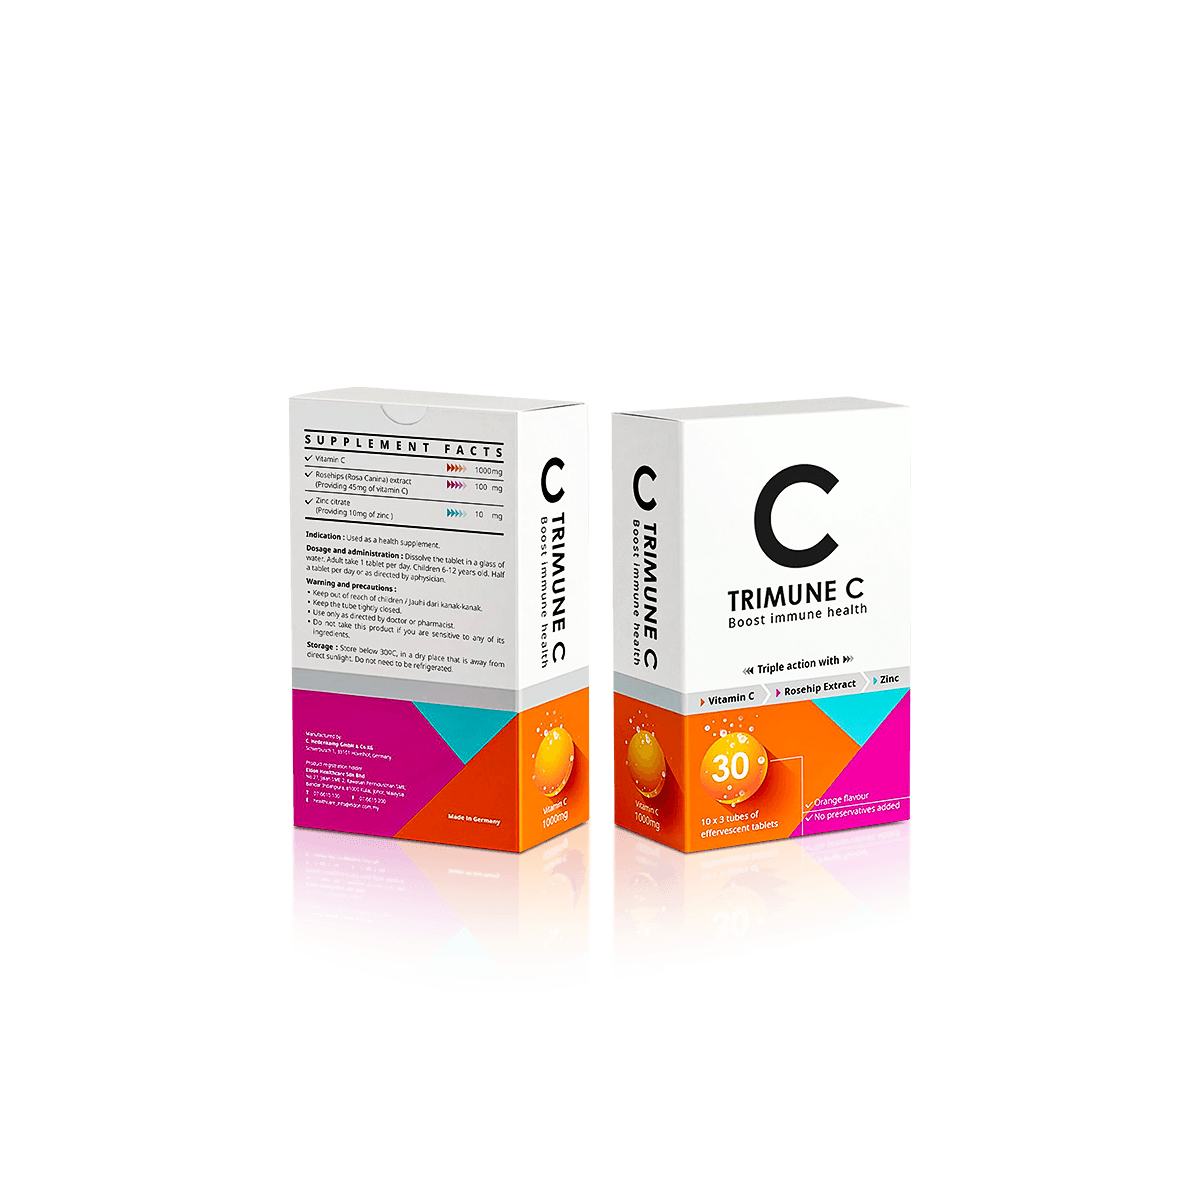
This structure suits repeat-packed products where consistent carton shape and dependable end closure matter, including toothpaste, dry product sachets, household consumables, healthcare products and other retail goods that move from filling to sealing and then remain closed until use.

The underlying carton is still a lightweight paperboard structure. A glued end can improve closure control, but it does not turn the carton into corrugated transit packaging or automatically make it suitable for any product weight.
Closure Follows the Filling Line

The correct seal-end layout begins with how the product gets into the carton.

A carton packed by hand may allow more flexibility in the closing sequence. A semi-automatic or automated line may require the carton to enter machinery in a particular orientation with specific panels presented consistently.

Decide the Filling End

Confirm which end remains accessible while the product is inserted.

Depending on the packing process, one end may be prepared before filling while the final end is closed after the product is loaded. The exact sequence should match the equipment and workflow rather than being assumed from a generic seal-end drawing.

Product orientation also matters. A tube, sachet or rectangular item may feed easily from one direction and catch on internal flaps from another.

If the product itself is still changing, custom product packaging can help coordinate internal dimensions, product orientation and the outer carton before the closing sequence is fixed.

Plan the Sealing Method

The board, adhesive area and closing pressure need to work together.

For repeat production, the important question is not simply “Can this flap be glued?” It is whether the glued area can be applied consistently without contaminating visible print, interfering with the product or producing cartons that vary from one unit to the next.

Share the intended packing method before approving the structure, particularly when the carton will run through existing sealing equipment.

A Glued End Changes Access

Once a seal end carton is closed, it is not intended to behave like a normal reclosable tuck box.

That can be useful for products that should remain enclosed until purchase or use, but the eventual opening experience still needs to be designed deliberately.

Create a Clear Opening Route

The customer should understand where the carton is meant to open.

Depending on the product, the structure may use a perforated area, tear feature or another planned opening detail rather than expecting the consumer to prise apart a bonded flap.

These features should be decided before final artwork because they take up panel space and change how graphics, instructions and important text can be positioned.

The wider customisation capabilities can be considered once the opening requirement and structural layout are clear.

Do Not Assume Tamper Evidence

A glued closure and tamper-evident packaging are not automatically the same thing.

Glue makes casual reopening more difficult than a friction tuck, and opening may visibly damage some carton designs. However, if clear evidence of interference is a formal product requirement, the exact tear, seal or tamper feature needs to be specified for that purpose.

That distinction is particularly important for wellness and regulated product categories where packaging language should accurately describe what the finished carton actually does.

Keep Glue Off the Graphics

Seal end cartons give brands useful front, back and side panels for logos, instructions and product information, but the adhesive areas should be treated as functional production zones rather than additional artwork space.

Protect the Adhesive Areas

Avoid placing critical text or important decorative finishes where panels overlap for sealing.

Lamination, coatings, varnishes and other surface treatments can also affect how adhesive interacts with a panel, depending on the exact production specification. The gluing route should therefore be agreed alongside the finish rather than considered after printing.

For print-led projects, custom printed boxes can coordinate CMYK, Pantone colours and premium offset printing with the final carton structure.

Leave Space for Coding

Many repeat-packed products need variable information added later in production.

Batch numbers, lot references, dates or other changing data should have a deliberate coding area rather than being squeezed into whatever space remains after the artwork is complete.

Keep that area clear enough for the intended coding method and check its position against the erected carton. A technically available flat panel may be awkward to reach once the carton is travelling through a line.

For wellness packaging, this becomes especially useful where several product variants share a similar carton but require different information or coding positions.

Board Must Fold Consistently

Seal end cartons depend on repeatable folding as well as adhesive.

A board that prints beautifully but cracks badly on the creases or resists accurate folding can create sealing problems across a production run.

Choose for Creasing

White paperboard can provide a smooth surface for detailed graphics and small product information. Kraft-led stocks can create a more natural appearance where that fits the brand.

The deciding specification should still consider carton dimensions, packed weight, crease behaviour and sealing method.

Do not compensate for an unsuitable structure simply by increasing board thickness. A heavier board can require different creasing and may create greater resistance in areas that need to fold accurately.

Finish Away from Working Folds

Matte, gloss and soft-touch treatments can change the appearance and handling of the carton. Foil, embossing, debossing and spot UV can be used where they support the artwork.

Keep demanding decorative treatments away from sealing folds and adhesive zones unless the finished combination has been tested.

A seal end carton is successful when it closes consistently first and looks premium second. Finishing should support the production route rather than fight it.

When Sealing Beats Tucking

Across Custom Box Styles and Shapes, seal end cartons sit between simple reclosable tuck structures and cartons that use more specialised bottom mechanisms.

Choose a seal end when the product will be filled, closed and left enclosed rather than repeatedly opened from the end.

A custom straight tuck end box is more appropriate when easy opening and reclosure matter and the packed product places little demand on the base.

A custom reverse tuck end box serves a similar lightweight retail role but changes the relationship between the two tuck directions.

If the real problem is repeated base assembly or greater load on the bottom, custom auto bottom boxes solve a different issue by using a pre-glued base that forms during erection.

The decision rule is straightforward: choose seal end because you need a reliably bonded end closure, not because glue alone makes the carton stronger in every other respect.

Build for Repeat Runs

Seal end cartons become particularly useful when the same packing process has to work hundreds or thousands of times without staff correcting the box manually.

Consistency across the run depends on more than having the same dieline.

Standardise Across SKUs

Several product variants can often share one carton structure where the physical dimensions genuinely match.

Artwork, colour and product information can then change while the sealing layout, board and filling orientation remain controlled.

For broader product families, custom retail packaging can help coordinate cartons where several SKUs need consistent shelf presentation without forcing differently sized products into one dieline.

Check each packed product before standardising. A small change in tube diameter, sachet count or internal leaflet can alter filling clearance even when the outer graphics look nearly identical.

Control Production Tolerances

A seal end carton needs enough consistency for panels to meet correctly after folding.

If the carton is too tight around the product, filling may slow down or distort the side walls. If it is oversized, the product can move and the carton may lose the tidy shape that made the glued closure worthwhile.

Artwork should be prepared on the approved production dieline showing the real folds, overlaps and adhesive areas. The packaging dieline and artwork setup resource covers bleed, crease lines, safe areas and glue flaps in more detail.

Test the Sealing Process

A digital proof can confirm graphics. A 3D mockup can confirm panel orientation. Neither proves that the carton will feed, fill and seal consistently in the real packing environment.

The useful test is the complete sequence.

Run a Packing Trial

Erect the carton in the same way it will be handled during production. Insert the actual product, close the intended end and allow the adhesive or sealing method to perform as specified.

Then check:

  • Whether the product loads without catching
  • Whether panels meet consistently
  • Whether the carton remains square after sealing
  • Whether adhesive stays within the intended area
  • Whether coding and important text remain accessible
  • Whether the intended opening method works after the seal has set

For larger repeat runs or equipment-led packing, testing several units is more informative than approving one carefully assembled sample.

Check Shelf Shape

Place the filled cartons together after sealing.

The ends should remain reasonably flat, the panels should align and the cartons should stand or stack as intended for the product.

This is particularly relevant to bakery and confectionery packaging where repeat-packed outer cartons may need reliable presentation, although any direct food-contact requirement must be confirmed against the exact board, coating and product application.

Match the Carton to Your Line

Send the internal dimensions, product orientation, quantity, filling direction and intended sealing method. Include any batch-code area, perforation or planned opening feature because these can affect the panel layout before artwork is approved.

If the cartons will run through existing equipment, include the feed direction and any known machine or sealing constraints with the detailed quote. That information is more useful than treating the glued ends as a generic closure choice.

FAQs

Seal end boxes are the better choice when closure security and filling consistency matter more than easy opening at both ends. Straight tuck end boxes and reverse tuck end boxes suit many lightweight retail items, but seal end cartons usually feel more controlled once packed. They are especially useful where cartons move through repeat handling, stacking or line packing.

Yes, they often suit that environment well because the structure is designed for consistent folding and end closure. Exact suitability depends on the product shape, board specification and sealing setup. If the carton must run smoothly on a line, confirm pack orientation, glue areas, tolerances and how the product is inserted before production starts.

A good carton-grade paperboard is usually the starting point because it folds accurately and prints cleanly. SBS works well for sharper graphics and a smoother surface, while kraft-led options can support a more natural look. The right board depends on product weight, sealing method, finish plan and how much compression the filled carton will face.

Yes, they can. Perforations, tear strips and tamper-evident details can be added when the opening experience or product control needs to be more deliberate. These features should be planned early because they affect panel layout, artwork space and how the carton is filled and sealed during production.

Confirm the internal pack size first, then the product weight, insertion direction and sealing approach. After that, decide whether the carton needs coding space, compliance panels, inserts, perforation or special finishes. These points shape the dieline, board thickness and print layout and help avoid closure issues once the cartons reach production.

Process

How it works

Your Packaging Journey, From Idea to Production and Delivery

01

Tell Us Your Specs

Custom packaging boxes

Tell Us Your Specs

Provide size, quantity, printing, and finishes.

02

Get a Fast Quote

Custom packaging boxes

Get a Fast Quote

Instant transparent pricing, no hidden fees.

03

Design and Approval

Custom packaging boxes

Design and Approval

Artwork checks, revisions, and final sign-off.

04

Produce

Custom packaging boxes

Produce

Expert manufacturing to meet deadlines.

05

Ship to Your Door

Custom packaging boxes

Ship to Your Door

Hassle-free, flexible delivery options.

Get Your Quote for Custom Seal End Boxes

Share your product details, dimensions, quantity and artwork needs. We’ll help choose the right packaging style and send a clear quote.