Skip to content
Details

Custom Earring Boxes

Earring boxes need to keep a pair aligned, protected and presentation-ready from the first glance. The right structure supports studs, drops or small sets while giving enough branded space for gifting, retail display and secure dispatch.

Start With the Fastening

The front of an earring gets the attention, but the fastening usually decides whether the box works. A stud may need room behind the insert for its post and butterfly back. A hook needs space to hang without twisting. A hoop needs enough depth for its curve and closure. A lever back adds thickness behind the decorative face.

Custom Earring Boxes should therefore be specified from both sides of the product. If the insert is planned only from the photograph customers see, the hardware can press into the lining, force the pair forward or make the box deeper than expected.

The useful first step is simple: lay one complete pair in the position you want it presented, then inspect what sits behind that position. That hidden hardware often determines the insert depth more than the visible earring does.

Set Two Display Points

A pair looks wrong immediately when one earring sits higher, turns further or leans at a different angle. The holding points need to control both pieces from the same reference line.

Spacing should come from the actual earring width rather than a fixed distance between two holes. Small studs can sit relatively close together. Wide statement earrings need more breathing room so the decorative faces do not crowd each other.

Studs Need Rear Clearance

For post earrings, the front face may be almost flat while the post projects well behind the insert. The box needs enough concealed depth for the post and back without pushing the insert forward.

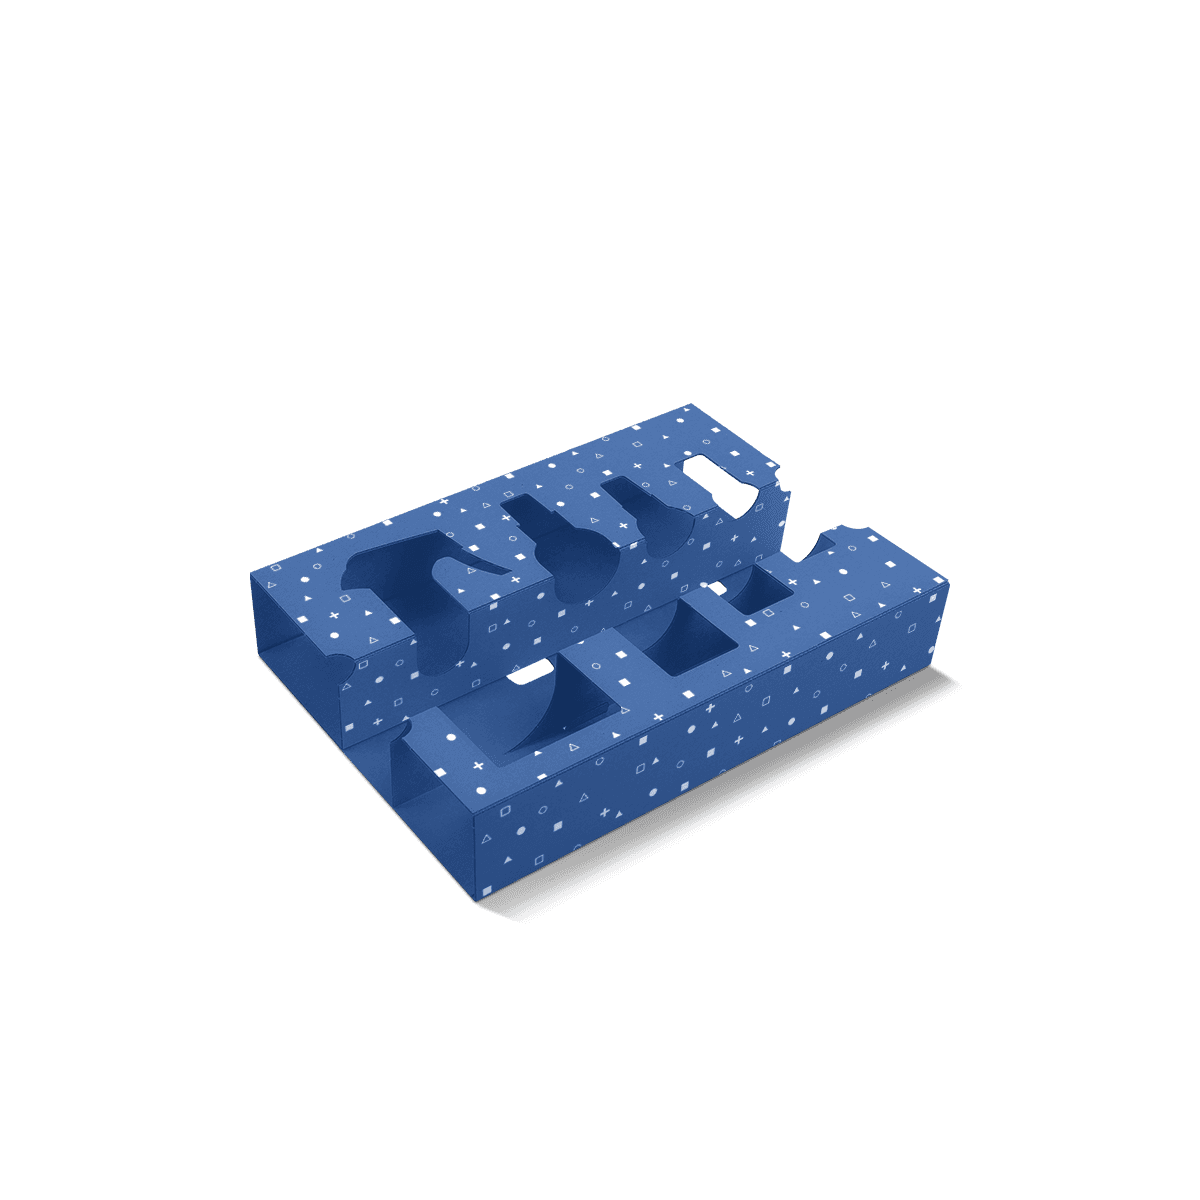
A pierced card or fitted support can work well, but the rear cavity should remain free enough for the fastening to sit naturally. Jewellery Box Inserts can handle the precise holding geometry when post length, product thickness and removal access need to work together.

Keep the Pair on One Line

The two attachment points should be checked against the decorative faces, not only against the posts. Handmade or asymmetric earrings can have hardware that is not perfectly centred behind the visible element.

That means identical hole positions can still produce a visually uneven pair. Approve the front view with the actual earrings fitted before the pattern is treated as final.

Give Hoops Their Diameter

Hoops create a different fit problem because the box must accommodate a three-dimensional curve rather than a flat face and a straight post.

Measure the maximum outside diameter, the thickness of the hoop and the closure hardware. A chunky huggie and a large fine hoop may need completely different depths even when both are sold as hoop earrings.

Do Not Flatten the Curve

The insert should not force the hoop to sit unnaturally flat simply to reduce box depth. Pressure at one point can change the display angle and make closures awkward to access.

A shaped cut, slot or raised support can keep the hoop oriented while leaving most of the curve untouched. Die Cut Inserts are useful where the position depends on a repeatable cut pattern rather than a generic padded surface.

Check Closure Clearance

Hinged hoops, clickers and huggies need enough room around the closure to be fitted and removed without scraping the insert. The smallest visible earring is not always the shallowest packed item once the mechanism is included.

Let Drops Hang Freely

Drop earrings should normally be assessed in the orientation gravity gives them. Their total drop length, decorative width and movement between components decide how much vertical space is needed.

If a drop is pushed sideways to fit a short box, the presentation no longer matches how the piece is worn. Long earrings also need enough separation so the two pieces cannot swing into one another when the case is carried.

Anchor Above the Movement

For hooks or articulated drops, restraint is usually most effective near the top. The lower decorative section can then hang naturally rather than being pinned at several points.

The insert still needs to stop excessive sideways travel. The aim is controlled suspension, not a loose pair dangling inside a deep case.

Leave Space Between Moving Parts

Tassels, chains and linked drops can overlap even when the top attachment points are correctly spaced. Check the maximum width of the earrings at rest and during light movement.

This is where free samples can be useful for judging physical spacing and removal, while a free 3D mockup can check the visual balance of the pair, insert and branded case before production.

Keep the Backs Accounted For

Butterfly backs, screw backs and separate stoppers are small enough to disappear inside a case but important enough to ruin the experience if one is missing.

Decide whether each back remains attached to the earring or sits in its own defined position. Attached backs simplify product counting but require enough rear clearance. Separate backs can reduce fitted depth in some layouts but create another component that must be controlled.

For retail teams, the better option is often the one that makes a complete pair easy to verify at a glance. A packing method that relies on loose backs hidden under padding is difficult to repeat consistently.

Custom Packly's packaging specialists are available 24/7 when an unusual fastening, ear jacket or multi-part earring needs a holding method that cannot be judged from the front alone.

Choose Card or Case

Not every pair needs a substantial rigid box. The right presentation depends on product value, retail method, protection needs and how the customer receives the earrings.

A printed card can be efficient for lightweight fashion studs, hanging retail displays and fast-moving styles. A fitted case makes more sense when the pair needs stronger protection, gifting value or a controlled opening experience.

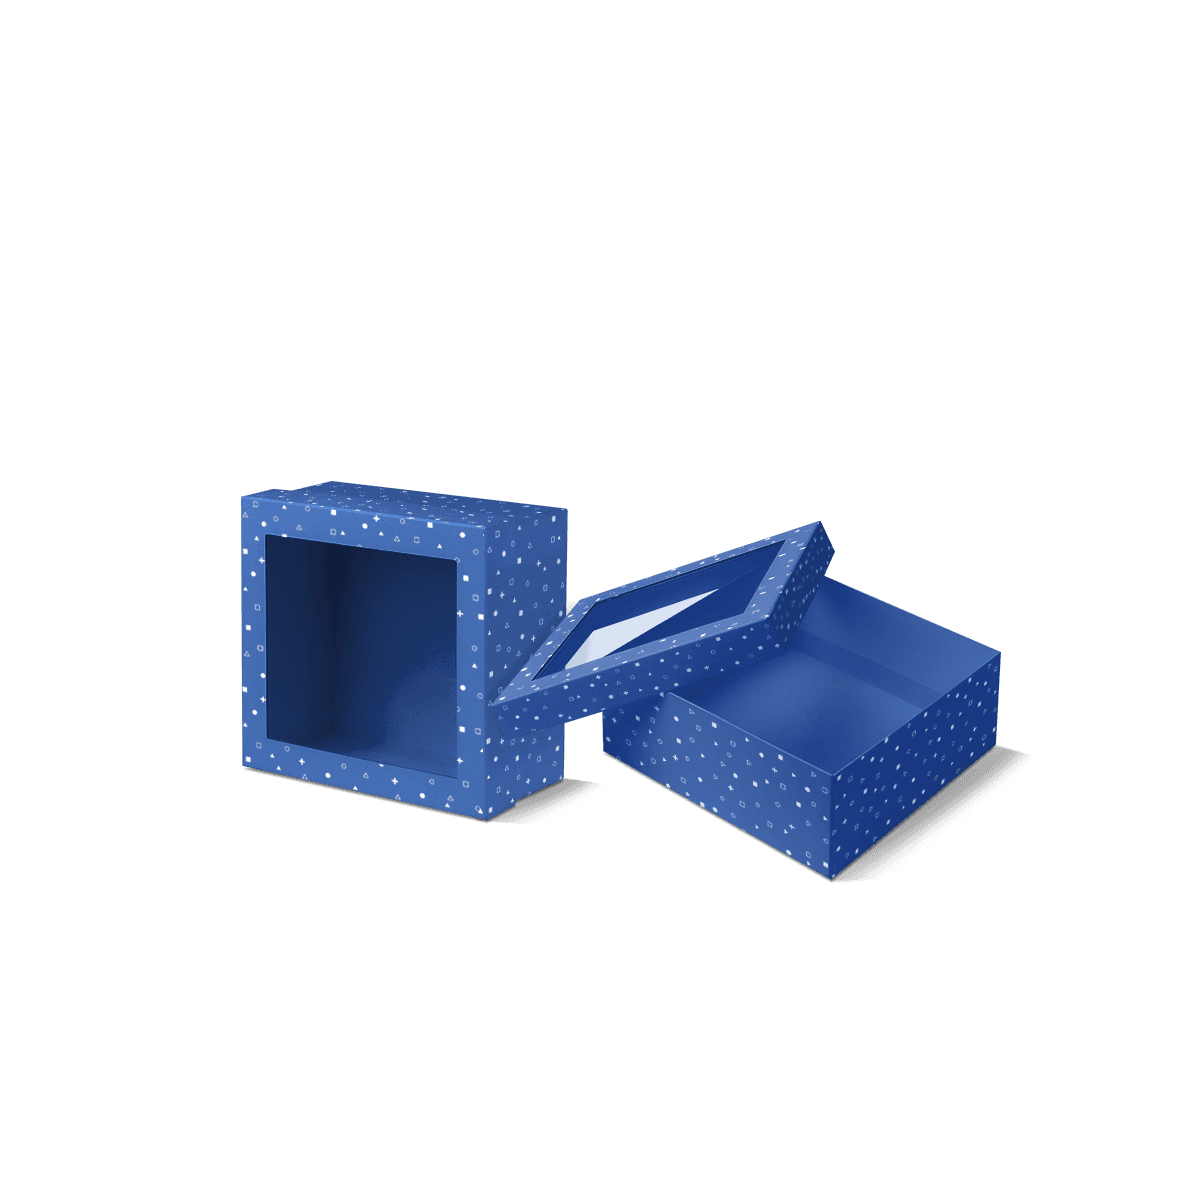
Rigid Boxes suit earrings where the case itself forms part of the presentation. Shoulder Neck Rigid Boxes can add a more structured reveal when premium positioning justifies the extra parts.

The decision rule is not simply cheap versus premium. Use the lightest presentation that still controls the fastening, protects the visible surfaces and matches the way the earrings are sold.

Group Styles by Packed Depth

One exterior case can sometimes work across several earring styles, but group them by packed behaviour rather than by retail price or artwork theme.

Flat studs may share one shallow interior. Small hoops may need more cavity depth. Long drops can require a taller footprint even if they are physically lighter than the studs.

Keeping the exterior dimensions consistent while changing the holding pattern can simplify branded presentation. But if one earring type forces excessive empty depth or height for everything else, split the specification rather than hiding the compromise inside the insert.

MOQ starts from 100 boxes, which gives brands room to separate genuinely different earring groups without committing every SKU to one oversized case.

For unusual product shapes, Custom Product Packaging follows the same principle: exact product behaviour should decide the internal fit rather than a nominal product label.

Make Packing Obvious

An earring box should be easy to load correctly without comparing every unit with a reference photograph.

The left and right positions should be clear. Fastenings should have an obvious route. If backs are separate, their position should be defined. Drop earrings should settle without staff having to straighten several moving parts before closing the lid.

This matters when multiple designs are packed during the same shift. The more the insert communicates through shape and position, the less the result depends on manual adjustment.

An experienced packaging team should look at that packing sequence as well as the finished reveal. Custom Packly can coordinate the case, internal support, artwork, print and production specification so the physical layout remains practical when it moves from approval into repeat packing.

Protect the Visible Face

Polished metal, stones, enamel and coated surfaces can mark when two earrings touch or when a decorative face rubs against a hard edge.

The insert should separate the pair and keep vulnerable surfaces clear. Soft-touch presentation does not mean relying on loose padding alone. The geometry still needs to control where each piece can move.

The fragile product packaging decision explains why stronger outer packaging and better internal restraint solve different problems. For earrings, movement between the two pieces is often more important than simply adding more material around them.

Where the insert remains visible, its colour should also give enough contrast for the earrings to read clearly without overpowering them.

Keep Small Artwork Simple

Earring cases are often compact, which leaves little room for oversized logos, multiple finish effects and long messaging.

Premium offset printing can keep fine typography, colour blocks and repeat brand colours controlled across production. Foil, embossing or debossing can then add one clear focal detail without making the lid visually crowded.

Packaging customisation can coordinate print, paper, insert colour and finish choices across the complete case. If print method is still open, digital and offset printing explains how artwork versions, quantity and colour requirements affect that choice.

The artwork should be judged at actual box scale. A mark that looks restrained on screen can dominate a small lid once printed.

Protect the Case After Purchase

A presentation case and a courier pack do different jobs. The inner case controls the earrings and creates the reveal. The outer delivery layer protects that case from parcel handling.

For ecommerce orders, Jewellery Mailer Boxes can carry the finished case while the earring insert keeps the pair aligned inside it.

After packing, turn the closed parcel through several orientations and reopen it. Check whether the earrings stayed level, whether backs remained in place and whether hoops or drops contacted each other.

If the presentation case arrives intact but the pair has moved, the internal hold needs attention. If the earrings remain perfect but the case is scuffed, improve the delivery layer instead.

Build Artwork Around the Holes

For card-based or printed insert layouts, attachment holes and slots are part of the artwork environment. They should not cut through small type, logos or decorative elements.

Set the fastening positions first, then place graphics around the real product footprint. The packaging design workflow explains why structural decisions should be locked before final artwork is treated as production-ready.

If several earring types use different hole or slot patterns, keep version control clear. A visually similar insert with the wrong fastening pattern can reach production easily if artwork filenames and structural revisions are not managed carefully.

Guaranteed 4–6 working day production and delivery supports replenishment once those versions are established, but the approved insert pattern should remain tied to the correct earring type.

Coordinate With Other Jewellery

Earring packaging does not have to copy the dimensions of ring, necklace or bracelet cases to look like the same brand.

Shared wrap colours, typography, foil treatment or opening cues can create consistency while each product keeps the internal geometry it actually needs. Brands handling several jewellery types can coordinate Jewellery and Accessories packaging without forcing studs, drops and wristwear into one footprint.

That is a better use of consistency than choosing one box dimension for every small product and solving the resulting empty space with extra padding.

Photograph Front and Back

For a new earring-box specification, send one clear photograph of the pair exactly as it should appear to the customer and a second photograph showing the fastening side.

Include the maximum decorative width, total drop length where relevant, hoop diameter, post length and fastening type. If backs will remain attached, show them attached. If they will be stored separately, mark where you want them to sit.

Those two views reveal the information a front-only product image hides: actual packed depth, fastening clearance and how the pair needs to be loaded.

Use the instant packaging quote with those product views, quantity and intended retail, gifting or ecommerce use. The case and insert can then be priced around the complete earring rather than around its visible face alone.

FAQs

The best insert depends on how the earrings fasten and how much depth they need. Studs usually need a pierced card or padded insert that secures both posts cleanly. Small drops may need extra clearance below the facing surface so they do not press awkwardly against the lining. Confirm the fastening style before finalising the insert pattern.

Not always. A box that suits flat studs can feel shallow for drop earrings or too restrictive for small hoops. It is often better to keep one outer look across the range while adjusting the insert depth or slot pattern by product type. That keeps the collection visually consistent without compromising fit.

Use the presentation box as the inner layer and place it inside a protective outer mailer or shipping carton. That keeps the branded case looking sharp when it arrives and helps protect corners, lids and finishes from courier handling. For lighter jewellery, a neat rigid box inside a mailer is usually enough when sizing is controlled properly.

Earring boxes are usually the stronger option when the piece needs a more refined reveal, stronger protection or gift-ready presentation. Jewellery cards can work well for lower-price lines, hanging display or high-volume merchandising. The better route depends on product value, store format and whether the piece is expected to feel like a keepsake purchase.

Check the earring type, fastening style, overall drop length, required insert depth and whether the pair will be sold as a single item or part of a set. It also helps to confirm if the box must sit in a display tray, gift bag or postal pack. Those details shape the insert pattern, case depth and board choice.

Process

How it works

Your Packaging Journey, From Idea to Production and Delivery

01

Tell Us Your Specs

Custom packaging boxes

Tell Us Your Specs

Provide size, quantity, printing, and finishes.

02

Get a Fast Quote

Custom packaging boxes

Get a Fast Quote

Instant transparent pricing, no hidden fees.

03

Design and Approval

Custom packaging boxes

Design and Approval

Artwork checks, revisions, and final sign-off.

04

Produce

Custom packaging boxes

Produce

Expert manufacturing to meet deadlines.

05

Ship to Your Door

Custom packaging boxes

Ship to Your Door

Hassle-free, flexible delivery options.

Get Your Quote for Custom Earring Boxes

Share your product details, dimensions, quantity and artwork needs. We’ll help choose the right packaging style and send a clear quote.