Skip to content
Details

Custom Roll End Tuck Top Mailer Boxes

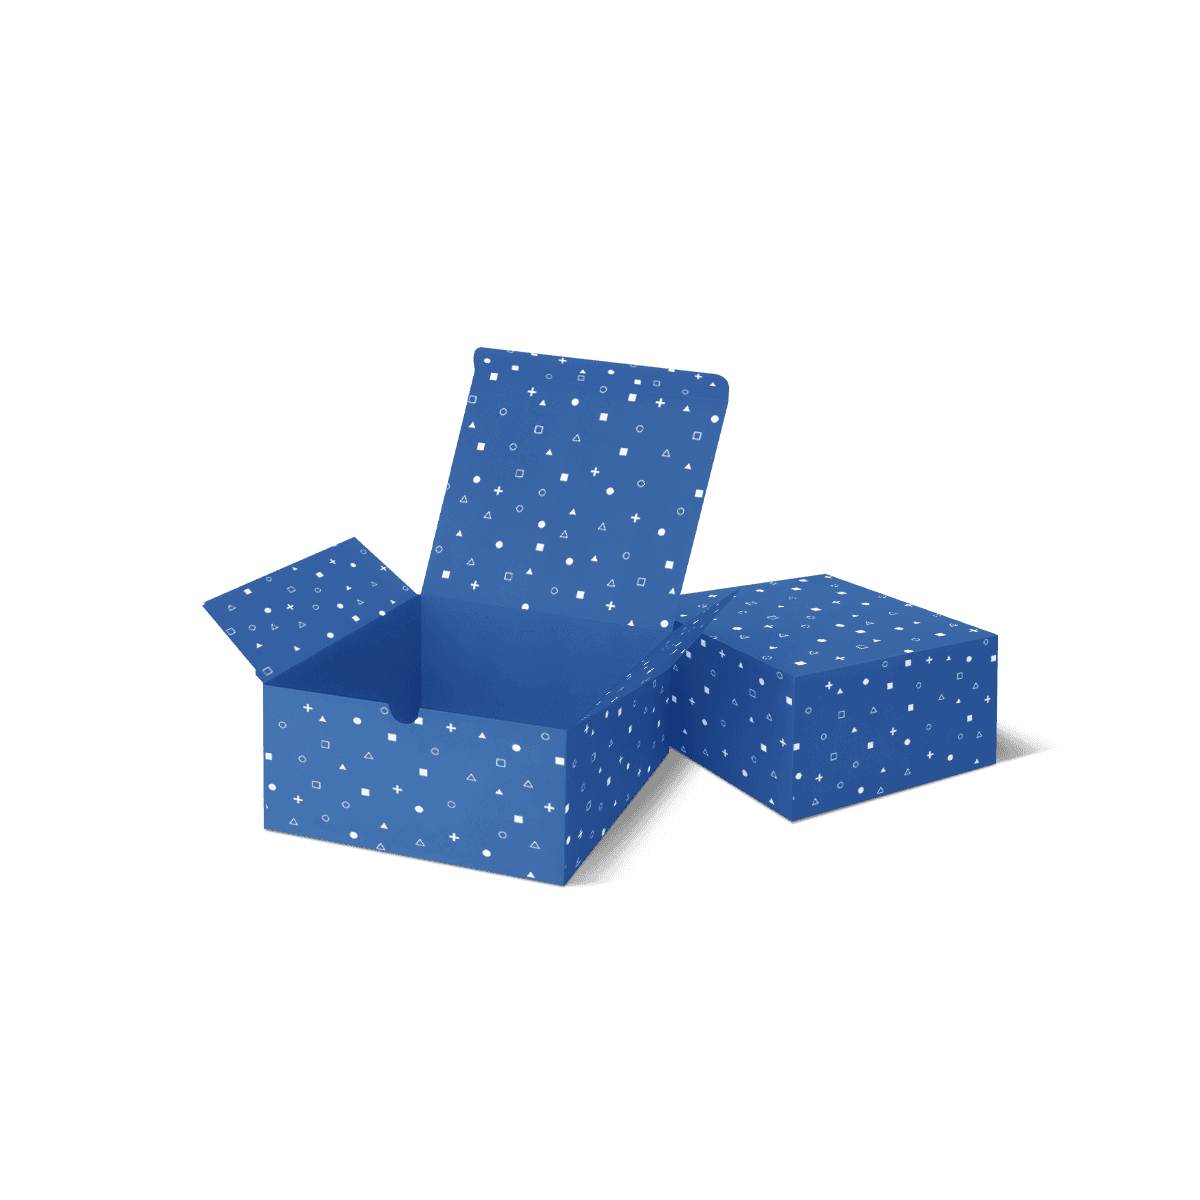
Roll End Tuck Top Mailer Boxes give you a sturdy one-piece pack with rolled side walls and a lid that tucks from the top, making them a smart choice for premium shipping packs, kits and branded e-commerce presentation.

Build the Walls Before Loading

Before the product goes in, the side walls should already be formed and stable. In Custom Roll End Tuck Top Mailer Boxes, those rolled walls create the tray that the hinged top lid later closes over.

That makes this style more than a heavier version of a basic tuck top mailer box. The rolled walls use additional material and folding to create a more self-supporting cavity. Choose them when that extra structure improves loading, containment or presentation.

Within custom mailer boxes, this is especially useful when the open box needs to hold its shape while several items, an insert or presentation layers are placed inside.

Form a Stable Open Tray

The rolled side panels should lock into position before anything is loaded. Once formed correctly, the box should stay square enough for the packer to use both hands for the product rather than holding a wall upright.

That matters more than it sounds. Subscription kits, welcome sets and multi-item orders often require several packing steps. A box that collapses inward between each step slows the process and makes consistent placement harder.

If a side repeatedly springs open or needs the product itself to hold it in position, review the fold sequence, locking points or material thickness before approving the run.

Keep Locks Outside the Product Zone

Rolled walls use tabs, slots or overlapping folds to hold their shape. Those working areas should stay clear of the contents.

A product or insert pressing directly against a locking point can make the wall harder to form and can push it outward after packing. Confirm the usable internal cavity after the sides are fully erected rather than measuring from the flat blank.
Leave Headroom for the Lid

The packed contents must fit beneath the lid's closing path, not merely inside the nominal box depth. Tissue, product caps, literature, insert platforms and bundled accessories can all raise the effective height.

The most common mistake is to measure a product that fits neatly into the open tray and assume the lid will therefore close correctly.

Find the Highest Packed Point

Load the complete order exactly as it will leave fulfilment. Identify the highest point anywhere in the cavity, including presentation material.

The lid needs enough space to move over that point and seat without bowing. If closing the box compresses tissue heavily, pushes a bottle down into its insert or lifts the side walls, the packed height has exceeded the useful working depth.

Extra depth is not automatically the answer. Too much space can increase movement and weaken the presentation. The aim is controlled clearance rather than an oversized cavity.

Check the Front Edge Last

A lid can appear to close correctly at the hinge while still meeting resistance near the front. After loading, view the box from the side and front.

The top should sit level. The closing edge should not rise in the centre and the side walls should remain square. Resistance at the front often points to excessive internal height or an insert positioned too close to the closing zone.

Let Inserts Sit Inside the Tray

Roll end tuck top mailers work well with organised product sets because their formed walls give the insert a defined cavity. The fitment still needs to respect the structure around it.

Use inserts and dividers to control product position, not to force the walls outward.

Set the Insert After Erection

Develop the insert around the internal dimensions of the fully formed mailer. The rolled wall thickness and locking features can reduce the usable footprint compared with what a rough external measurement suggests.

A fitment that is only a few millimetres too wide can bow a side panel. A platform that sits too high can interfere with the lid. Both faults may look like problems with the outer box when the insert is actually causing them.

For multi-item sets, also leave practical finger access. A perfectly tight display can become frustrating if customers have to pull at the products or damage the insert to remove them.

Separate Display From Restraint

The most attractive arrangement is not always the safest one for delivery. A bottle positioned upright for presentation may need support at the shoulder. Two hard products displayed close together may need separation before they travel.

Brands using e-commerce and subscription packaging should decide what must remain fixed after the box is tipped, carried and reopened, then design the internal reveal around that requirement.

Choose RETT for Top Access

The reason to select this structure should come from how the packed box is handled and opened.

A RETT layout suits jobs where a stable open tray, reinforced side edges and a straightforward hinged lid work well together. The product can be arranged from above and presented immediately when the lid opens.

A roll end tuck front mailer box uses the same broad rolled-wall principle but gives the closing arrangement a stronger front-tuck role. Use that version when its front closure and packing sequence suit the job better.

The distinction should be physical rather than cosmetic. Do not choose RETT simply because it sounds more premium or RETF because it sounds more familiar.

Avoid Extra Folds Without a Benefit

A simple tuck top mailer can use less folding and may be the better choice for lightweight products that already remain controlled inside straight walls.

Roll-end reinforcement earns its extra material when the open tray needs more shape, the sides need additional stiffness or the internal presentation benefits from a more defined cavity.

That is the decision. More folds are not automatically more protection.

Depth Affects Packing Reach

A shallow RETT opens like a presentation tray and gives the packer direct access to almost the entire cavity. As depth increases, the side walls become taller and the product sits farther below the opening.

That can change both assembly and loading.

Check Hand Access

For deeper boxes, test whether the packer can position an insert, straighten tissue and seat the product without catching the rolled walls.

This matters for delicate artwork, coated products and multi-part arrangements. A technically correct cavity can still be inefficient if every unit requires fingers to reach awkwardly into the corners.

For tall products, another mailer or shipping structure may use material and labour more efficiently. The main packaging box types help separate mailers from cartons, rigid boxes and transit-led shipping boxes when the proportions start moving away from a shallow mailer.

Design for the Open Box

The strongest visual moment on a RETT mailer often appears after the lid lifts and the formed tray is visible beneath it. Artwork should therefore be approved in its folded state, not only as a flat design.

The side panels are particularly easy to misread because portions of them turn inward as the walls form.

Map Every Visible Face

Mark which areas become the outside walls, inside walls, lid interior, base and closing tabs before placing important graphics.

The packaging dieline workflow explains why fold direction, safe areas and panel orientation need to be settled before final artwork.

A free 3D mockup then gives a useful second check. Look at the box closed, fully open and during the transition between the two. A lid message should face the customer correctly at the point it is actually read.

The more detailed packaging design workflow also covers the common mistake of trusting panel orientation on the flat file without checking how the package physically folds.

Print the Surfaces That Survive

Large lid panels give RETT mailers useful room for branding, but delivery packaging is handled differently from retail cartons. Put premium detail where it can still look intentional after packing and transit.

Premium offset printing can support controlled colour, solid areas and detailed artwork where the run and specification justify it. For projects still deciding between methods, the digital versus offset printing decision explains why quantity alone should not choose the press route.

Protect the Working Creases

Keep foil, spot UV and other concentrated finish details away from high-flex folds unless the exact combination has been tested.

Rolled side panels and the main lid hinge bend every time the box is erected or opened. A finish that looks excellent on a large stationary panel may behave differently across an active crease.

Inside print can often carry more expressive artwork because those surfaces avoid most courier scuffing, but do not place critical copy where the rolled walls overlap or an insert will hide it.

Test It While Empty

One of the most useful RETT checks happens before the product goes in.

Erect the mailer and leave it empty on the bench. The walls should remain formed, the base should lie flat and the opening should stay reasonably square. That condition shows whether the structure itself is doing its job rather than relying on the contents to prop it up.

Then load the real products and close it.

Run Several Assembly Cycles

Do not judge a repeat fulfilment box from one carefully assembled sample. Fold several units at normal working speed.

Watch whether the same lock causes hesitation, whether one wall routinely sits higher than the other and whether staff naturally follow the same folding order. A small awkward detail becomes expensive when repeated across every dispatch.

For time-sensitive production, the fast-turnaround mailer workflow shows why proving the dimensions, structure and approval route early usually removes more delay than trying to compress manufacture later.

A paid custom physical sample is particularly useful where wall locking, tight inserts, unusual proportions or closing pressure cannot be judged accurately from a digital mockup.

When Rolled Walls Stop Paying Off

RETT is useful because it combines a formed tray and hinged lid in one flat-supplied piece. That does not make it the default answer for every ecommerce order.

If flute and transit strength are the dominant questions, start with custom corrugated mailer boxes and choose the structure after the material requirement is understood.

If the product is heavy, bulky or primarily needs stacking strength, shipping boxes can be more efficient than adding thickness and complexity to a presentation-led mailer.

If the item is light and the side reinforcement does very little, a simpler mailer can reduce blank area and packing steps.

The right structure is the simplest one that reliably handles the real job.

Price Around the Closing Path

For this style, the useful quote details are the ones that determine whether the formed tray and hinged lid will work together. Give the internal length and width required after the side walls are erected, the highest packed point, total product weight and the height and footprint of any insert.

Also explain how the order is loaded. A single folded garment creates a different closing problem from six products arranged on a raised fitment even if the external dimensions eventually look similar.

State whether the mailer needs inside printing, repeated opening, an additional shipping seal or a specific presentation sequence. Those choices can affect the lid, working panels and artwork zones before they affect decoration.

Once the internal footprint and highest packed point are fixed, the main commercial question is whether the tray-and-lid geometry can be repeated efficiently at the required volume. For larger repeat runs, warehousing and scheduled deliveries can be discussed separately from structural approval.

For supplier pricing, make sure every quote uses the same finished dimensions, wall style, material, insert and print requirement. The mailer quote checks show why small structural differences can make apparently similar prices misleading.

Use instant pricing once the footprint, headroom and quantity are settled.

FAQs

Yes, they are a strong shipping choice for low-to-medium weight products. The rolled ends reinforce the sides and the tuck top helps keep the pack closed neatly during transit. The right result depends on the corrugated board grade, packed weight and courier conditions. For heavier items or tougher routes, it is worth upgrading the board specification and testing the packed product before full production.

Size, packed depth and total transit weight matter most. You should also confirm whether an insert is needed, how much clearance is required for tissue or leaflets and whether the product should sit tightly or lift out easily. Those decisions affect the final dimensions, board choice and packing speed. Getting them right early prevents loose packs, crushed edges and unnecessary void fill.

Yes. This box style works well with die cut inserts, cardboard dividers and simple fitments because the rectangular base gives you predictable internal space. Inserts are especially useful for sample kits, cosmetics sets, tech accessories and multi-part packs. They improve both protection and presentation by keeping products centred, separated and easier to unpack when the lid is opened.

Choose roll end tuck top when you want a more enclosed lid, cleaner closing line and slightly stronger presentation feel. Choose roll end tuck front when faster packing access or a more familiar ecommerce opening style matters more. Both are practical self-locking mailers, but the tuck top version usually feels more covered and more considered at the point of opening.

Yes. Inside and outside printing is one of the main strengths of this style, especially for branded ecommerce and subscription packaging. Matte, gloss and soft-touch finishes all work well, while foil or spot UV can be added when the artwork and budget justify it. The best finish depends on the board surface, colour coverage, scuff risk and the level of premium impact you want.

Process

How it works

Your Packaging Journey, From Idea to Production and Delivery

01

Tell Us Your Specs

Custom packaging boxes

Tell Us Your Specs

Provide size, quantity, printing, and finishes.

02

Get a Fast Quote

Custom packaging boxes

Get a Fast Quote

Instant transparent pricing, no hidden fees.

03

Design and Approval

Custom packaging boxes

Design and Approval

Artwork checks, revisions, and final sign-off.

04

Produce

Custom packaging boxes

Produce

Expert manufacturing to meet deadlines.

05

Ship to Your Door

Custom packaging boxes

Ship to Your Door

Hassle-free, flexible delivery options.

Get Your Quote for Custom Roll End Tuck Top Mailer Boxes

Share your product details, dimensions, quantity and artwork needs. We’ll help choose the right packaging style and send a clear quote.