Skip to content
Details

Custom Tuck Top Mailer Boxes

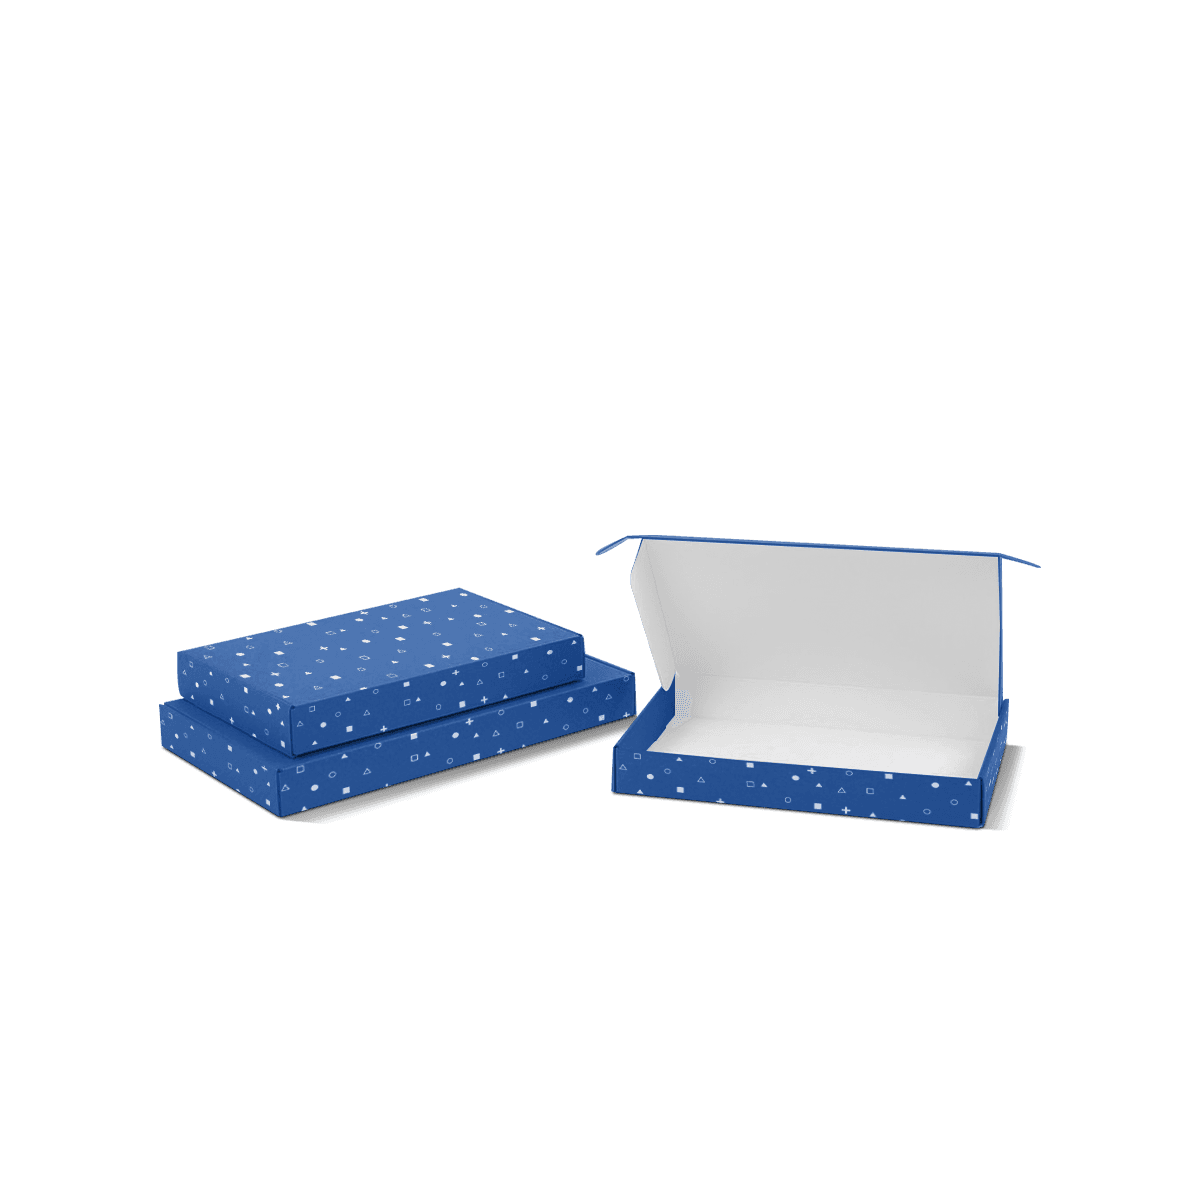
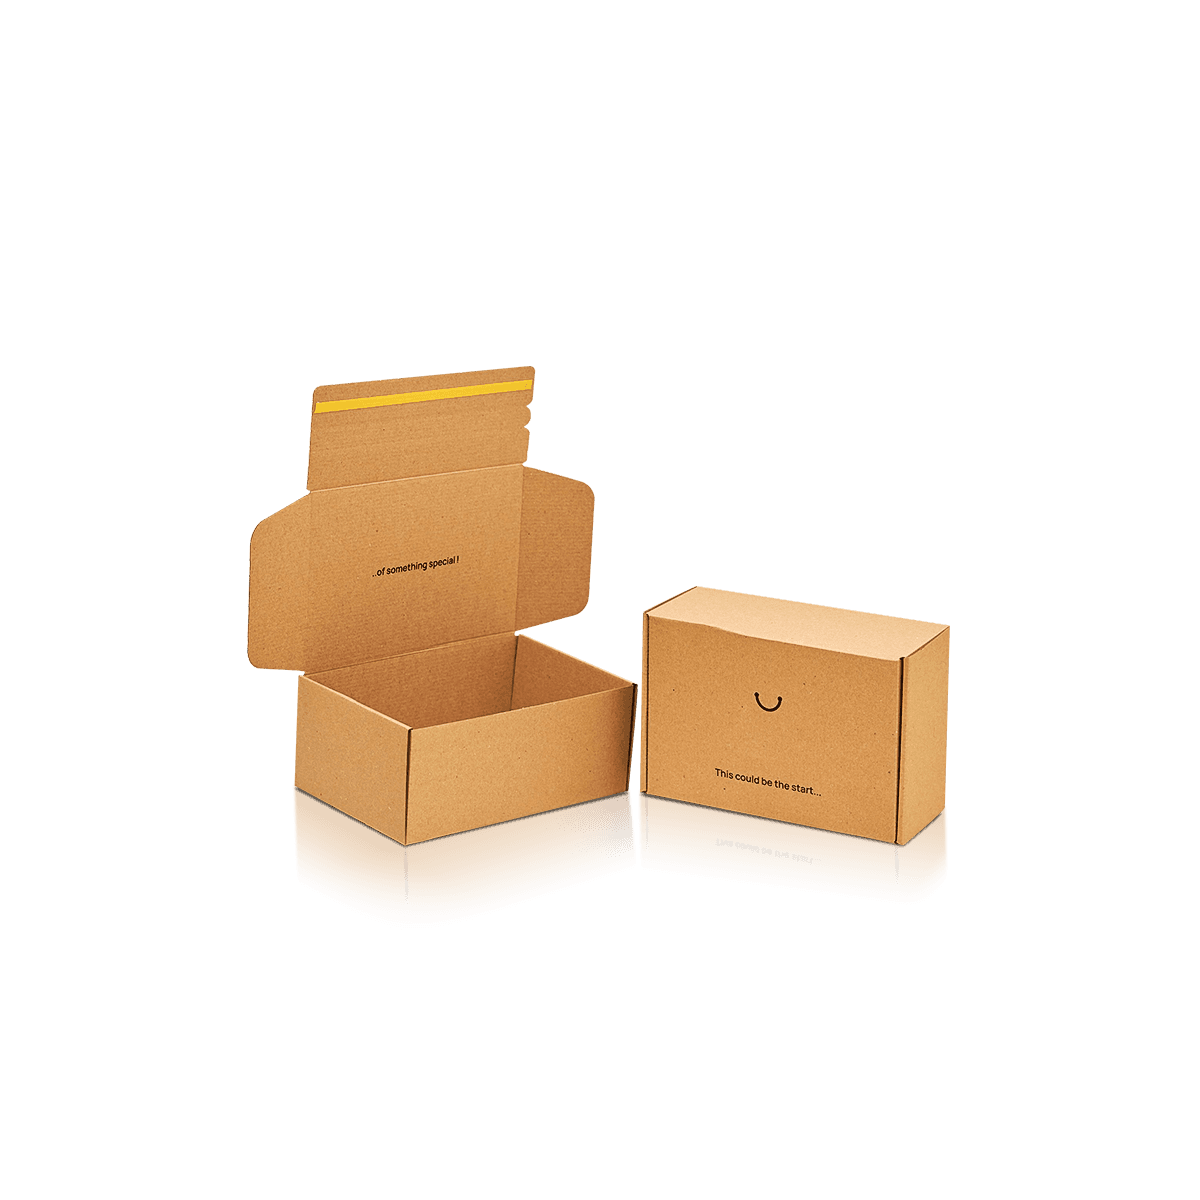
Tuck Top Mailer Boxes are a practical choice for brands that want a clean-closing mailer with efficient assembly, reliable protection and enough print area for strong branding across ecommerce orders, sample kits, retail sends and subscription packaging.
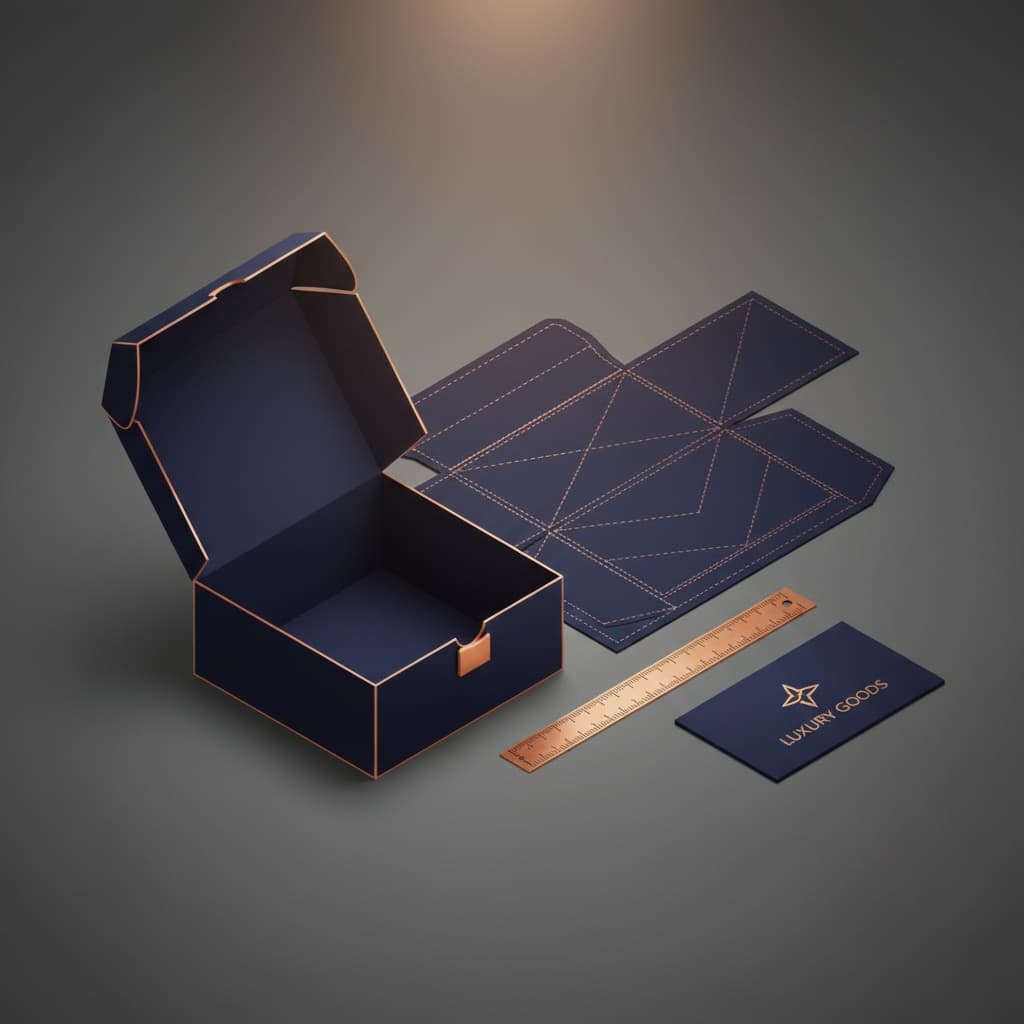
Dieline preview

Generate a Tab-Locking Mailer Box Dieline

Use custom dimensions to view the dieline for this box style and plan artwork with more confidence.

Bleed
Crease
Trim

No preview available

Tab-Locking Mailer Box

Calibrated controls

Current size315 × 202 × 62 mm
Preview scale100% centered
StateValidated
Next Step

Turn Your Dieline Into Custom Packaging

Share your box size, quantity, material, print and artwork details on the quote page. We’ll review your dieline and email your custom packaging quote with the dieline file.

Continue to quote

Make the Tuck Do the Work

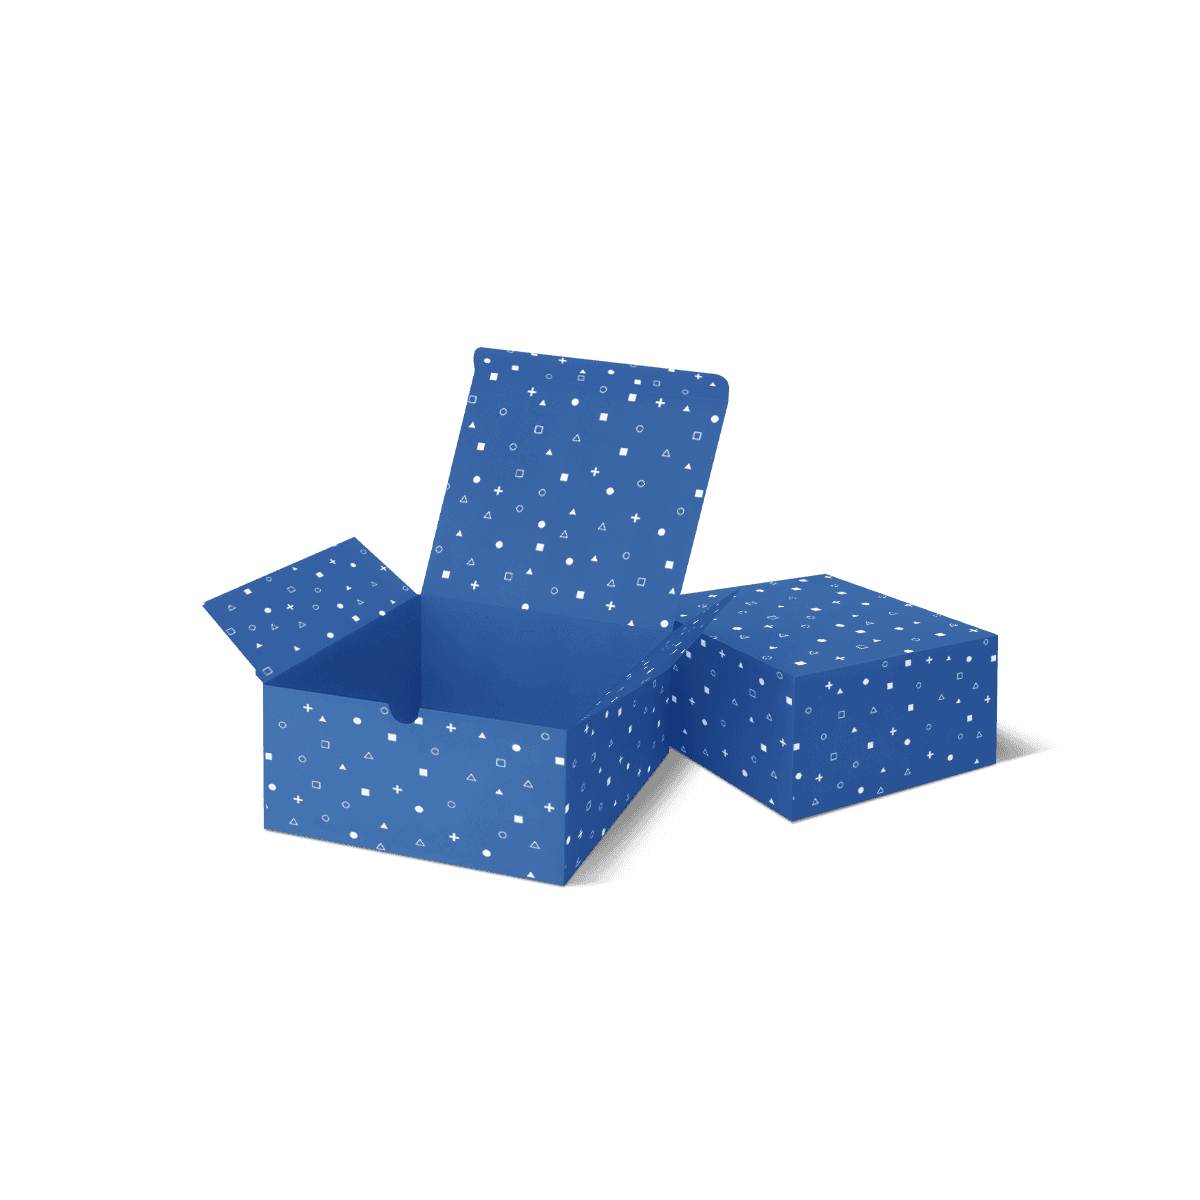
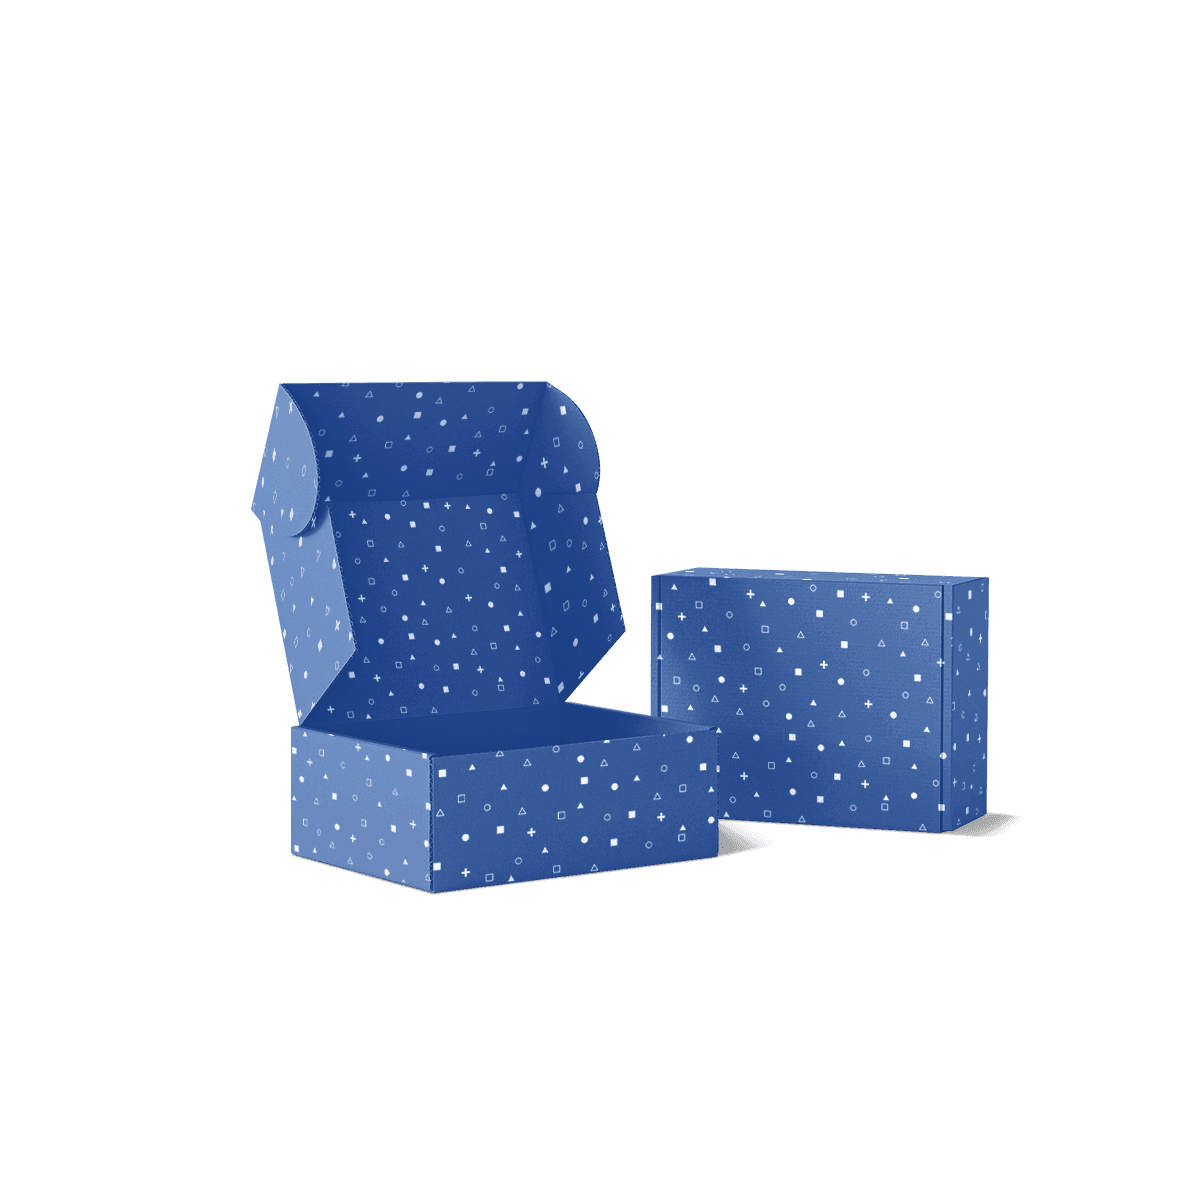
The defining feature of custom tuck top mailer boxes is the lid: it folds over the opening and a tuck tab seats into the front of the box. That simple action makes the style useful when a business wants direct top access without the extra rolled side walls used on more reinforced mailers.

Within custom mailer boxes, this style should be chosen for the way it opens and closes, not because “tuck top” sounds like a general name for any mailer. The closure needs enough engagement to stay seated during normal handling but should not require the packer or customer to force the lid into place.

The same area can also use a tab-locking variation where the dieline is made for the tabs to engage positively. That is why the tuck, front wall and lid geometry need to be approved together rather than treated as decorative details.

Control the Tab Engagement

A shallow tuck can work loose. An overly deep or tight tuck can scrape the inner face, catch on an insert or crease the lid every time it closes. Material thickness, crease position and packed depth all change the final feel.

A good closure should give clear resistance as the tab enters, then sit flat without bowing the lid. If staff have to press the centre of the lid hard to make it stay closed, the problem is usually in the fit or closure geometry rather than the artwork.

Keep Top Access Clear

Top access is most useful when the product can be lowered into the box and removed without fighting the side walls or closure. Accessories, refills, folded apparel, sample sets and compact ecommerce products can work well when their packing orientation matches that opening.

Do not let cards, tissue folds or raised products sit directly in the tuck path. A simple mailer loses its main advantage if every order needs hand adjustment before the lid can close.
Mailer, Not Folding Carton

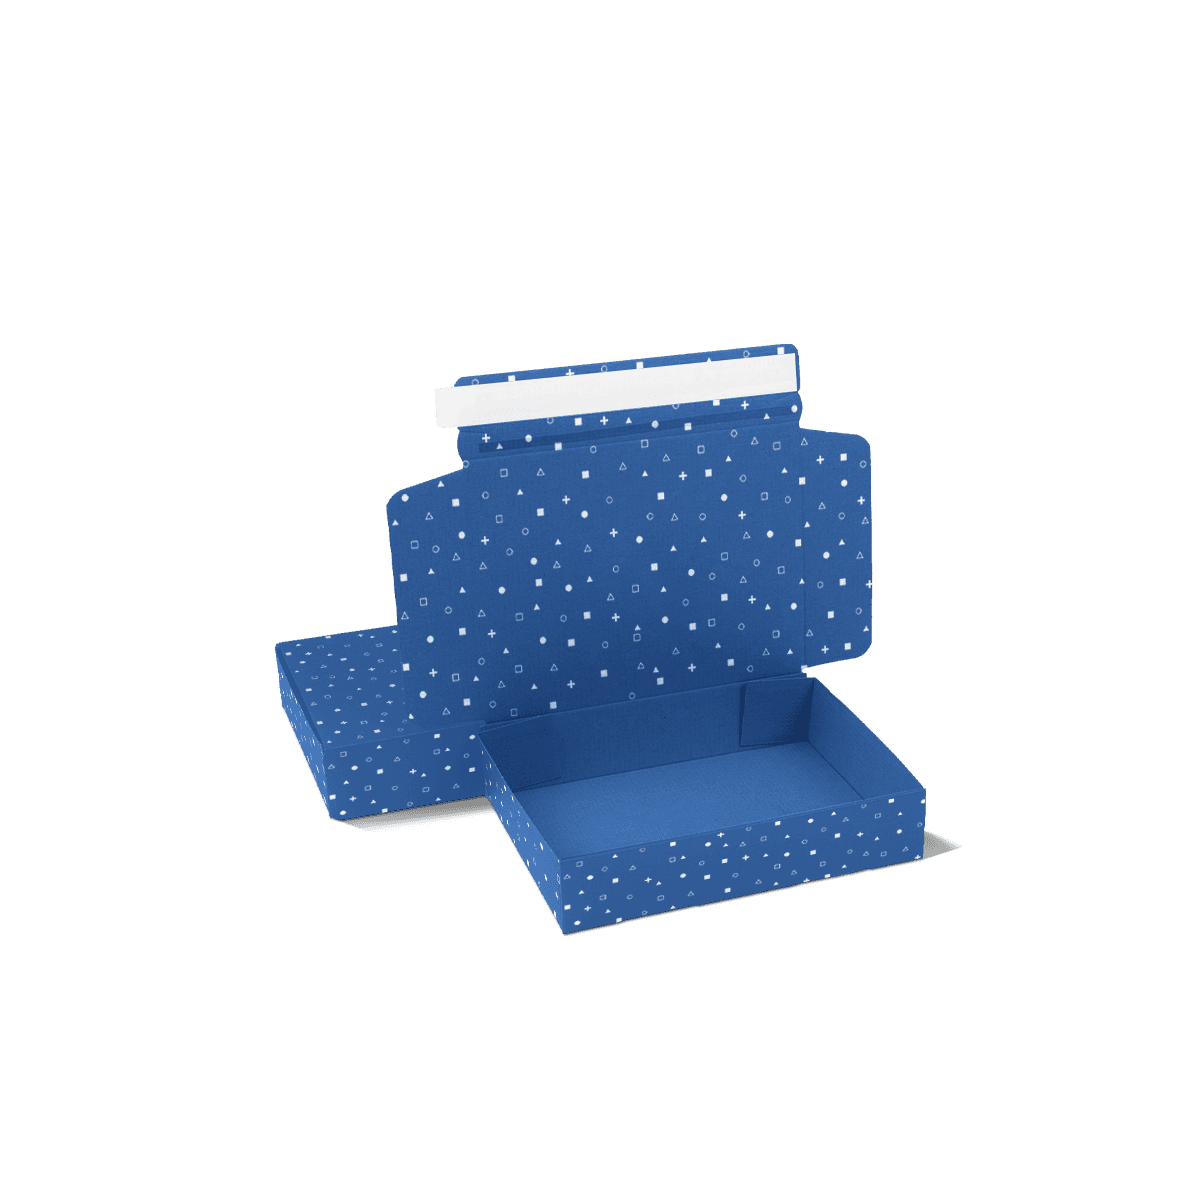
A tuck top mailer and a tuck top folding carton can share similar closure language but they do different jobs. The mailer is the more substantial ecommerce or delivery pack, commonly using corrugated material and a hinged lid. A custom tuck top box is a lighter folding-carton format where the top closure works with a separate lower-base decision.

This distinction matters when requesting quotes. Asking only for a “tuck top box” can produce very different specifications from different suppliers. State that the packaging is a mailer, explain how it will be dispatched and confirm whether it needs to act as the outer delivery box.

The term is used loosely across packaging suppliers, so keeping the delivery role explicit helps prevent a lightweight retail carton being priced against a corrugated mailer expected to handle courier movement.

Protect the Tuck Channel

A simple tuck-top mailer does not need the same headroom discussion as a rolled-wall RETT box. Its critical clearance sits where the lid turns and the tuck tab enters the front wall.

Keep that channel free so the closure engages without the product pushing back against it.

Keep the Front Entry Clear

Measure the complete packed arrangement, then check what sits immediately behind the front wall. Leaflets, tissue and product edges should not occupy the path the tuck needs to enter.

If closing requires pushing the contents down with one hand while forcing the tab with the other, the cavity or packing arrangement needs adjustment.

Set Insert Height From the Closure

An insert or divider should hold the product below the lid without placing its upper edge directly behind the tuck entry.

Test the loaded box. The tab should seat without scraping the insert and the lid should lie flat without extra pressure.

Choose Side Support Deliberately

The standard tuck top mailer earns its place through simplicity. It should not be turned into a more complex structure unless the contents actually need extra reinforcement.

A roll end tuck top mailer adds rolled side walls. Those folds can improve side stiffness and create a more enclosed feel, but they also add material and assembly steps. Choose that structure when the side support is doing useful work, not simply because it looks more substantial.

A roll end tuck front mailer changes the closing action again, with the front tuck and rolled sides taking more of the structural role. Tuck Top should remain the simpler option when direct top access, fewer folds and a clean loading sequence matter more.

This is also where the decision stays separate from custom corrugated mailer boxes. Corrugated mailers centre on flute, liner and material performance. Tuck Top centres on the working closure.

When side wings are needed to control the reveal or add lateral restraint, Mailer Boxes with Wings make that feature explicit instead of treating every tuck-top mailer as the same structure.

Use the Lid With Purpose

The lid is a large visual surface, but it is also the moving part of the box. Artwork should respect both jobs.

Place important logos and small copy away from the tuck edge, crease lines and any tab-locking cuts. Repeated opening creates rubbing at these points. Fine print that looks perfect on a flat file can sit too close to a fold once the box is assembled.

Check the Reading Direction

Inside-lid artwork is seen after the customer has already rotated or opened the parcel. Make sure messages, instructions and graphics read in the intended direction at that moment.

A packaging dieline makes those panel relationships easier to check before artwork is finalised. The free dieline generator can also provide a starting layout when the dimensions and tuck-top style are already clear.

Keep Finish Off Working Folds

Premium offset printing, CMYK and Pantone colour can all work well on a branded tuck top mailer. Matte, gloss, foil or spot UV can also be considered where they suit the material and handling conditions.

The fold still comes first. Heavy decorative treatment across the tuck crease or tab edge can make a working area less predictable. Put the strongest finish where it will be seen, not where the lid needs to flex repeatedly.

Make Top Loading Faster

Tuck top mailers can be useful in repeat ecommerce fulfilment because the open lid gives clear access to the cavity. That advantage disappears if the packing order has too many corrections.

Set a repeat sequence: erect the mailer, place the product or insert, add the required printed material, close the lid and confirm the tuck. The fewer judgement calls required at each step, the easier it is for different team members to produce the same result.

For recurring kits and refills, e-commerce and subscription packaging often benefits from a stable outer footprint and a predictable opening direction. Internal components can change between campaigns, but they should not disturb the closure.

If a launch has a fixed date, resolve the tuck depth, final dimensions and artwork before production begins. The fast-turnaround mailer workflow shows why unresolved structural choices create delays earlier than the printing stage.

Test Reclosing, Not Just Opening

A tuck closure may behave correctly once and become loose, frayed or awkward after several cycles. That matters for sample kits, welcome boxes, returns, product storage and any use where the customer is likely to open the mailer more than once.

Close and reopen a filled sample several times. Watch the tab edge, front wall and main crease. Check whether the lid starts to spring upward, the tuck becomes noticeably looser or the front panel bows.

A free 3D mockup is useful for checking artwork, panel orientation and the visual opening sequence. When closure tension or insert interference is the real risk, a paid custom physical sample is the better test. Orders can start from 100 boxes, so the specification does not need to be overcomplicated simply to justify a first branded run.

Security Needs Its Own Feature

A friction tuck or tab lock can provide a neat everyday closure, but it should not be described as tamper evident unless a separate feature provides visible evidence of opening.

If the parcel requires a stronger seal, specify that need separately. An adhesive strip, label, tape or another suitable control may be required depending on the route and product. The tuck should do its own job well rather than being expected to provide every security function.

The same principle applies to heavy contents. A tighter tuck does not compensate for a mailer that is under-specified for the product weight. If transit strength becomes the dominant concern, review the material and delivery requirements before tightening the closure.

Approve the Flat File Last

The dieline should be considered stable only after the product height, insert level, tuck engagement and side-wall style are agreed. Moving any of those details can shift folds and panel proportions.

Once the closure works, artwork becomes easier to approve because the main print areas and working edges are known. This is also the point to confirm inside print, outside print and any finish that crosses a fold.

For supplier quotations, keep the same tuck-top specification across every request. The mailer quote checks help separate real price differences from quotes based on different materials, sizes or closure assumptions.

Confirm the Working Tuck

The most useful pricing brief explains how the lid should behave, not just how large the box should be. Provide the packed product dimensions and weight, the highest internal point, any insert height, the preferred tuck or tab-locking action and whether the box will be opened and reclosed after delivery.

Add the quantity and artwork status once those closure details are clear. If the specification is still uncertain, explain the product and packing sequence instead of guessing a tab depth or finished box size.

Because this brief is closure-led, the commercial specification should stay closure-led too. Once the tuck path is approved, the remaining production questions are quantity, print coverage and artwork readiness rather than another generic list of packaging options.

Once the tuck path, packed height and quantity are settled, request pricing against that working specification.

FAQs

Yes, they work well for shipping light-to-medium weight products when the board grade matches the transit risk. A corrugated tuck top mailer gives better protection than a standard carton and still keeps the parcel neat and brandable. For heavier contents or rougher courier routes, the safer route is to review board strength, box depth and internal fit before production rather than relying on the outer box alone.

Start with the packed product size, not the loose item size. You also need to confirm total shipped weight, whether tissue or inserts will be used, how tightly the product should fit and whether the box must pass through letterbox or courier limits. Those details affect the final dimensions, the corrugated grade and the ease of packing. Missing them early often leads to wasted space or crushed presentation.

They do, and that is one of their strongest commercial advantages. Because the structure is straightforward and rectangular, inserts are easier to plan for than in some more complex mailer styles. Cardboard fitments, dividers and product cradles can all be used depending on the contents. This helps with sample kits, beauty sets, electronics accessories and any order where you want the inside of the box to look organised rather than improvised.

The key difference is structure. Tuck Top Mailer Boxes use a simpler straight-sided build, while Roll End Tuck Top Mailer Boxes add rolled side panels that increase reinforcement and create a more layered opening experience. If you value faster assembly, cleaner simplicity and efficient production, tuck top is often the better fit. If you need extra side strength and a more engineered unboxing feel, the roll-end version may suit better.

That depends on the product positioning and the board surface. Matte lamination gives a restrained branded look, gloss adds more visual lift and soft-touch can suit premium presentation if scuff control is handled properly. Foil or spot UV should be used more selectively, especially on ecommerce-led boxes where durability matters as much as shelf appeal. Custom Packly can help match the finish to the print style, handling conditions and budget.

Process

How it works

Your Packaging Journey, From Idea to Production and Delivery

01

Tell Us Your Specs

Custom packaging boxes

Tell Us Your Specs

Provide size, quantity, printing, and finishes.

02

Get a Fast Quote

Custom packaging boxes

Get a Fast Quote

Instant transparent pricing, no hidden fees.

03

Design and Approval

Custom packaging boxes

Design and Approval

Artwork checks, revisions, and final sign-off.

04

Produce

Custom packaging boxes

Produce

Expert manufacturing to meet deadlines.

05

Ship to Your Door

Custom packaging boxes

Ship to Your Door

Hassle-free, flexible delivery options.

Get Your Quote for Custom Tuck Top Mailer Boxes

Share your product details, dimensions, quantity and artwork needs. We’ll help choose the right packaging style and send a clear quote.