Skip to content
Details

Custom Window Mylar Bags

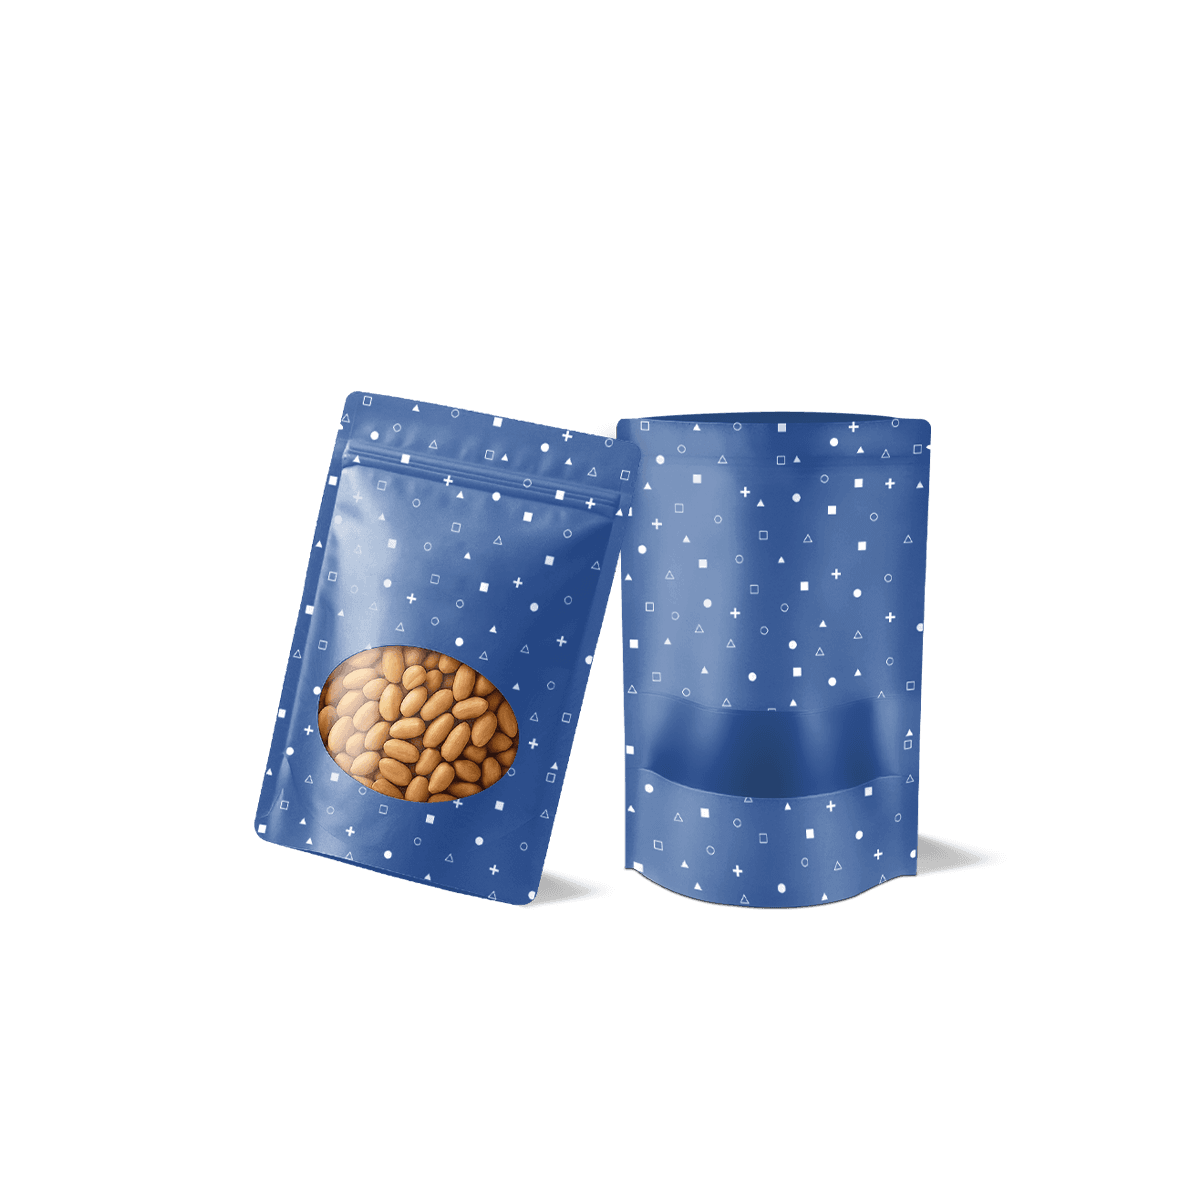
Custom Window Mylar bags combine barrier performance with a visible product panel, which makes them useful when the contents themselves help sell the pack. They suit snacks, confectionery, dry foods, supplements and other lines where presentation and product recognition both matter.

Let the Product Earn Attention

The window should reveal the product at its normal resting point, not simply create a decorative cut-out. Custom Window Mylar Bags work when colour, texture or piece size genuinely helps the customer decide.

That means window position starts with the filled pouch. If the contents settle below the clear area or coat it with dust, the feature can make the package look emptier or messier instead of more trustworthy.

Use transparency selectively, then keep enough controlled printed film for branding, barcodes and any information that needs reliable contrast.

Show Something Worth Seeing

A window adds value only when the product looks consistently good through it.

Roasted nuts, colourful sweets, granola clusters, loose tea and recognisable pet treats can benefit because the contents communicate something useful before opening. A powder that settles unevenly or leaves dust across the film may gain less.

Judge the normal production batch, not the best hand-selected sample. If appearance varies significantly between pouches, the window may expose inconsistency rather than build confidence.

Reveal Enough, Not Everything

A smaller viewing panel is often stronger than a large transparent face. It can prove what is inside while preserving more branding space and reducing the area exposed through clear material.

The existing Mylar parent already establishes that visibility is useful when it helps the sale. This child page needs to go further by deciding exactly what the customer needs to see.
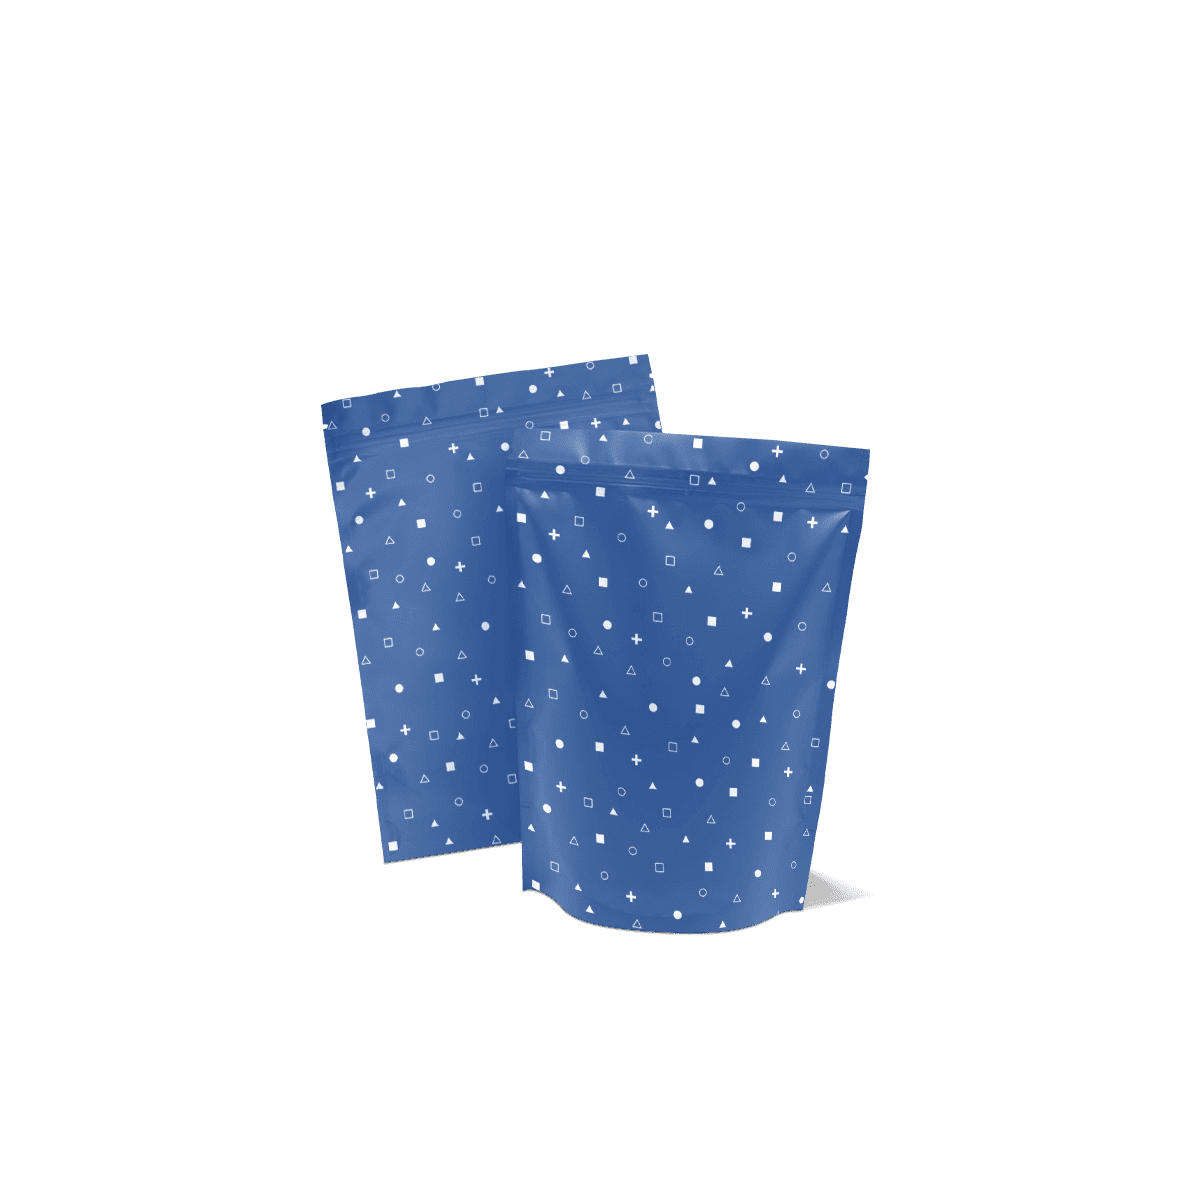
Position the Window on the Fill

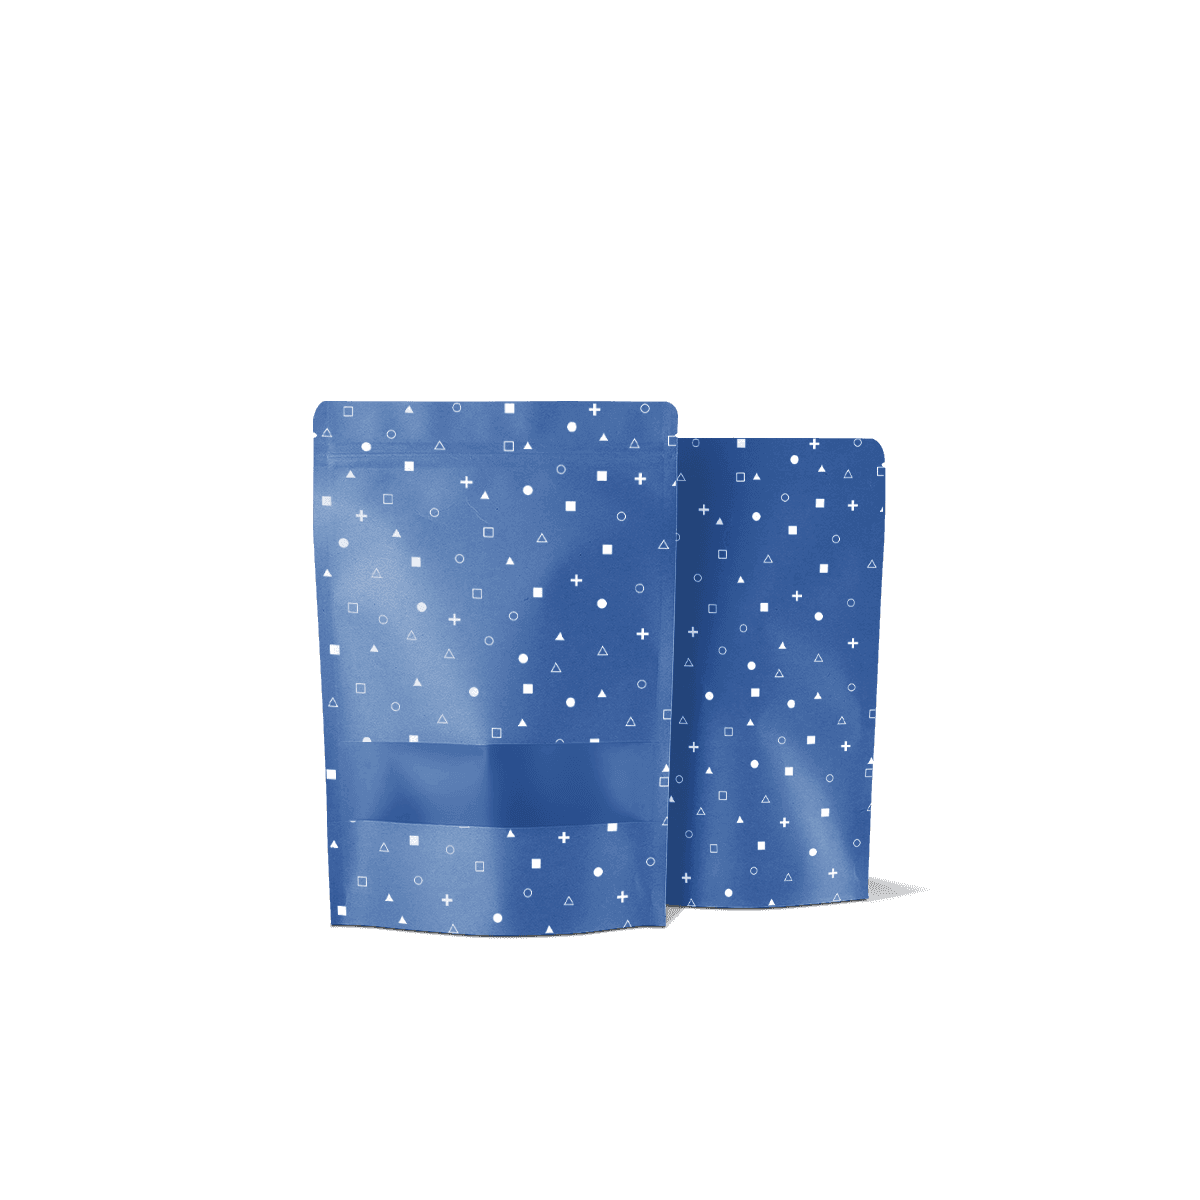
Window placement should follow the settled product, not an empty pouch template.

A shaped clear panel is useless if most of it sits above the normal fill line. The same problem occurs when product drops below the window after settling and leaves a large transparent area showing empty space.

Mark the Settled Fill Line

Fill a realistic pouch, let the contents settle and note where the product naturally sits. For products that compact during transport, check the pouch again after normal handling.

A stand-up pouch may settle differently from a flat one because the bottom gusset creates depth. If upright presentation is part of the brief, Stand Up Mylar Bags should determine the filled shape before the clear area is finalised.

Keep Clear Film Off Busy Folds

Avoid placing the main viewing area through strong gusset folds, side-seal zones or other areas that distort significantly after filling.

A narrow clear strip that disappears around a side curve may look much larger on flat artwork than it does on shelf. Keep the useful product view where it remains readable on the finished pouch.

Check the Half-Used Pouch

For repeat-use products, the view changes as contents are removed. A window that looks full at purchase may show mostly empty space halfway through use.

If repeated access matters, Zip Lock Mylar Bags should govern the closure while the window remains focused on product visibility.

Trade Visibility for Coverage Carefully

A clear panel changes the material system across the viewing area. That matters when the product is sensitive to light or when an opaque laminate was chosen for stronger full-surface coverage.

The useful question is not “Can we add a window?” It is “How much clear area does this product actually need?”

Light-Sensitive Products Need Restraint

If light exposure is a known concern, a large front window can work against the reason an opaque pouch was chosen.

A smaller strip, shaped viewing area or rear window may give enough reassurance without exposing a large portion of the contents. Where full opacity and foil-led barrier performance are the priority, Foil Mylar Pouches are the more logical starting point.

Do not claim equivalent protection between a windowed pouch and a fully opaque laminate unless the finished material specification supports it.

Visibility Is Not a Free Feature

Clear windows can affect cost depending on the pouch specification and production route.

The custom Mylar bag cost breakdown identifies clear windows among the functional features that can change price. The window should therefore solve a genuine selling or identification problem rather than being added automatically.

Design Around the Clear Area

The window becomes part of the graphic composition. It creates negative space, reveals a moving product texture and changes the colour balance of the front panel.

Artwork should be built around that reality rather than completed first and altered later.

Use the Product as a Visual Element

The visible contents effectively become part of the artwork.

Dark coffee beans, pale biscuits, coloured sweets and textured pet treats each create a different field behind the clear film. Brand colours should be checked against the real contents, not an empty transparent mockup.

The principles in packaging design ideas apply strongly here: product, structure and graphics should be resolved together.

Protect Text and Codes

Do not place barcodes, ingredients, dosage information or other essential copy across the clear area.

The product creates an unpredictable background. Text that appears readable on an empty proof may lose contrast once dark or patterned contents sit behind it.

Keep critical information on controlled printed areas.

Do Not Force One Window Across Every SKU

One flavour may contain a colourful, consistent product while another contains a fine powder that offers little visual value.

Standardise the pouch where it makes sense, but do not let range consistency overrule product behaviour.

Test the View After Handling

The contents will not remain arranged exactly as they were during artwork approval.

Pieces rotate, powders settle and crumbs move when the pouch is packed, transported or handled. A useful window still looks intentional after that movement.

Move the Pouch Around

Turn the filled pouch onto its side, lay it flat, stand it back up and check what appears behind the window.

If the view depends on manually arranging the contents before every photograph or shelf placement, the design is too fragile.

For irregular products such as treats, Pet Products provides useful context because product shape, storage and display can pull the specification in different directions.

Watch Dust and Crumbs

Fine residue can coat the inside of clear film and make the viewing area look cloudy.

That does not automatically rule out a window. A smaller panel or different position may stay cleaner than a large central area. Products that release significant powder during handling may simply look stronger in a fully printed pouch.

Avoid False Fill Impressions

A window can unintentionally make a correctly filled pouch look underfilled.

If it extends far above the settled contents, the empty portion becomes highly visible. Position the clear area around the realistic filled shape rather than using it as decoration.

Choose Where Visibility Belongs

The front panel is not the only place a window can work.

Where branding needs more uninterrupted space, a side strip or smaller rear viewing area can confirm the contents without taking over the main display face.

Front Windows Sell the Product

A front window is strongest when the contents are a major reason to buy.

Use it where colour, size or texture can be understood quickly from normal shelf distance. Keep the shape simple enough that the product reads clearly.

Side or Rear Windows Stay Quieter

A side window can preserve strong front branding while still proving what is inside. A rear window can provide inspection without making transparency the centre of the design.

The location should follow the customer decision, not a default pouch template.

Keep the Window Below the Function

A clear panel does not determine whether the pouch should use a zipper, heat seal or another closure.

Those features need their own working space. The window should start where product can actually be viewed rather than crowding the top of the pouch.

Protect the Closing Area

If the pouch will be heat sealed after filling, Heat Seal Mylar Bags should determine the clean seal zone. If it will be reopened many times, the zipper needs grip space and headroom.

Do not let a tall window force functional elements into an awkward position.

Visibility Does Not Prove Freshness

Seeing the product can reassure a customer about appearance, but a clear panel does not by itself prove freshness, shelf life or barrier performance.

Keep visual benefits and technical claims separate. The material still has to match the contents and storage conditions.

Decide If the Product Should Show

The strongest reason to use a window is simple: the product communicates something the artwork cannot communicate as well.

If customers benefit from seeing colour, texture, size or the real mix inside, visibility can reduce uncertainty. If the contents are visually inconsistent, light-sensitive or likely to leave residue on the film, a fully printed pouch may create a cleaner result.

Use Foil Mylar Pouches when complete coverage and an uninterrupted printed face are more valuable. Use Flat Mylar Bags when compact packing matters more than standing display.

The window is a feature within the chosen pouch, not a substitute for choosing the right basic shape.

Start With the View You Need

For Custom Window Mylar Bags, the most useful brief is not “add a clear window”. Show what the customer actually needs to see.

Share a photo or physical description of the product, the intended fill level and the characteristic that creates the strongest visual reassurance. State whether the pouch will stand, lie flat or hang, and whether the contents change appearance noticeably between batches.

From there, the window can be sized and positioned around the real fill line while leaving controlled printed areas for the brand, barcode and required product information.

A free 3D mockup can help review proportion and artwork around the clear panel. If fill behaviour or product appearance is uncertain, a physical custom sample can give a more useful check than an empty pouch.

When the desired view is clear, request a custom packaging quote around the actual product and display method rather than choosing the largest window available.

FAQs

A window pouch is the better choice when the product itself adds selling value and can be shown safely. It works well for colourful, textured or recognisable contents that benefit from immediate visibility. A fully covered foil pouch is often stronger when light protection, discretion or a more concealed presentation matters more than showing the contents.

Confirm how much of the product should be visible and whether exposure to light could affect quality over time. It is also important to check fill height, closure type, seal area and where the artwork needs to sit around the clear panel. If the pouch must stand neatly after filling, the window placement should support that final appearance.

Yes, they can be produced with different closure styles depending on how the product will be used. A zip closure suits repeat-use products such as snacks, treats and powders, while a heat-seal-only version is often better for single-use portions, samples or tamper-evident presentation. The choice depends on use pattern rather than the window itself.

Not necessarily, but it changes the protection balance and should be planned carefully. The pouch can still perform well when the main film structure and the window area are matched to the product’s needs. For light-sensitive contents, a smaller viewing area is often the safer route than a large front window.

They suit dry or semi-dry products that look appealing through a clear panel and do not rely on complete light shielding. Popular examples include confectionery, granola, tea, coffee, pet treats and some supplement blends. If the contents are highly light-sensitive or visually inconsistent, another pouch type may give a stronger result.

Process

How it works

Your Packaging Journey, From Idea to Production and Delivery

01

Tell Us Your Specs

Custom packaging boxes

Tell Us Your Specs

Provide size, quantity, printing, and finishes.

02

Get a Fast Quote

Custom packaging boxes

Get a Fast Quote

Instant transparent pricing, no hidden fees.

03

Design and Approval

Custom packaging boxes

Design and Approval

Artwork checks, revisions, and final sign-off.

04

Produce

Custom packaging boxes

Produce

Expert manufacturing to meet deadlines.

05

Ship to Your Door

Custom packaging boxes

Ship to Your Door

Hassle-free, flexible delivery options.

Get Your Quote for Custom Window Mylar Bags

Share your product details, dimensions, quantity and artwork needs. We’ll help choose the right packaging style and send a clear quote.