Skip to content
Details

Custom Book Style Rigid Boxes

Book style rigid boxes turn the opening into part of the product experience, making them ideal for premium gifts, presentation sets and launch packs that need structure, protection and a more deliberate reveal than a standard rigid box.

Make the Cover Earn Its Space

A book-style box adds a large hinged cover to the presentation. If that cover carries no useful message, pocket, graphic or opening role, the structure can become extra material without adding much value.

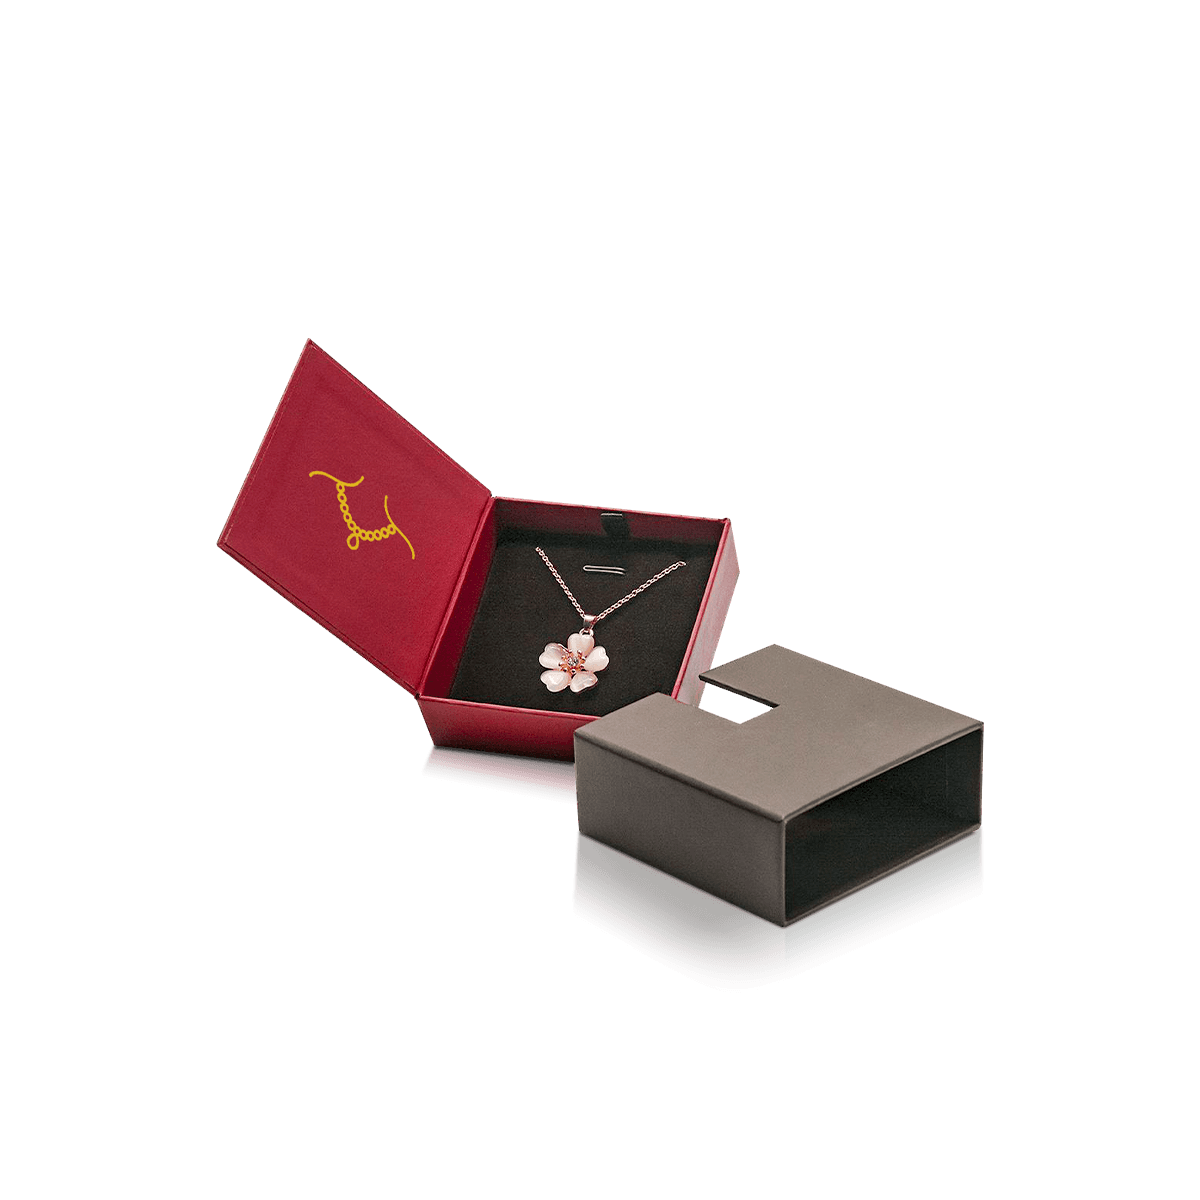
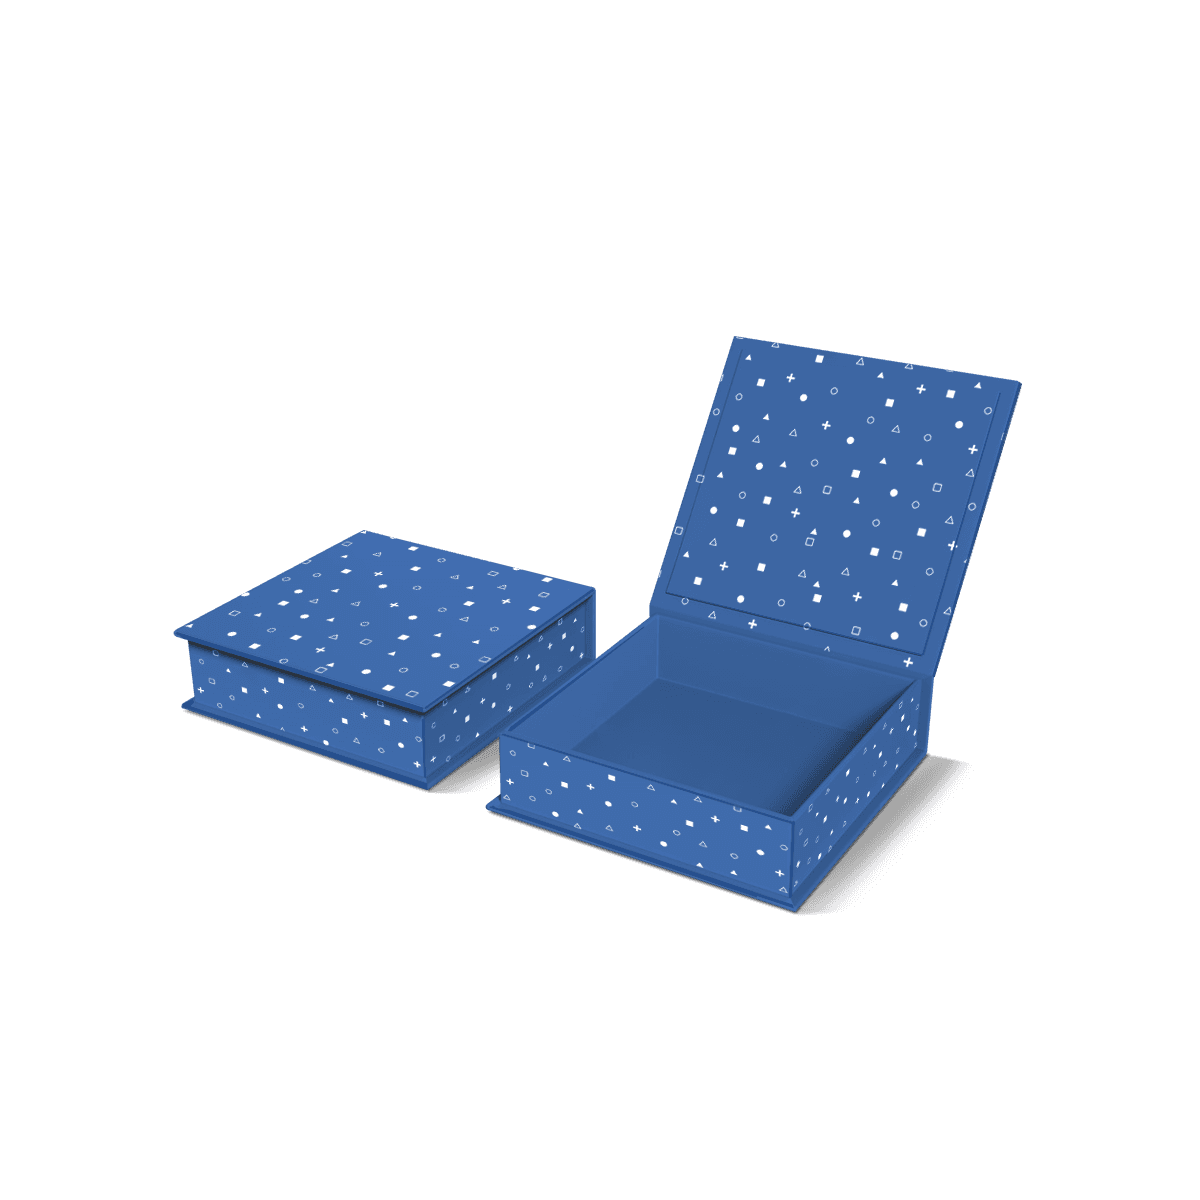
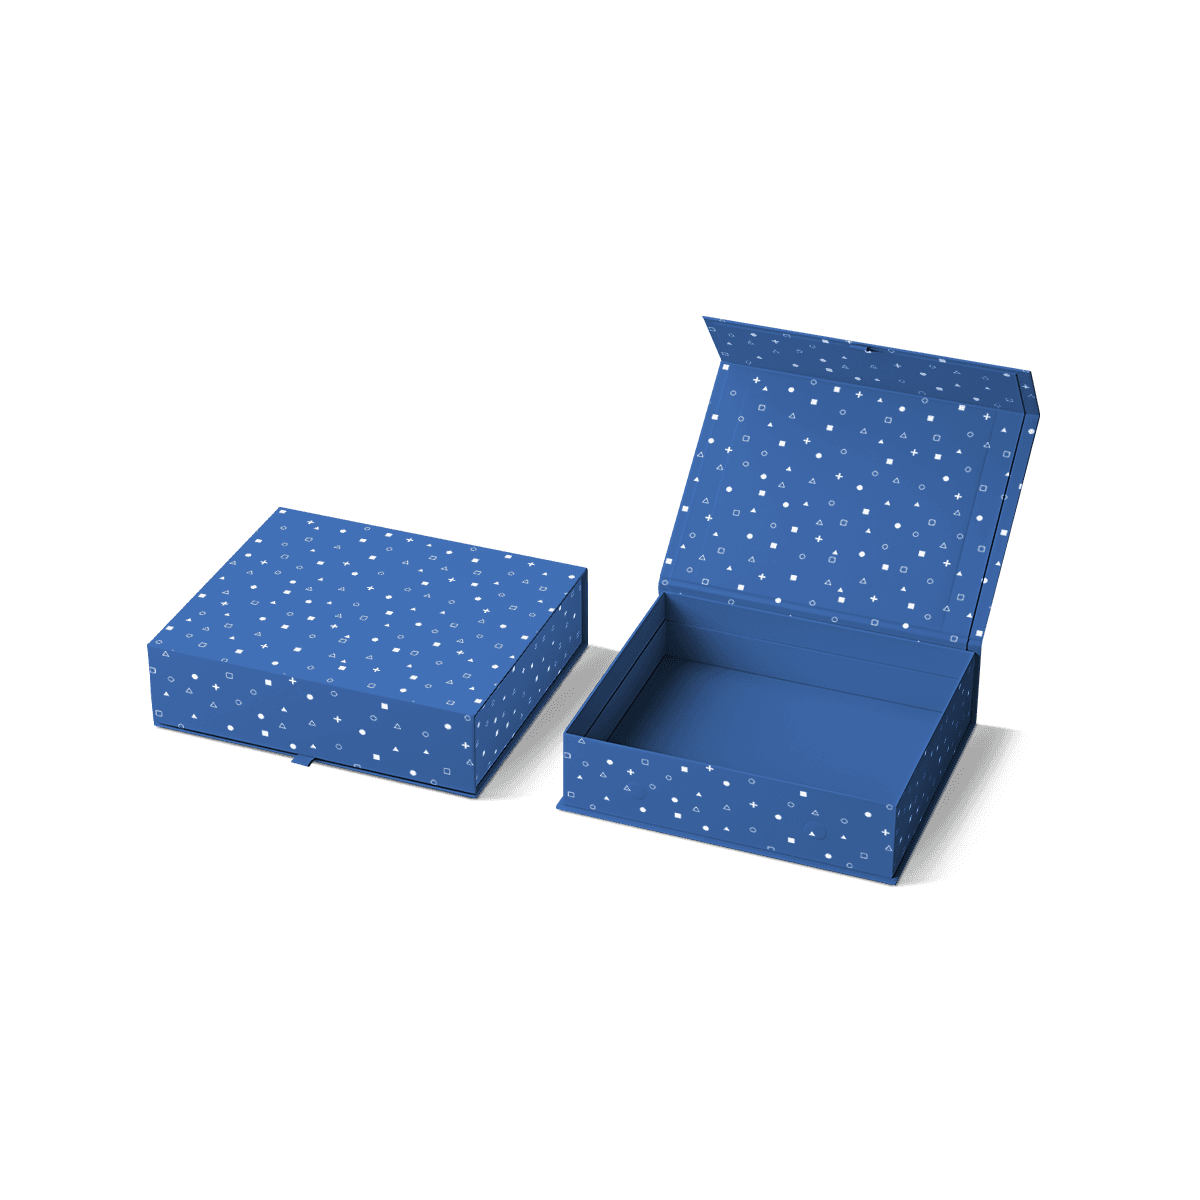
Custom Book Style Rigid Boxes make more sense when the hardback-style cover is part of the product experience. The cover opens sideways on a spine while the product remains presented in a fixed tray. That creates two clear surfaces at once: the inner cover for communication and the tray for the product.

This is especially useful for launch sets, awards, collector pieces and presentation boxes where the first open view needs to explain the product before anything is removed.

Decide What Appears First

Plan the open box as one composed scene. A short message, certificate, instructions or campaign story can sit inside the cover while the product remains organised beside it.

The mistake is filling every available surface. The inside cover should have one clear job. If the product already explains itself and no additional communication is needed, a simpler rigid style may give the same premium feel with less complexity.
Set the Spine From Depth

The spine cannot be chosen independently from the tray. As the inner tray becomes deeper, the spine must become wider so the cover can wrap around the side and close correctly.

That relationship affects the proportions of the whole box. A shallow jewellery set can look naturally book-like. A very deep bottle set can produce a broad spine and heavy front cover that no longer feels like a refined hardback.

Deep Trays Change Proportion

Before approving the outside shape, mock up the tray depth against the closed spine. If the spine starts dominating the front and back panels, consider whether the product is asking too much of the book-style format.

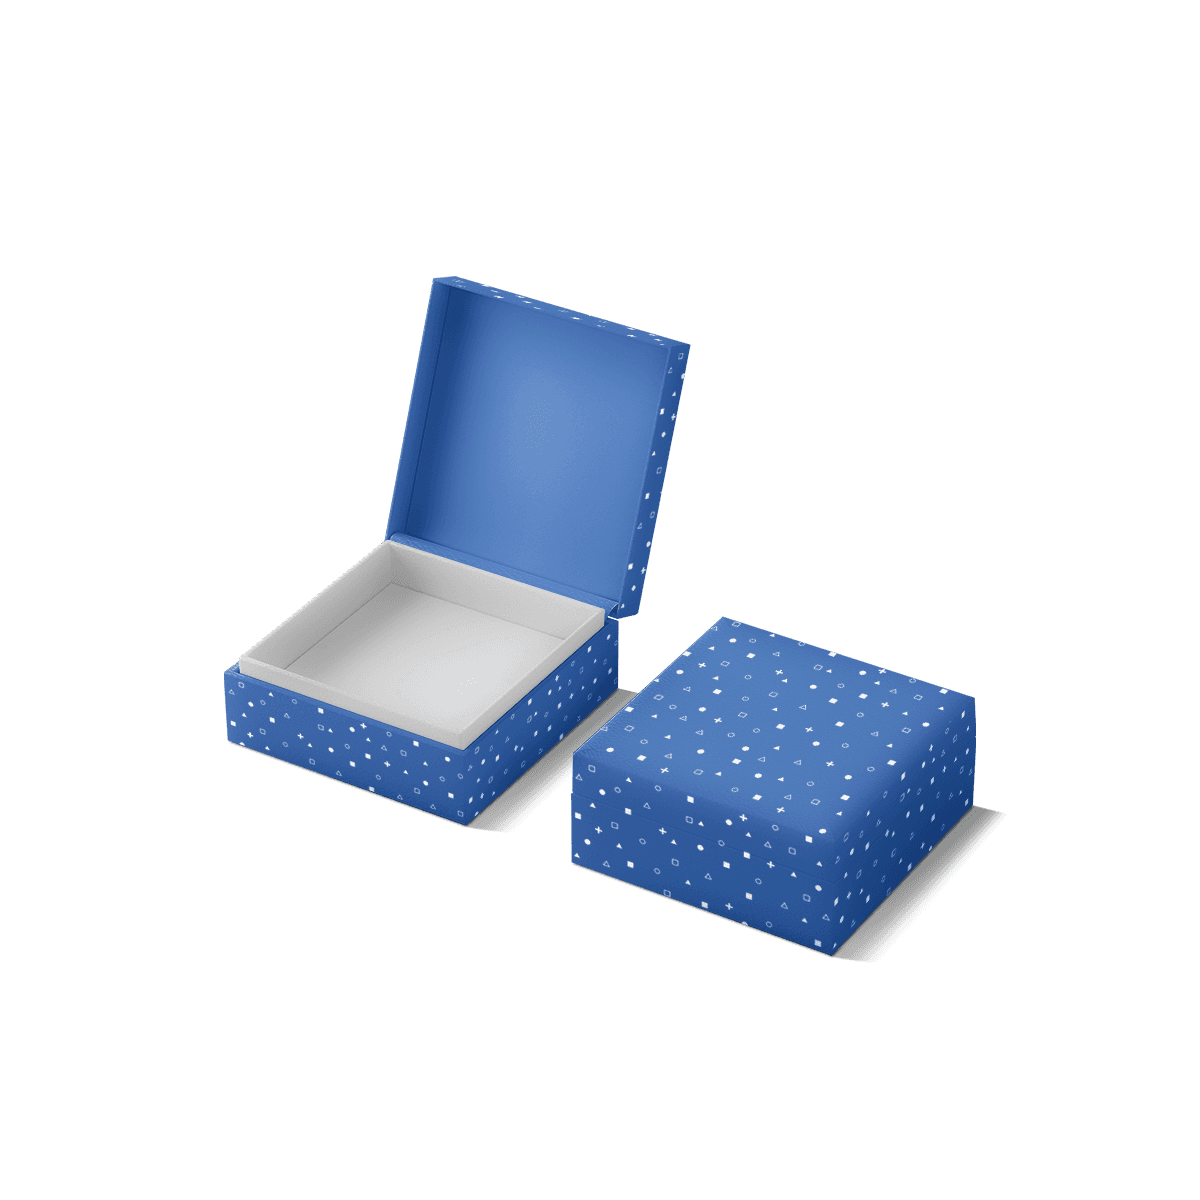
A Rigid Lid and Base Box can make more sense for deeper products because the lid lifts away rather than swinging around a wide spine.

Give the Hinge Room

The front cover, spine and back panel are separate rigid pieces connected by the outer wrap and inner lining. Small hinge gaps allow those parts to move. Artwork, foil borders and fine rules need to respect those moving areas.

A free physical sample before production is particularly useful when the proportions are unusual. It lets you check whether the cover opens naturally, whether the spine stays square and whether the tray interferes with the hinge.

Design for Side Opening

A book-style box is read from the side, not simply opened from the top. That changes logo orientation, copy direction and the order in which the recipient sees information.

The box may lie flat like a presentation case, stand upright like a volume or move between both positions. Decide that behaviour before artwork is finalised.

Treat It Like a Spread

When opened, the inner cover and tray sit side by side. Treat them as one visual spread rather than two unrelated panels.

For a launch kit, the left side might introduce the product while the right side holds the item and accessories. For a certificate or commemorative piece, the inner cover can frame the message while the tray keeps the physical item fixed.

The principles in how to design packaging for a product are useful here because the structure should be confirmed before artwork is forced onto a finished dieline.

Use the Inner Cover Carefully

A document pocket, booklet holder or shallow card panel can make the inner cover genuinely useful, but it also adds thickness. Anything attached there needs clearance above the product when the box closes.

This is where an experienced packaging team matters. Custom Packly can coordinate the tray, cover, insert and artwork as one specification rather than treating the inner-cover feature as an afterthought.

Hold the Product in Place

The tray does more than make the product look neat. In a book-style box, it may need to keep everything stable while the box is carried, stored on its spine or opened sideways.

That makes insert design more important than it first appears.

Plan for Upright Storage

If the finished box may stand upright on a shelf, the insert should retain the product against gravity. A cavity that works perfectly while the box lies flat can allow a bottle, medal, accessory or cable set to slide once the orientation changes.

Use inserts and dividers to control movement where needed, but do not overcomplicate the interior. The aim is to keep the open layout intact, not to trap the product.

Leave Removal Access

A tight cavity can look precise and still frustrate the recipient. Finger notches, ribbon lifts or enough exposed product height can make removal feel deliberate rather than awkward.

This matters for multi-item gift set boxes, where one component should not have to be removed just to reach another. The sequence should be obvious from the moment the cover opens.

Choose Closure After Structure

Magnets are common on book-style rigid boxes, but they are not what makes the box book-style. The defining feature is the spine-led side opening and hardback-style cover.

That distinction matters because adding a large magnetic front flap can move the design closer to a different product altogether.

Magnets Do Not Define It

Small concealed magnets can keep the front cover seated without interrupting the book-like appearance. They work best when the closing edge stays visually clean and the spine remains the dominant movement.

If the front flap, magnetic shut line and repeated closing action are the main experience, Magnetic Closure Rigid Boxes are usually the clearer structural choice.

Ribbon or Simple Close

Ribbon ties can suit commemorative sets, certificates and traditional gifting where a slower opening feels appropriate. Some heavier covers may also sit closed without an elaborate fastening.

The closure should support the purpose of the box rather than become decoration added by default. If you are unsure which route fits the intended use, 24/7 packaging support can help settle the opening and closure before artwork work begins.

Do Not Force the Book Effect

Book-style packaging is strongest when the side-opening cover, spine and inner communication panel all contribute something useful. It is weaker when those features are present only because the box needs to look expensive.

For repeated demonstrations or practical access where an attached lid matters more than the book-like spread, Hinged Lid Rigid Boxes are usually simpler.

For deeper products that need direct loading from above, lid-and-base construction can be more natural. For a premium close centred on a concealed front flap, magnetic closure deserves its own specification.

The wider Rigid Boxes options make that distinction important. Book style should be chosen because the product benefits from a side-opening narrative, not because it is another way to make a rigid box look premium.

The same rule applies to cost. The discussion in custom packaging cost mistakes is relevant here: a more elaborate structure only earns its cost when the customer experiences the value it creates.

Print the Case as a Spread

The outer case creates an unusual artwork opportunity because the front, spine and back can work together as one continuous visual system. That can make the closed box feel more like a volume, archive piece or collector edition than a conventional gift box.

Give the Spine a Job

The spine is one of the few packaging surfaces that can remain visible when the box is stored upright between other items. Product name, edition information or a restrained mark can make the packaging identifiable without opening it.

Do not crowd the spine with small copy simply because the space exists. Its width is controlled by the physical tray depth, so artwork should follow the finished proportion rather than a design template.

Protect Hinge Artwork

Fine type, foil rules and important logos should stay clear of the hinge gaps unless the artwork has been deliberately prepared for movement. Repeated opening bends the covering material at those points.

Premium offset printing can give large colour fields, fine type and controlled brand colour strong consistency. Digital and offset printing suit different run and artwork requirements, so the method should follow the design rather than prestige alone.

Free 3D mockups are useful before production because they show how the front, spine, back and inside cover relate as the box moves from closed to open. The ideas in packaging design that actually works can also help decide where restraint will do more than another finish.

Plan for the Life After Opening

A book-style box is often kept because it resembles something meant to live on a shelf. That can be a genuine advantage for collector editions, presentation sets and higher-value gifting, but only if the dimensions and interior support still work after the first reveal.

Think about what happens after the product has been removed. A certificate, spare component, manual or keepsake may remain inside. If the empty tray becomes unusable or the box cannot stand neatly, the long-term value disappears.

If the box is intended to remain on a shelf, keep the approved spine width, tray depth and insert position consistent across later editions or replenishment runs. Small structural changes can make neighbouring volumes look mismatched even when the artwork is closely related.

For recurring collector or presentation programmes, scheduled deliveries can release finished boxes in batches where storing the full quantity on site would be wasteful.

Start With the Open View

The fastest way to specify this box is to show what the recipient should see when the cover is fully open.

A rough sketch is enough. Mark the product position, anything that belongs inside the cover, the direction the box should open and whether it will normally lie flat or stand upright. From there, the tray depth, spine width, insert, closure and artwork surfaces can be resolved around one clear experience.

For projects where the overall presentation is still being shaped, Custom Luxury Packaging can help place the book-style structure within the wider material, insert and finish decision.

When the open layout is clear, use the instant packaging quote to price the specification. The useful starting point is not a long finish list. It is the open spread you want the customer to experience.

FAQs

The main difference is the opening behaviour. Instead of removing a separate lid, the box opens on a hinge like a hardback cover. That gives the product a more directed reveal and keeps the contents presented in a fixed position. It is a better choice when the opening moment, inner messaging or insert layout plays an important role in how the product is received.

Choose book style rigid boxes when presentation control matters more than packing speed. They are stronger for guided reveals, interior storytelling and product layouts that should stay visible as soon as the box opens. Choose Rigid Lid and Base Boxes when you want a simpler premium structure with faster access and a more traditional two-piece format for routine packing or repeat fulfilment.

Yes, and that is one of their biggest strengths. This format works especially well with die cut inserts, foam supports, ribbon lifts, message panels and branded interiors because the inside stays open and visible in a neat layout. If the pack includes multiple items, literature cards or fragile accessories, those additions can make the whole presentation feel more ordered and more premium.

They can be, but they usually work best as the presentation pack inside an outer transit carton or mailer. The rigid structure protects the product well and creates a premium unboxing experience, yet buyers should not rely on the box alone for rough courier handling. Product weight, insert fit and shipping distance should all be checked before choosing the final packing setup.

Start with the packed product dimensions, insert depth, opening orientation and closure method. Then confirm whether the box is intended for gifting, shelf display, handover presentation or ecommerce fulfilment. It also helps to decide early which elements must appear inside the box, such as printed messaging, ribbons, literature cards or accessory compartments, because those choices affect layout, size and cost.

Process

How it works

Your Packaging Journey, From Idea to Production and Delivery

01

Tell Us Your Specs

Custom packaging boxes

Tell Us Your Specs

Provide size, quantity, printing, and finishes.

02

Get a Fast Quote

Custom packaging boxes

Get a Fast Quote

Instant transparent pricing, no hidden fees.

03

Design and Approval

Custom packaging boxes

Design and Approval

Artwork checks, revisions, and final sign-off.

04

Produce

Custom packaging boxes

Produce

Expert manufacturing to meet deadlines.

05

Ship to Your Door

Custom packaging boxes

Ship to Your Door

Hassle-free, flexible delivery options.

Get Your Quote for Custom Book Style Rigid Boxes

Share your product details, dimensions, quantity and artwork needs. We’ll help choose the right packaging style and send a clear quote.